
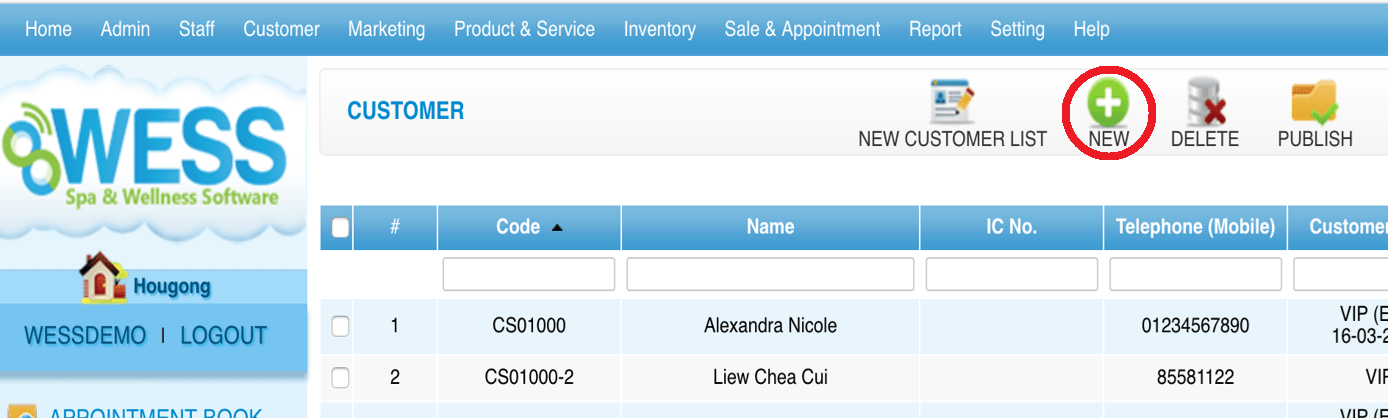
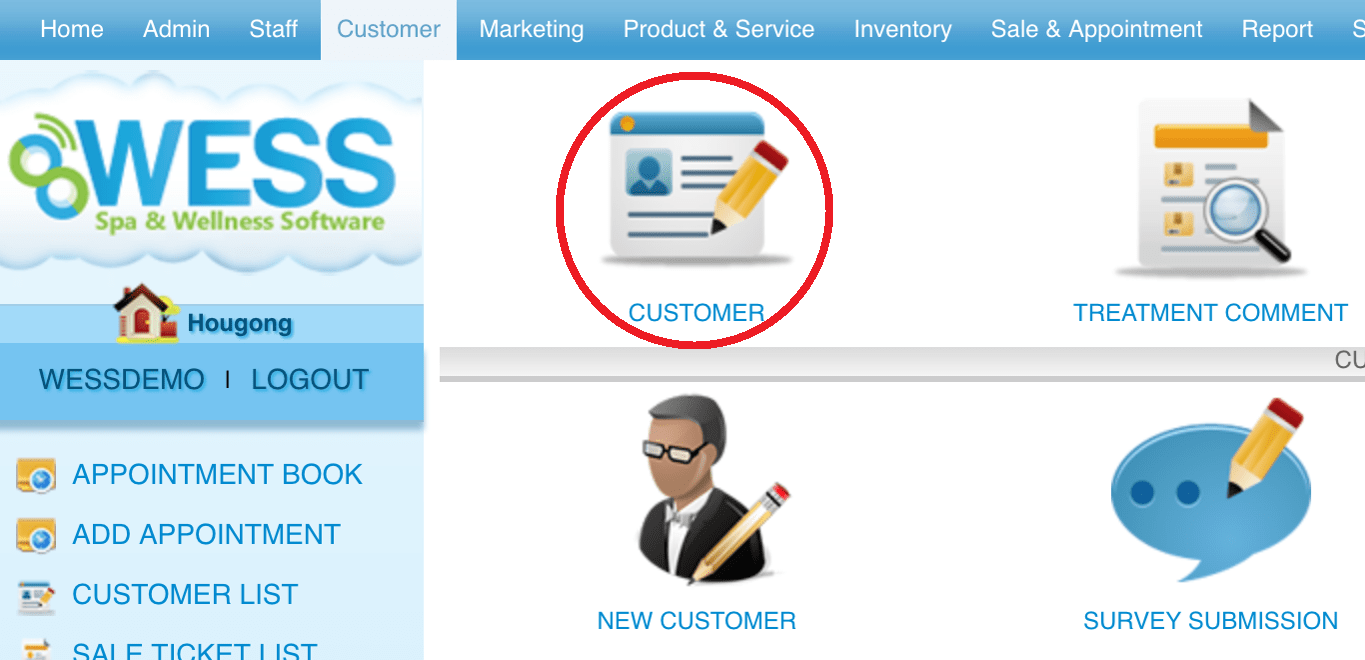
Step 1: Click “CUSTOMER”
 Step 2: Click “CUSTOMER”
 Step 3: Click “NEW”
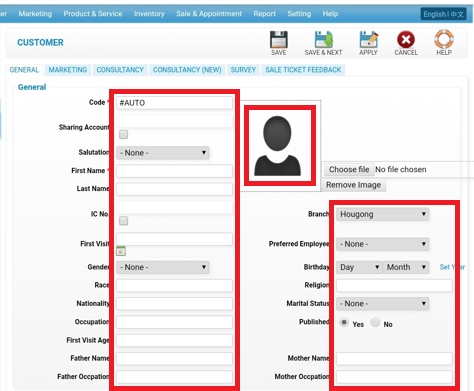
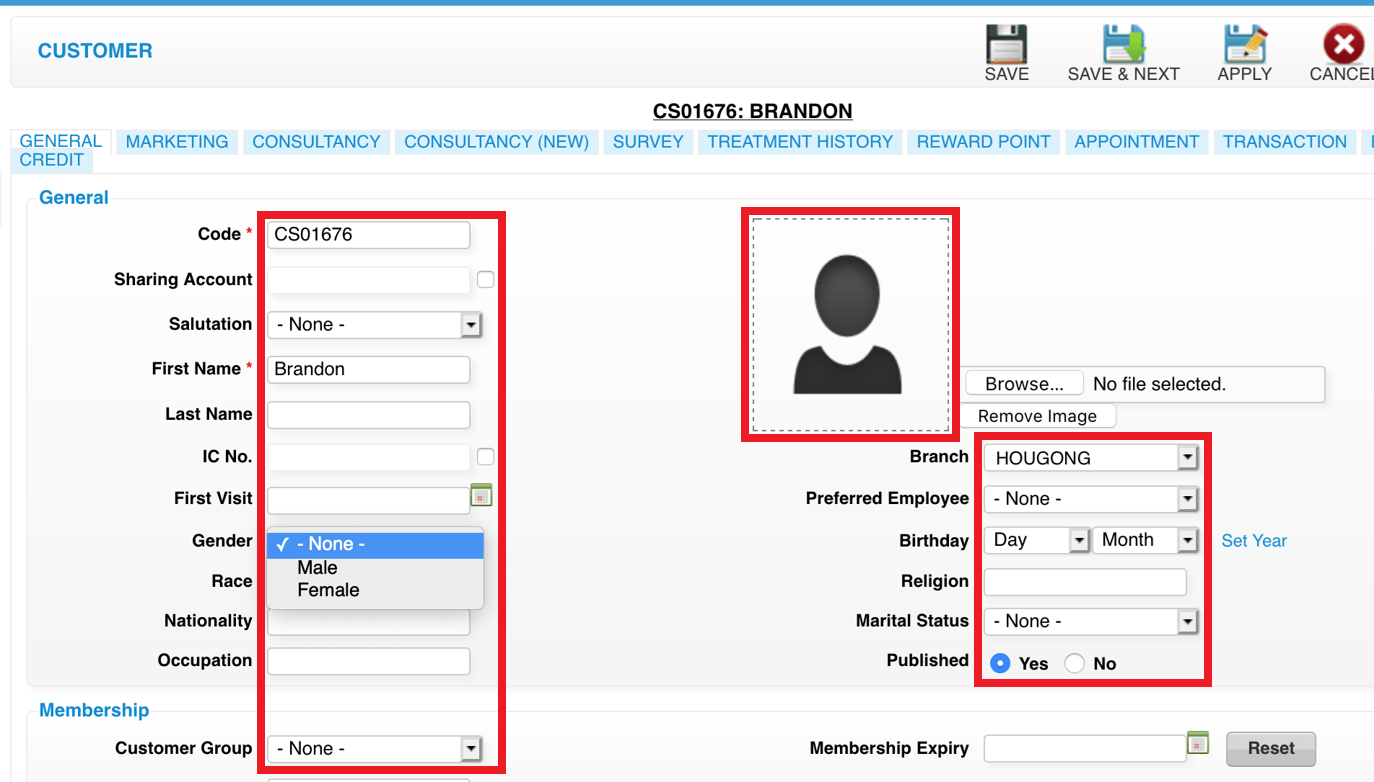
 Step 4: Fill in customer details
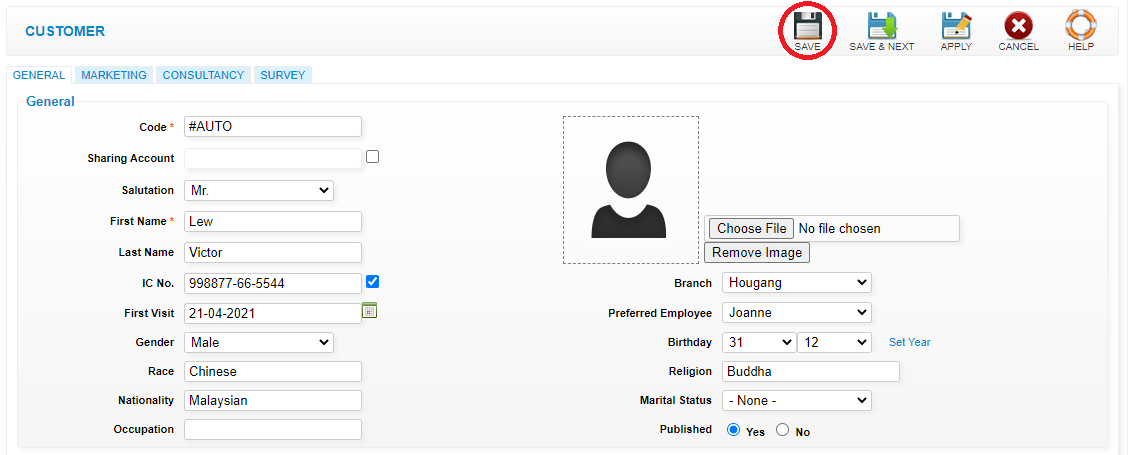
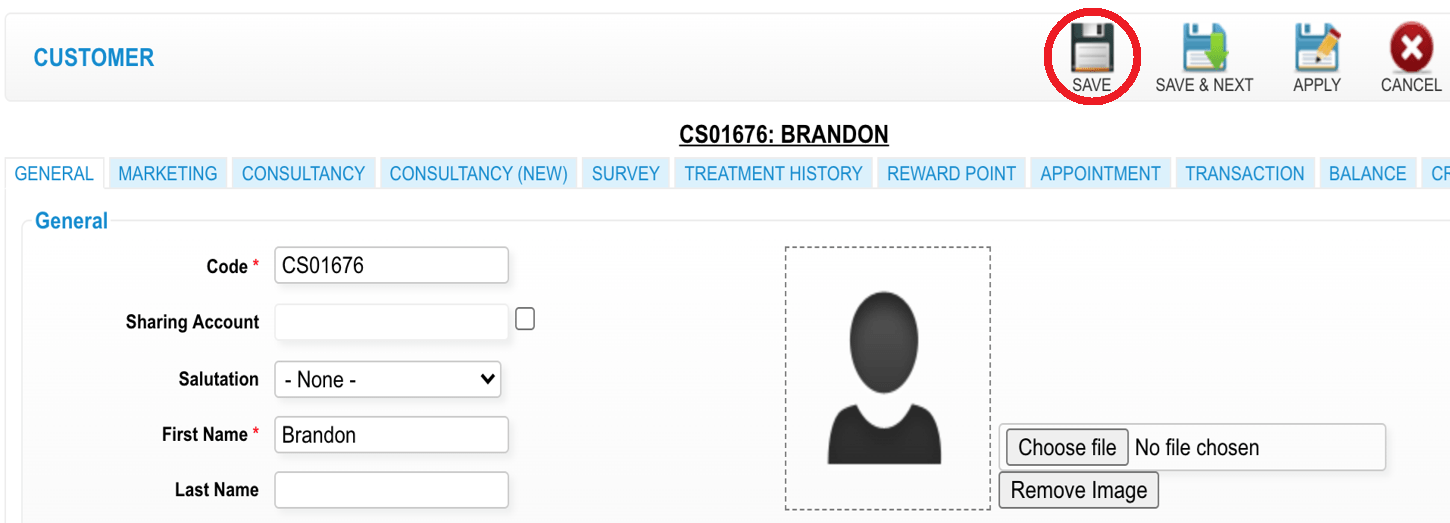
 Step 5: Click “SAVE”
 Last update: April 2021
Step 2: Click “CUSTOMER”
Step 3: Click “NEW”
Step 4: Fill in customer details
Step 5: Click “SAVE”
Last update: April 2021Step 1: Click “CUSTOMER”
 Step 2: Click “CUSTOMER”
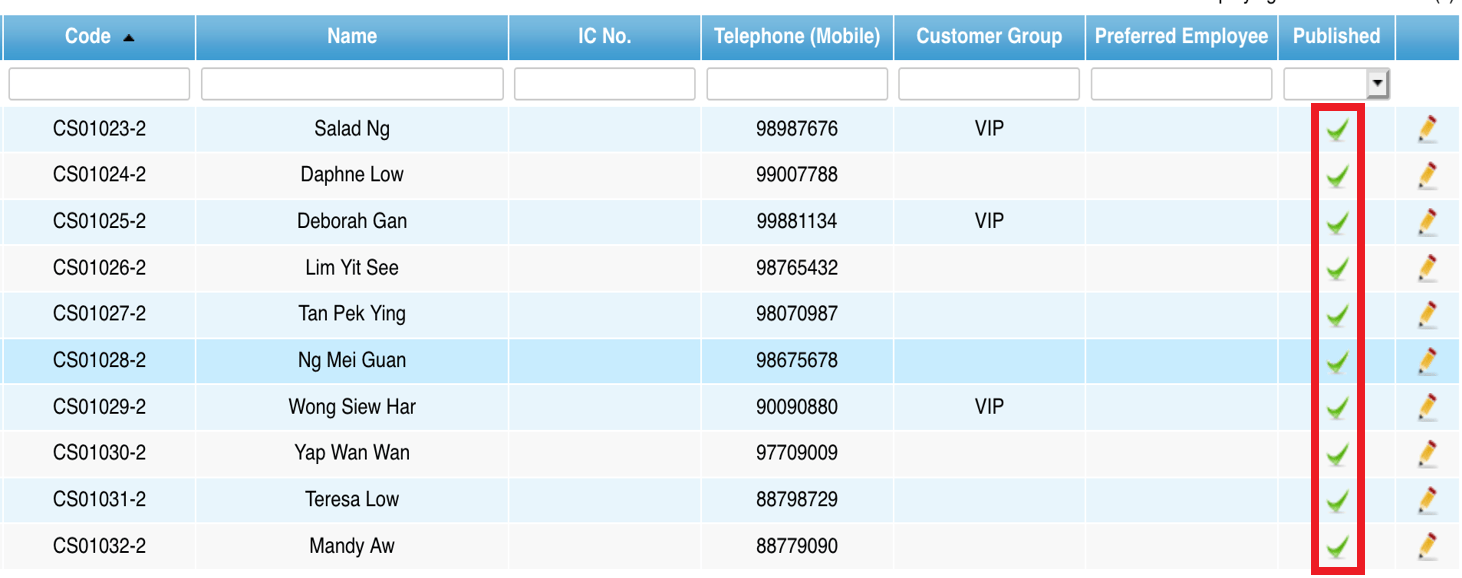
 Step 3: Click the “✓” to unpublish the customer
 Last update: April 2021
Step 2: Click “CUSTOMER”
Step 3: Click the “✓” to unpublish the customer
Last update: April 2021Step 1: Click “CUSTOMER”
 Step 2: Click “CUSTOMER”
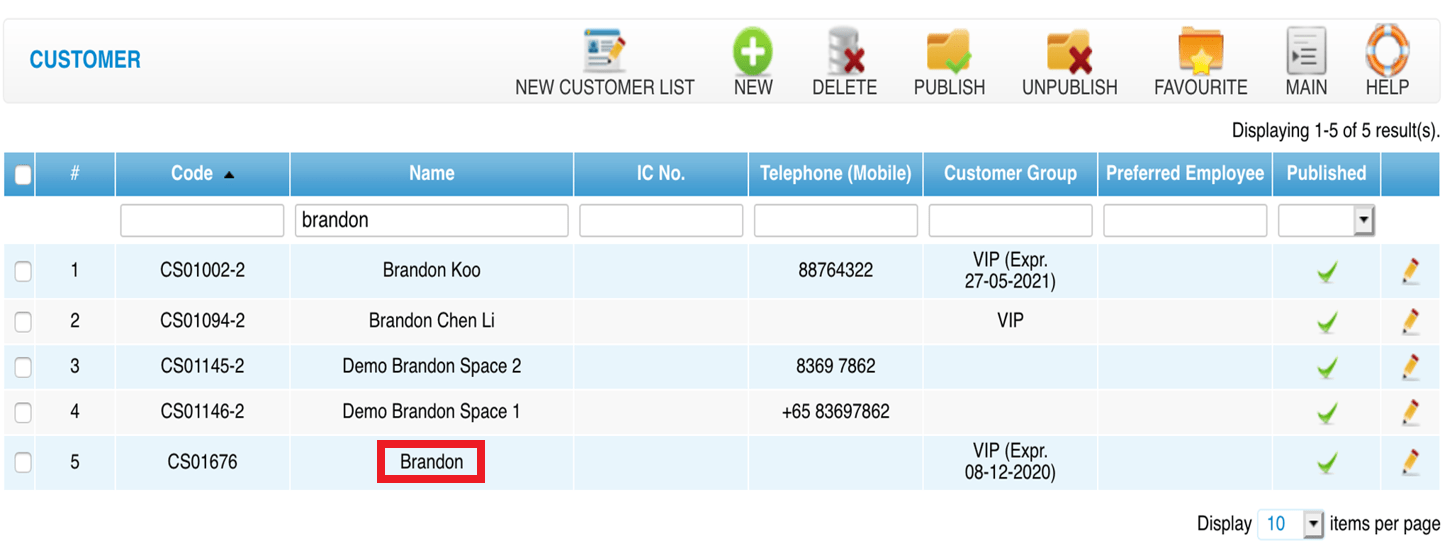
 Step 3: Enter the name to search
 Step 4: Select the customer
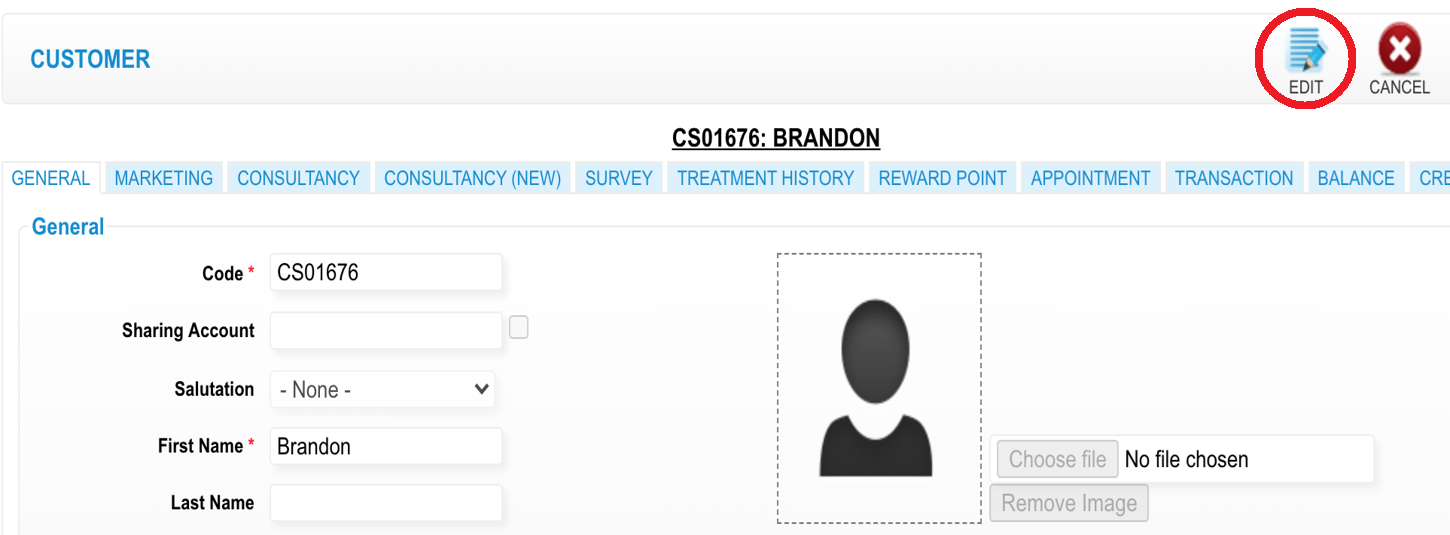
 Step 5: Click “EDIT”
 Step 6: You can make the changes if needed
 Step 7: Click “SAVE”
 Last update: April 2021
Step 2: Click “CUSTOMER”
Step 3: Enter the name to search
Step 4: Select the customer
Step 5: Click “EDIT”
Step 6: You can make the changes if needed
Step 7: Click “SAVE”
Last update: April 2021Step 1: Click “CUSTOMER”
 Step 2: Click “CUSTOMER”
 Step 3: Enter the name to search
 Step 4: Select the customer
 Step 5: Click “EDIT”
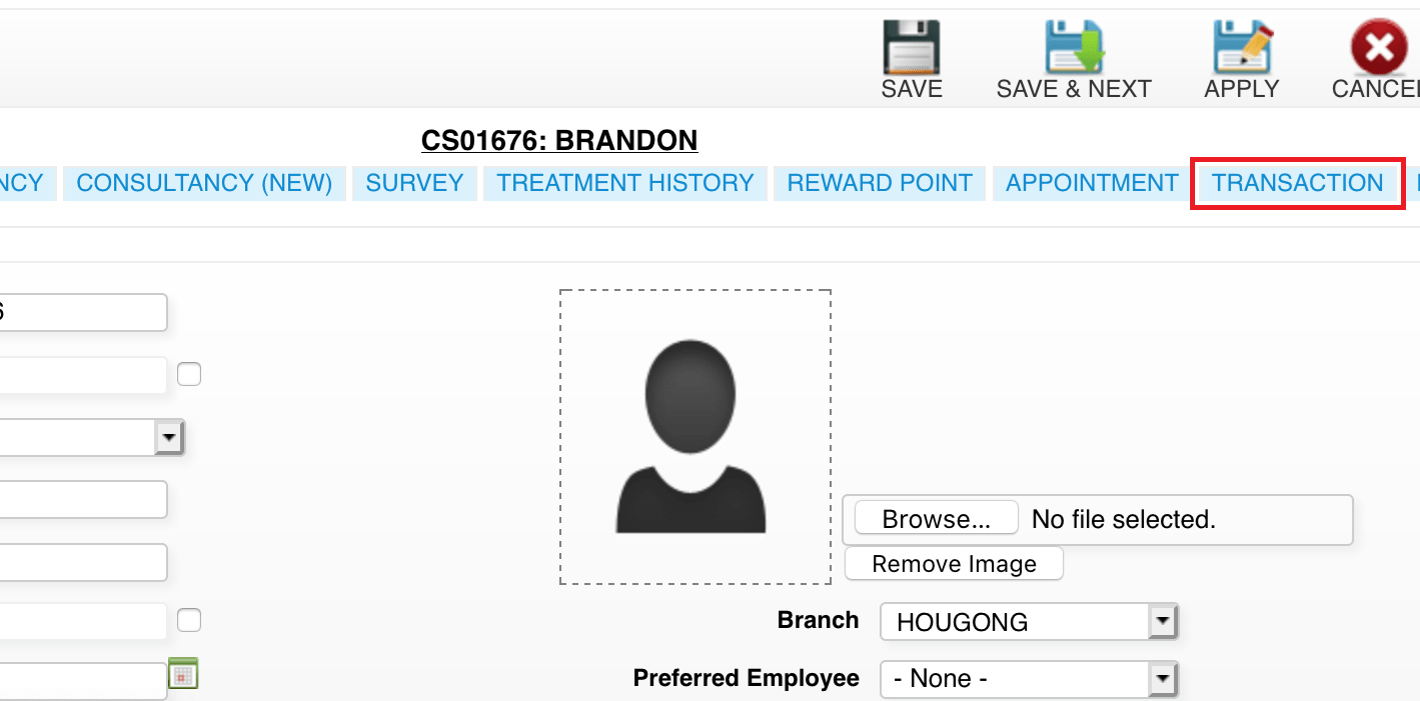
 Step 6: Click “TRANSACTION”
 Last update: April 2021
Step 2: Click “CUSTOMER”
Step 3: Enter the name to search
Step 4: Select the customer
Step 5: Click “EDIT”
Step 6: Click “TRANSACTION”
Last update: April 2021Step 1: Click “CUSTOMER”
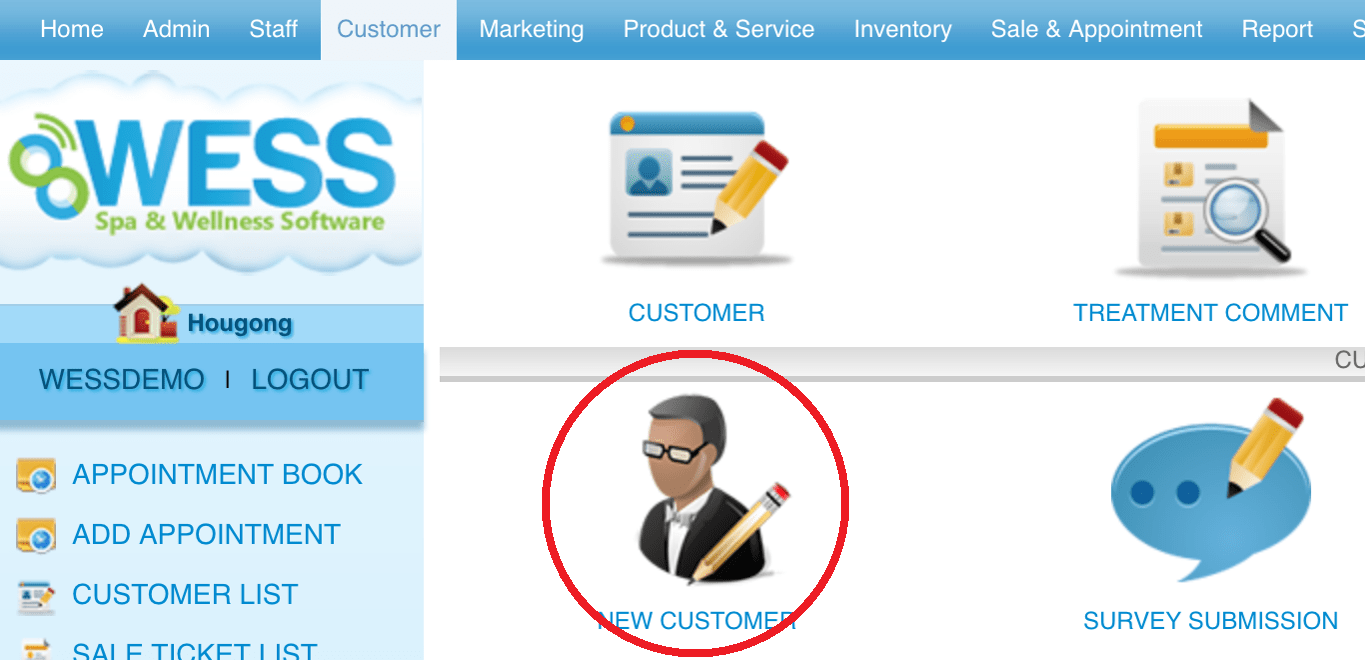
 Step 2: Click “NEW CUSTOMER”
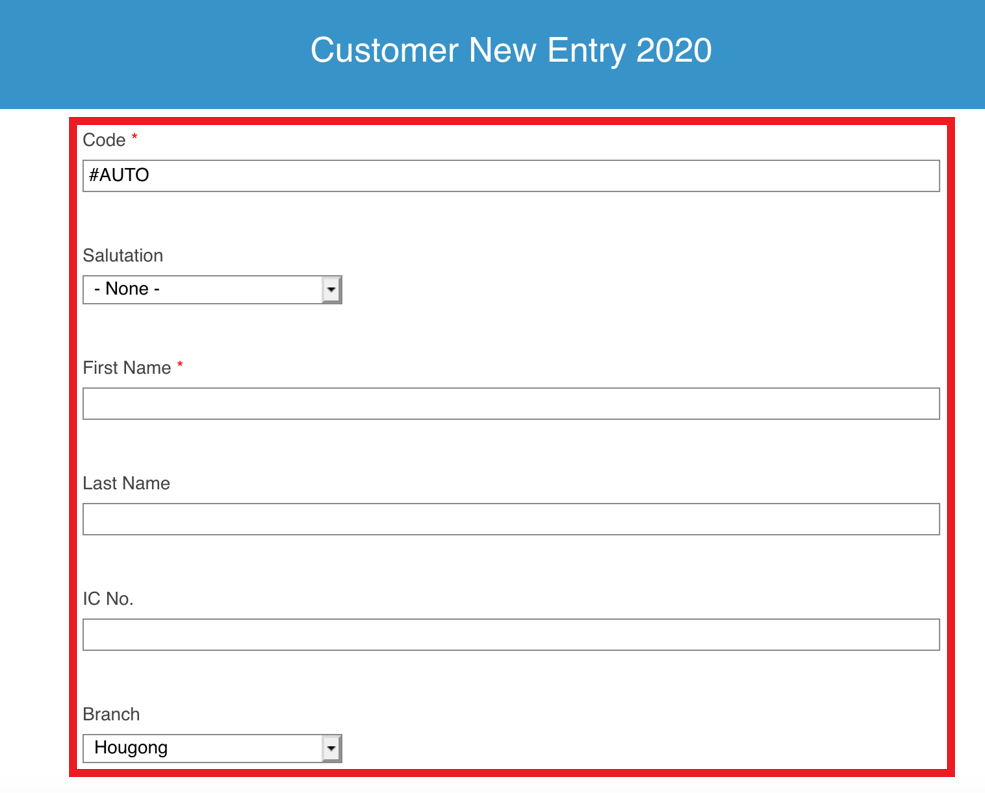
 Step 3: Fill in customer details
 Step 4: Click “SAVE”
 Last update: April 2021
Step 2: Click “NEW CUSTOMER”
Step 3: Fill in customer details
Step 4: Click “SAVE”
Last update: April 2021Step 1: Click “SETTING”
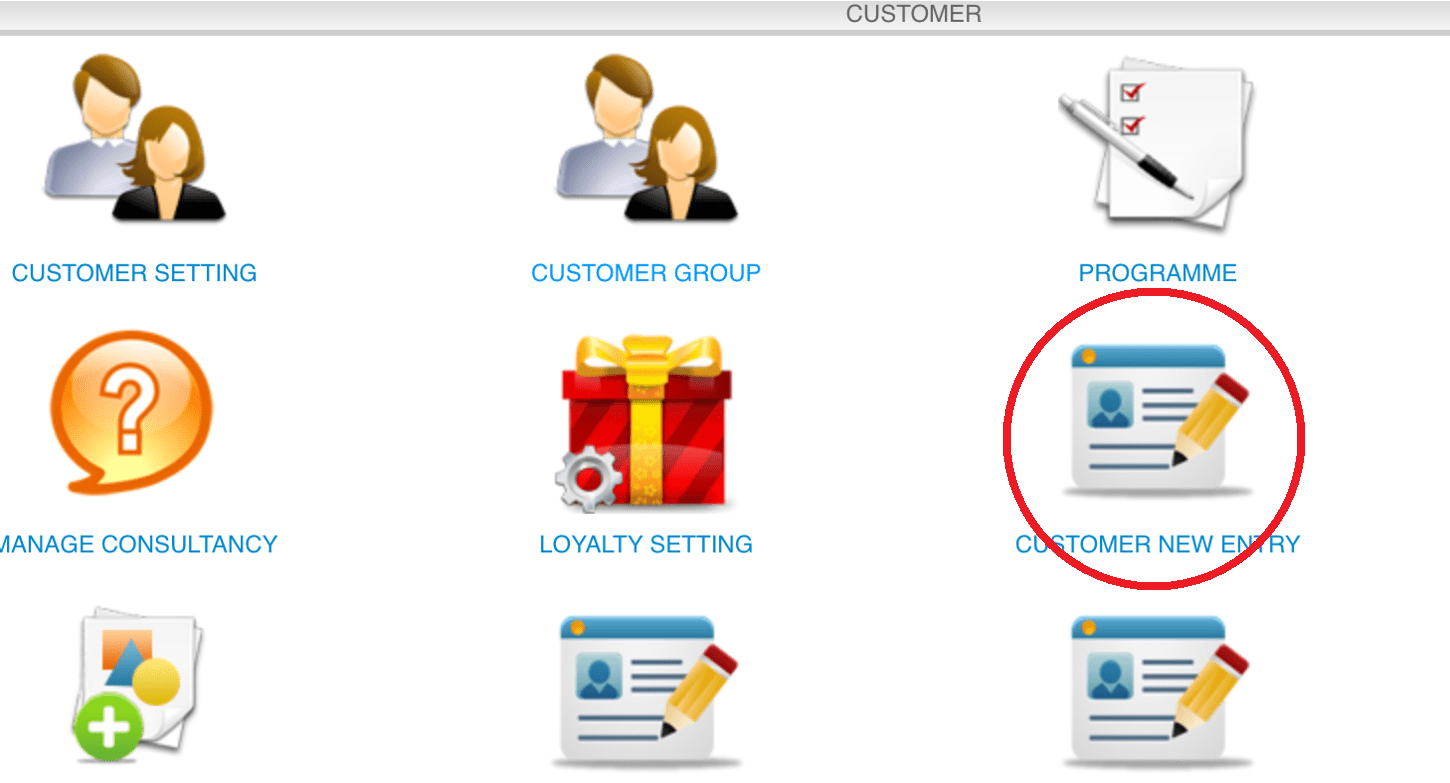
 Step 2: Click “CUSTOMER NEW ENTRY”
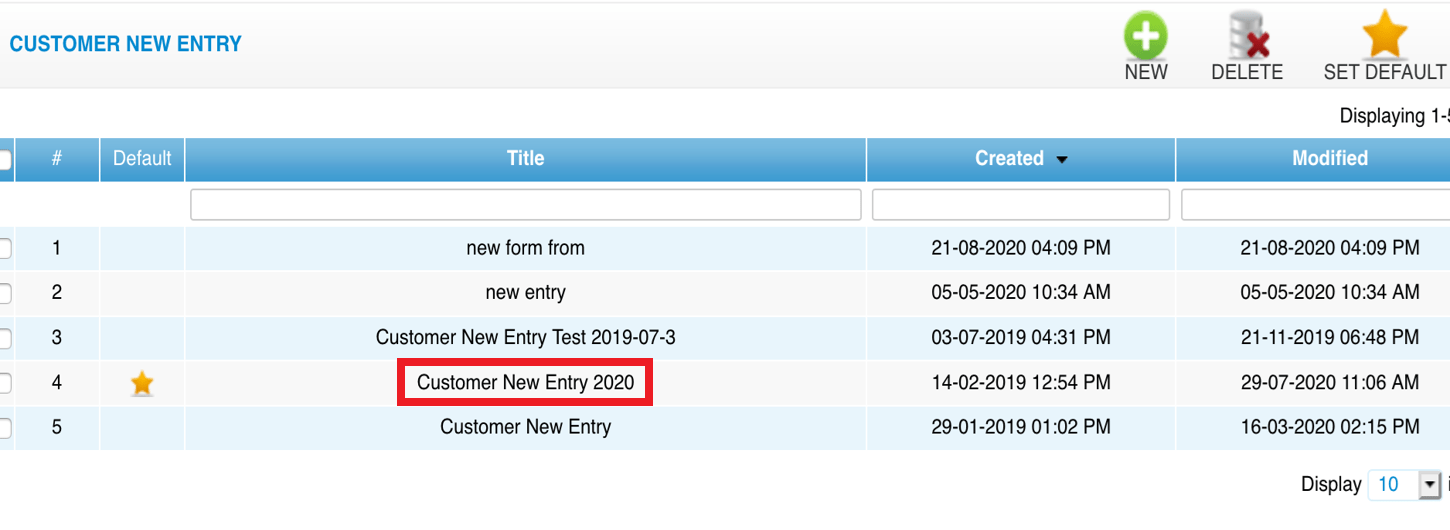
 Step 3: Select the customer new entry form
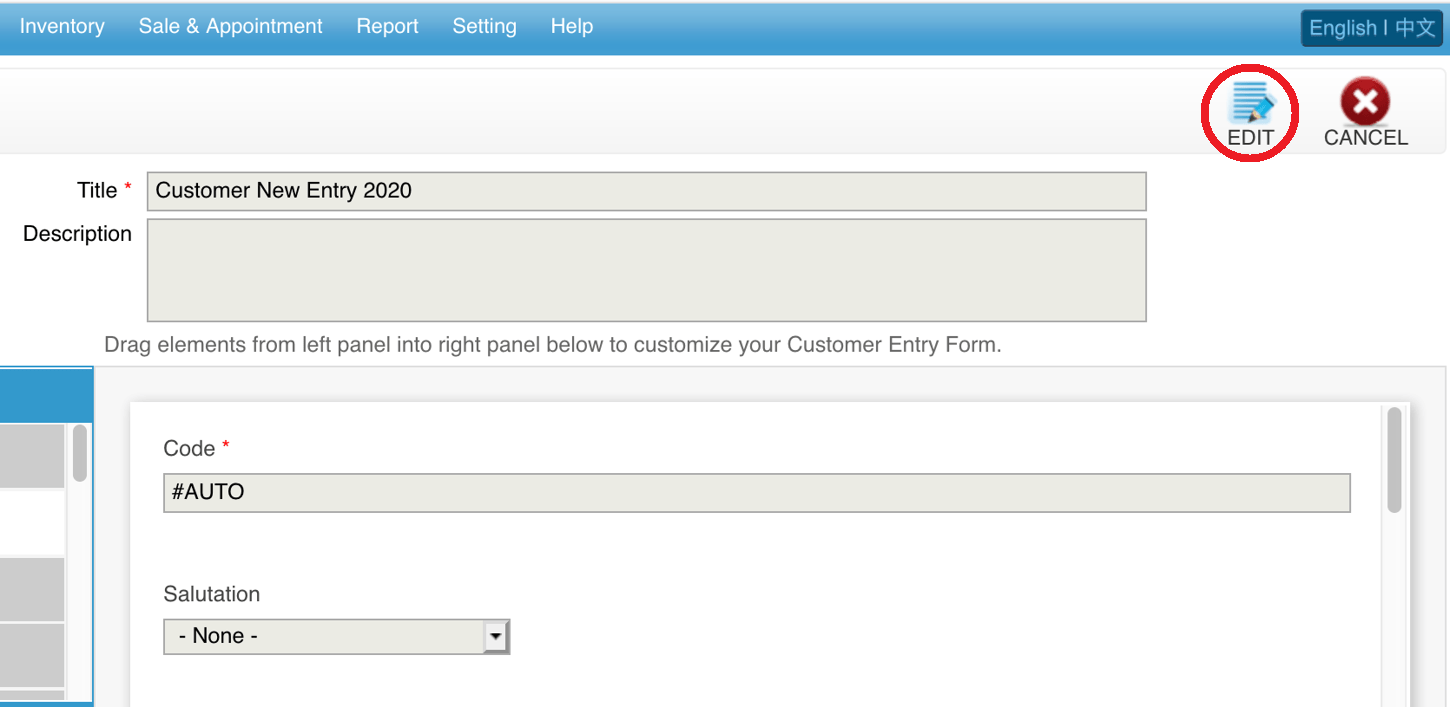
 Step 4: Click “EDIT”
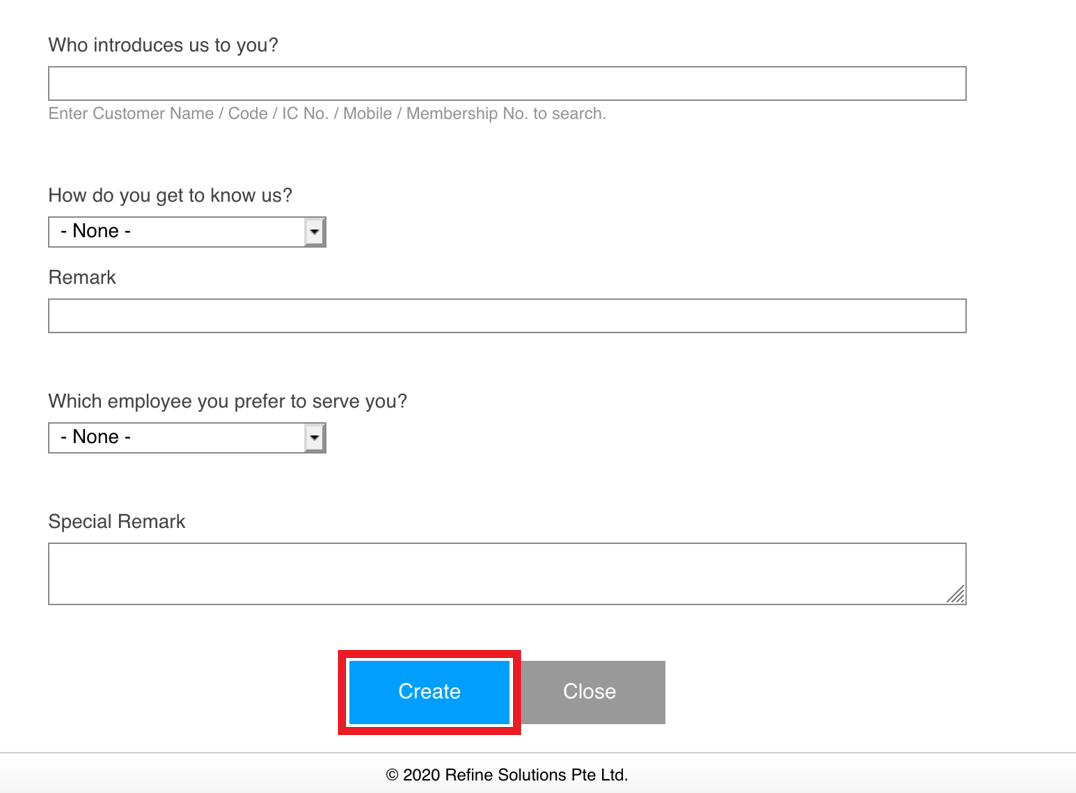
 Step 5: Select the Unwanted Field and click “❌” to remove
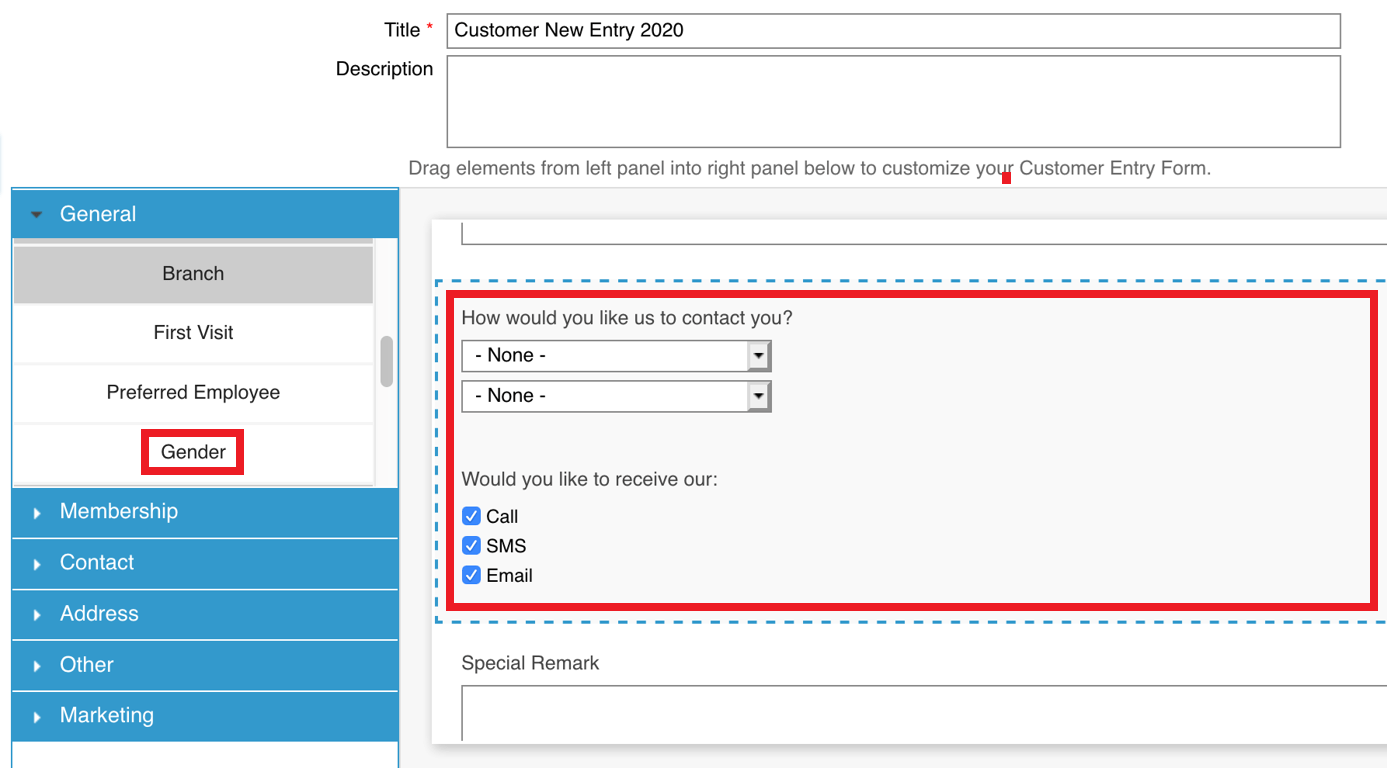
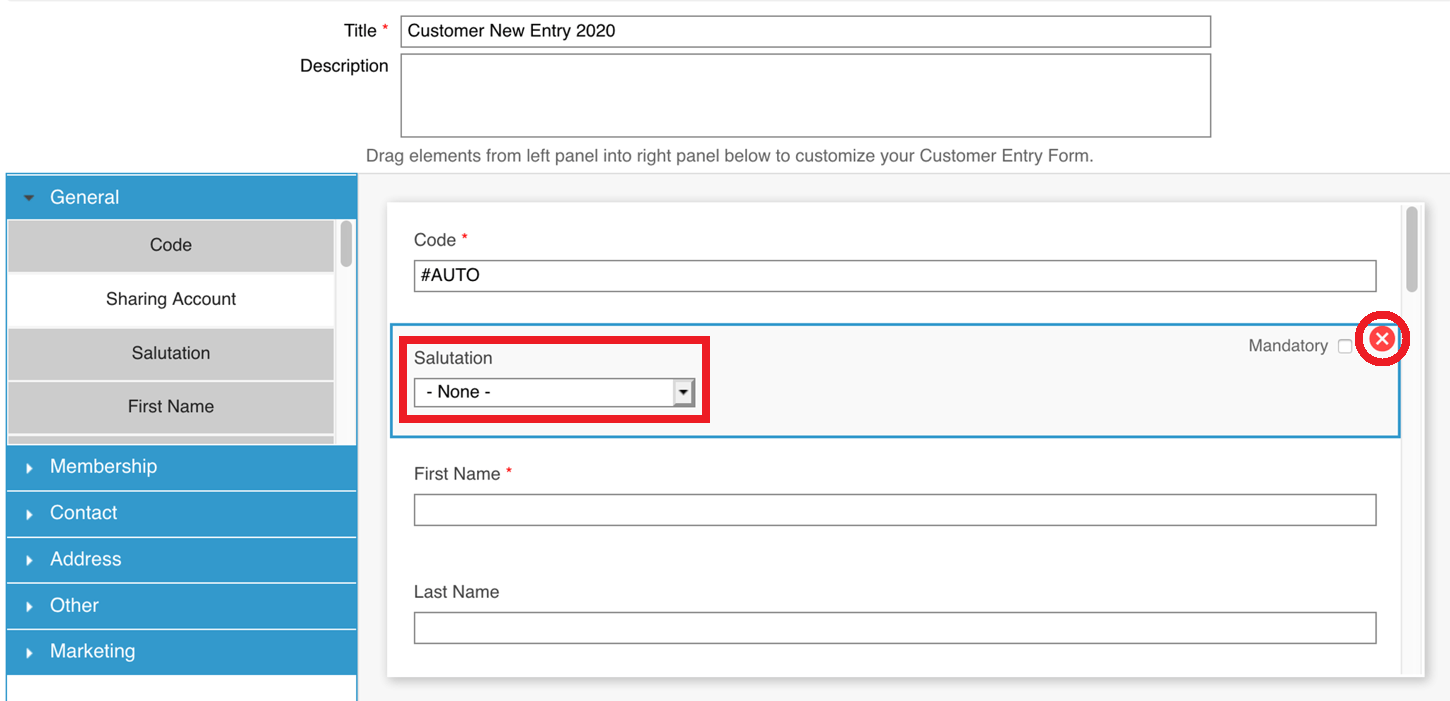 Step 6: You can drag and drop a question from left to the right panel
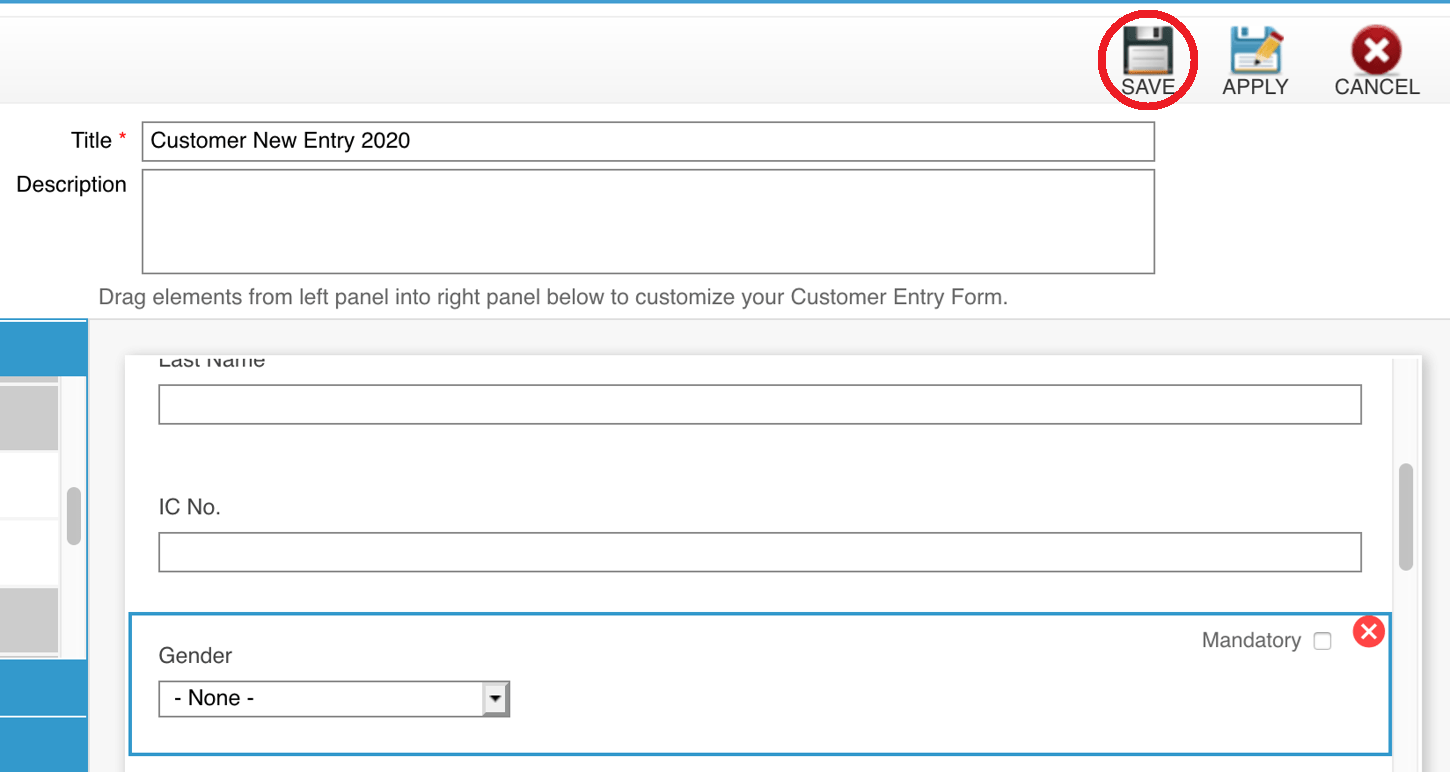
 Step 7: Click “SAVE”
 Last update: April 2021
Step 2: Click “CUSTOMER NEW ENTRY”
Step 3: Select the customer new entry form
Step 4: Click “EDIT”
Step 5: Select the Unwanted Field and click “❌” to remove
Step 6: You can drag and drop a question from left to the right panel
Step 7: Click “SAVE”
Last update: April 2021Step 1: Click “SETTING”
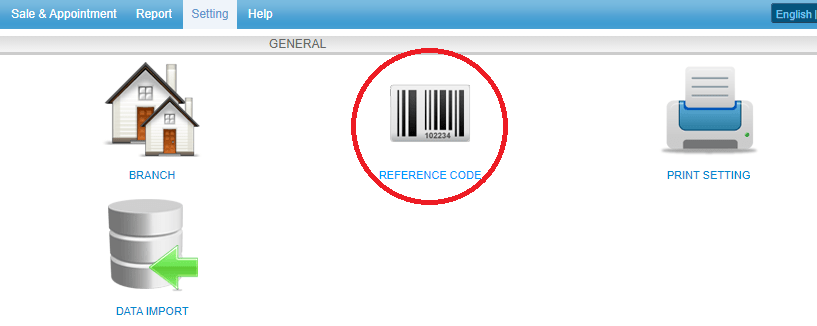
 Step 2: Click “REFERENCE CODE”
 Step 3: Enter the type name to search
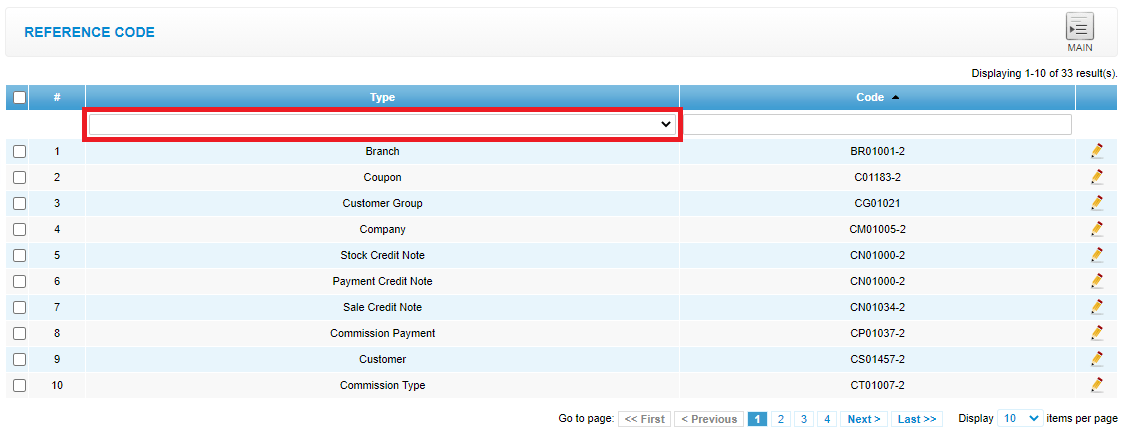 Step 4: Select the type
 Step 5: Click “EDIT”
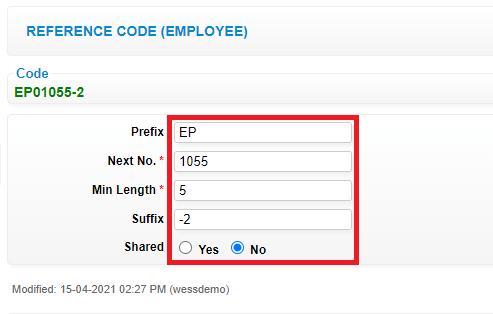
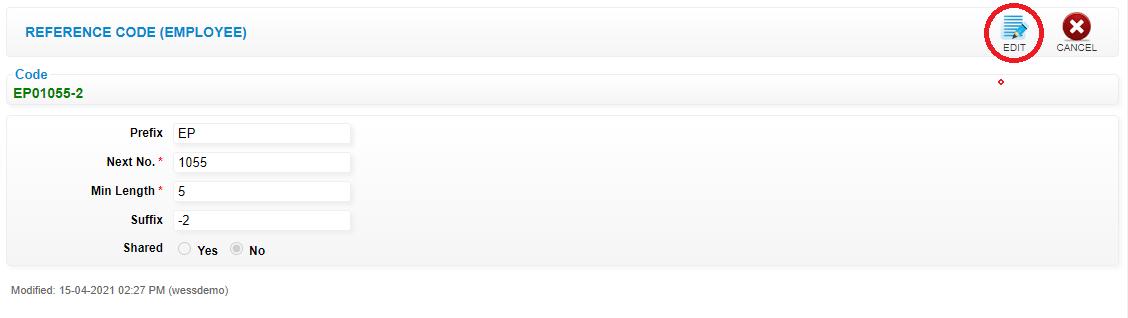 Step 6: Fill in code details
 Last update: April 2021
Step 2: Click “REFERENCE CODE”
Step 3: Enter the type name to search
Step 4: Select the type
Step 5: Click “EDIT”
Step 6: Fill in code details
Last update: April 2021[METHOD 1]
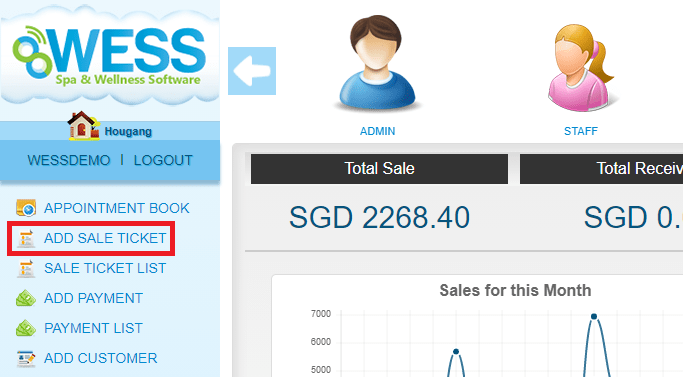
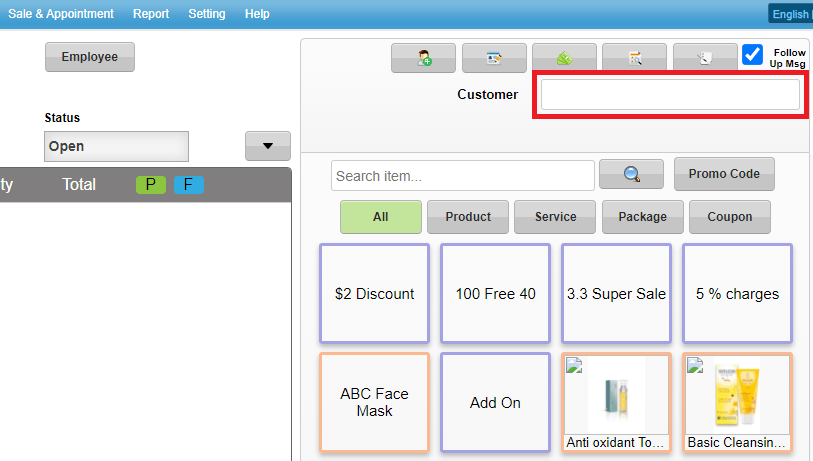
Step 1: Click “ADD SALE TICKET”
 Step 2: Enter the customer name to search
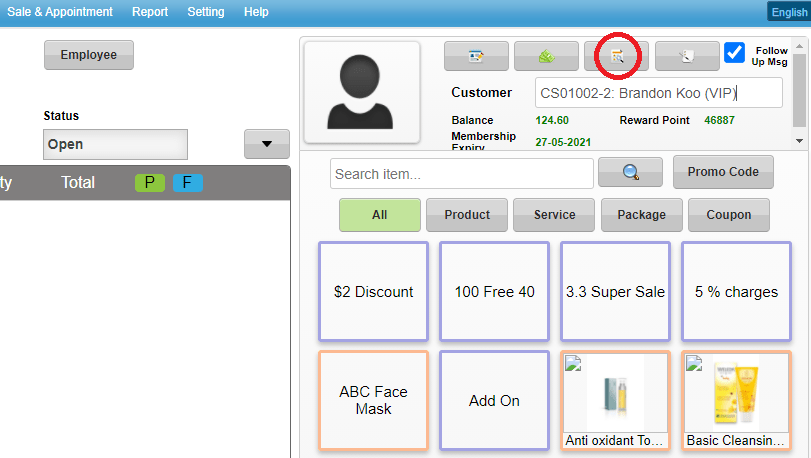
 Step 3: Click ADD TREATMENT COMMENT “ICON”
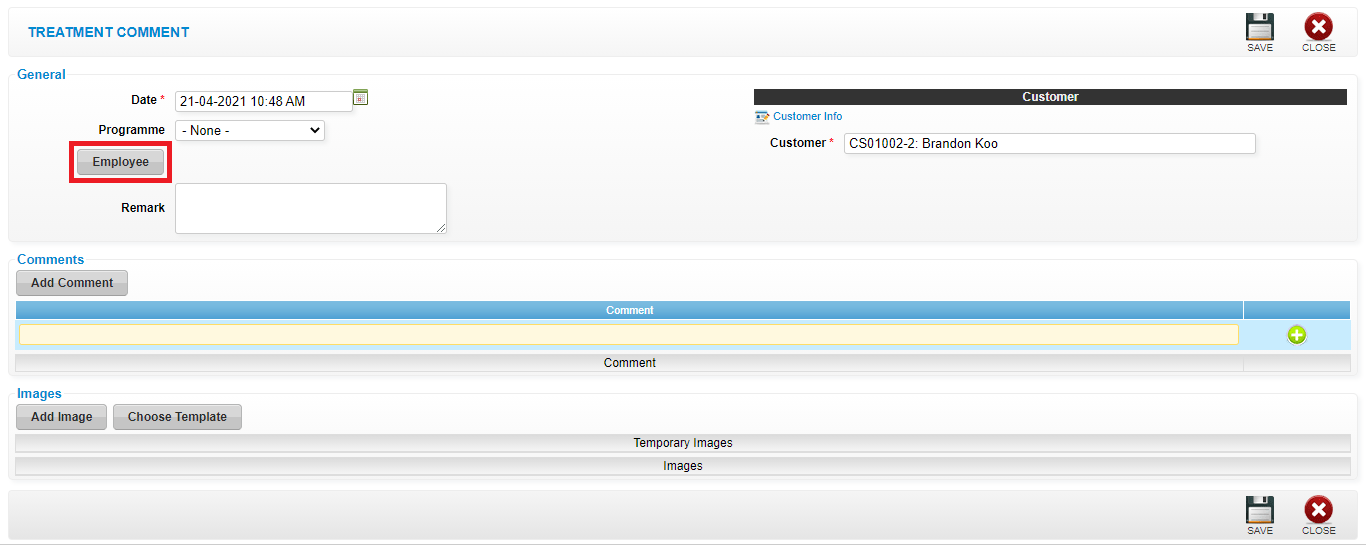
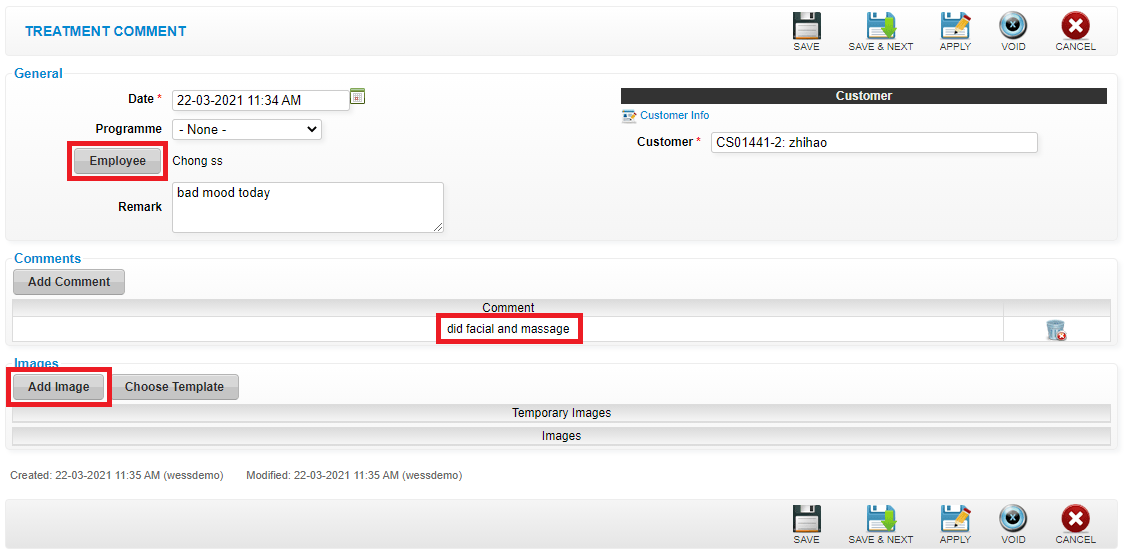
 Step 4: Click “EMPLOYEE”
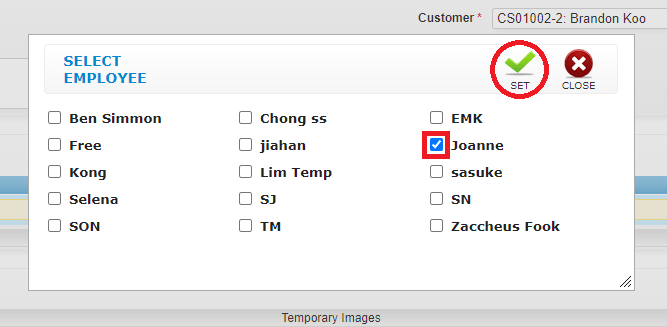
 Step 5: After employee is selected then click “SET”
 Step 6: Enter the Comment and click “✚”
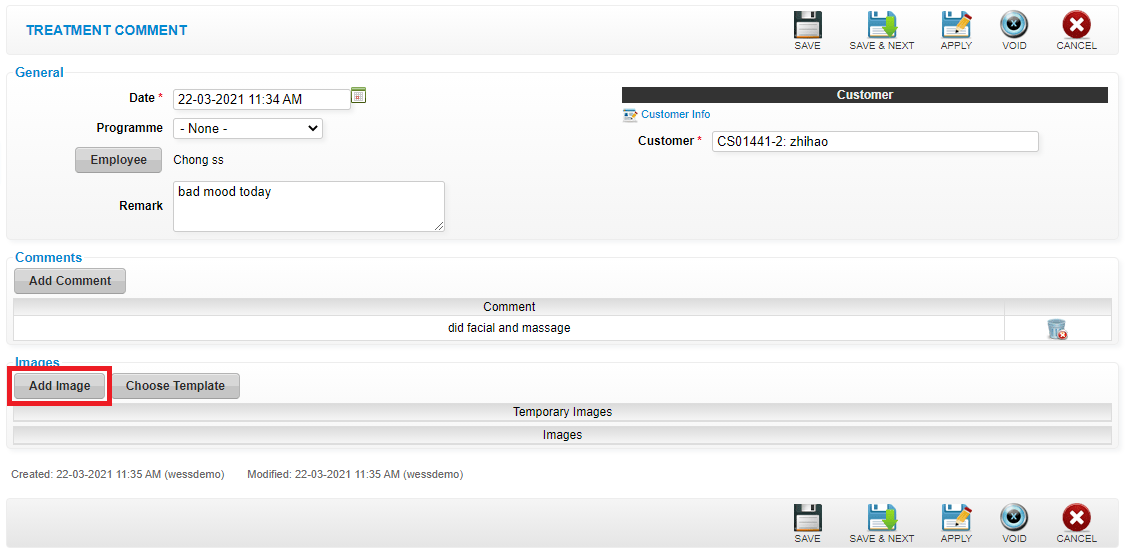
 Step 7: Click “ADD IMAGE” to add image
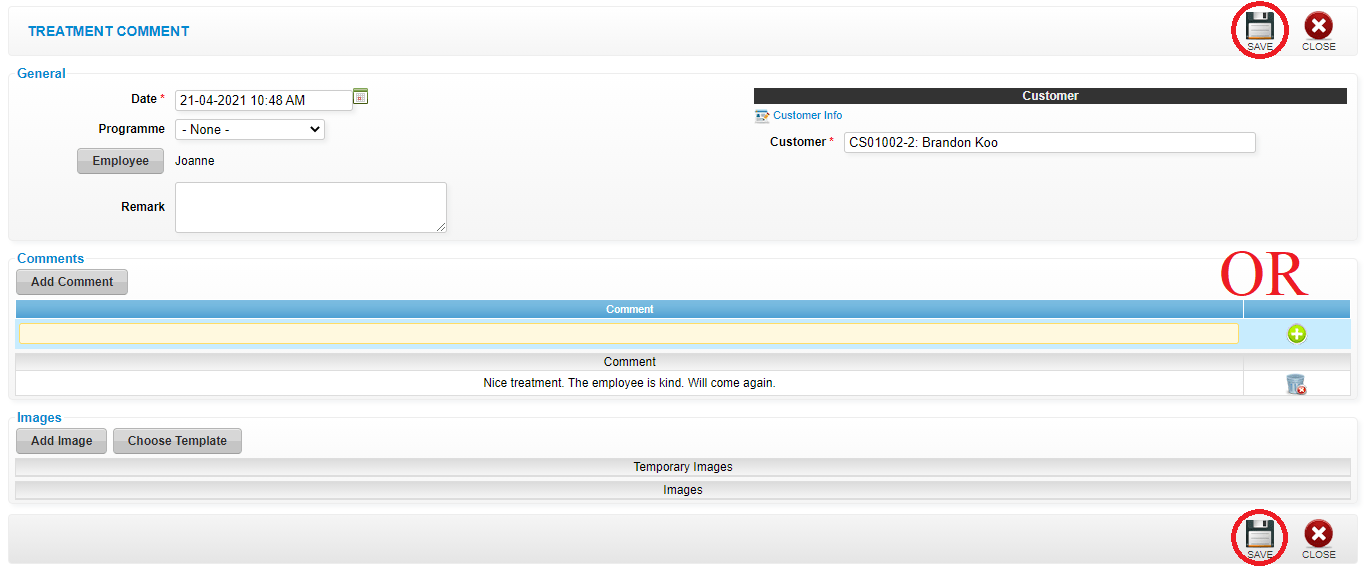
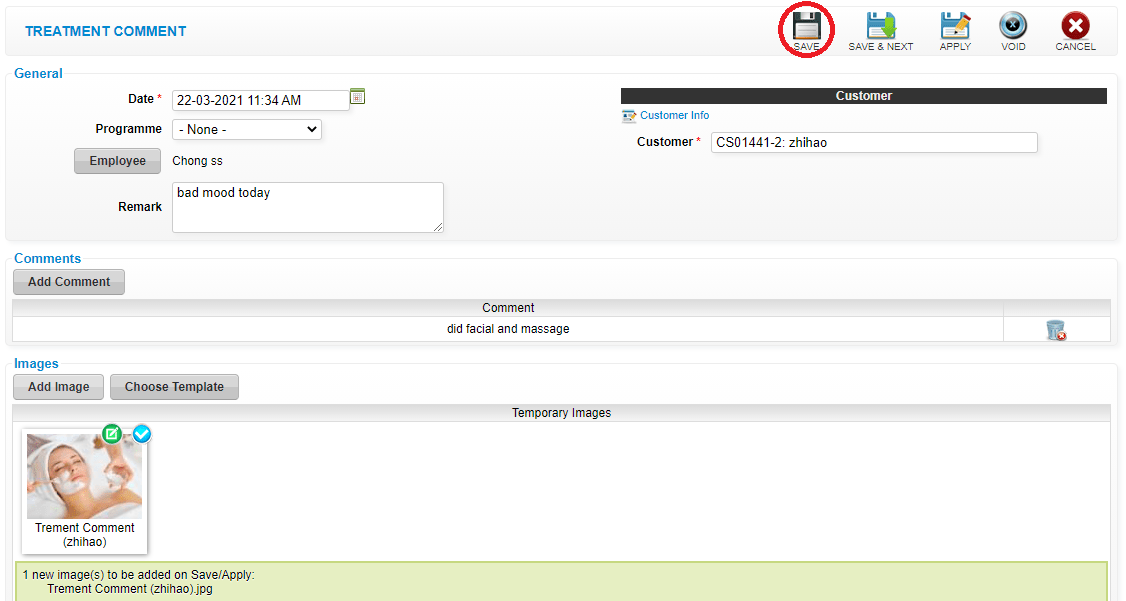
 Step 8: Click “SAVE”
 [METHOD 2]
Step 1: Click “CUSTOMER”
[METHOD 2]
Step 1: Click “CUSTOMER”
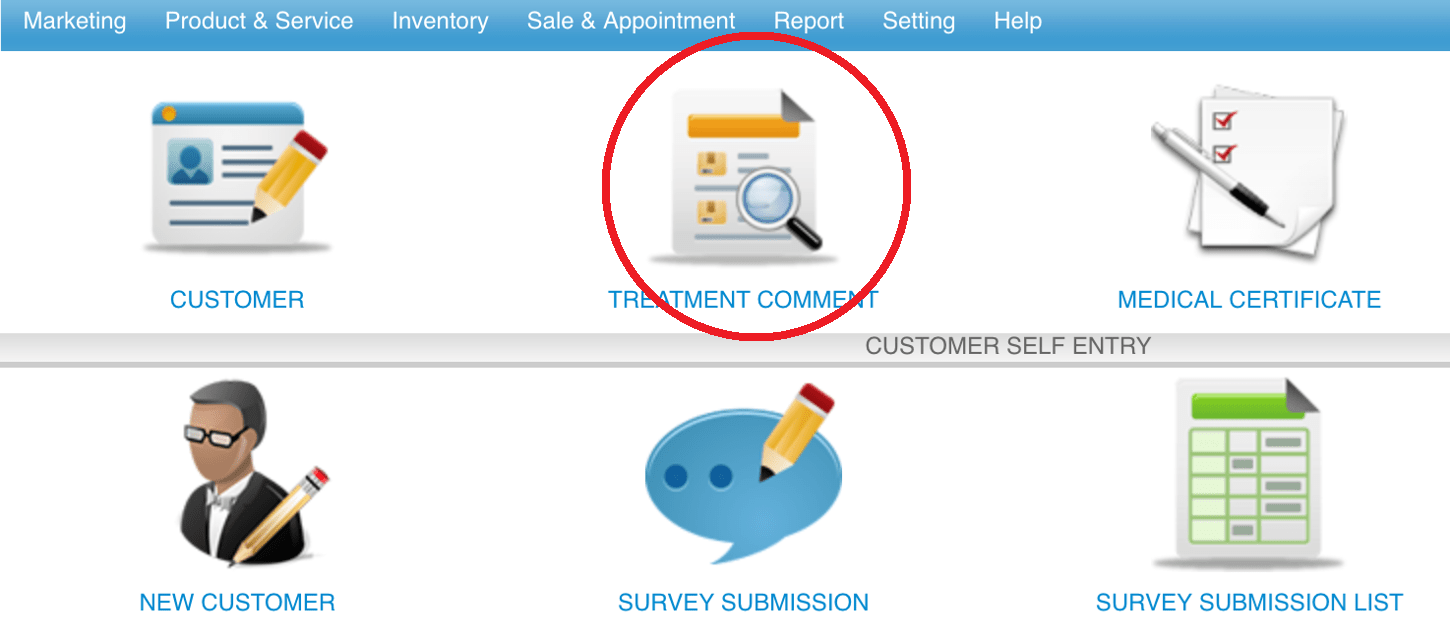
 Step 2: Click “TREATMENT COMMENT”
 Step 3: Enter the customer name to search
 Step 4: Select the customer
 Step 5:
Just follow [METHOD 1] Step 4 and continue…
Last update: April 2021
Step 5:
Just follow [METHOD 1] Step 4 and continue…
Last update: April 2021
Step 2: Enter the customer name to search
Step 3: Click ADD TREATMENT COMMENT “ICON”
Step 4: Click “EMPLOYEE”
Step 5: After employee is selected then click “SET”
Step 6: Enter the Comment and click “✚”
Step 7: Click “ADD IMAGE” to add image
Step 8: Click “SAVE”
[METHOD 2]
Step 1: Click “CUSTOMER”
Step 2: Click “TREATMENT COMMENT”
Step 3: Enter the customer name to search
Step 4: Select the customer
Step 5:
Just follow [METHOD 1] Step 4 and continue…
Last update: April 2021Step 1: Click “CUSTOMER”
Step 2: Click “TREATMENT COMMENT”
Step 3: Enter the customer name to search
Step 4: Select the customer
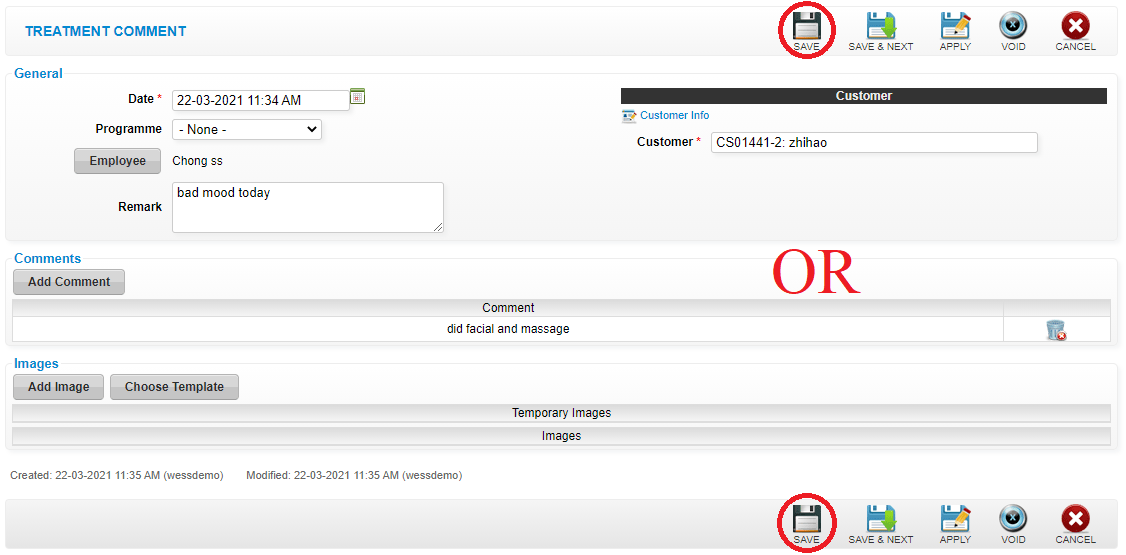
Step 5: Click “EDIT”
 Step 6: You can make the changes if needed
 Step 7: Click “SAVE”
 Last update: April 2021
Step 2: Click “TREATMENT COMMENT”
Step 3: Enter the customer name to search
Step 4: Select the customer
Step 5: Click “EDIT”
Step 6: You can make the changes if needed
Step 7: Click “SAVE”
Last update: April 2021Step 1: Click “CUSTOMER”
 Step 2: Click “TREATMENT COMMENT”
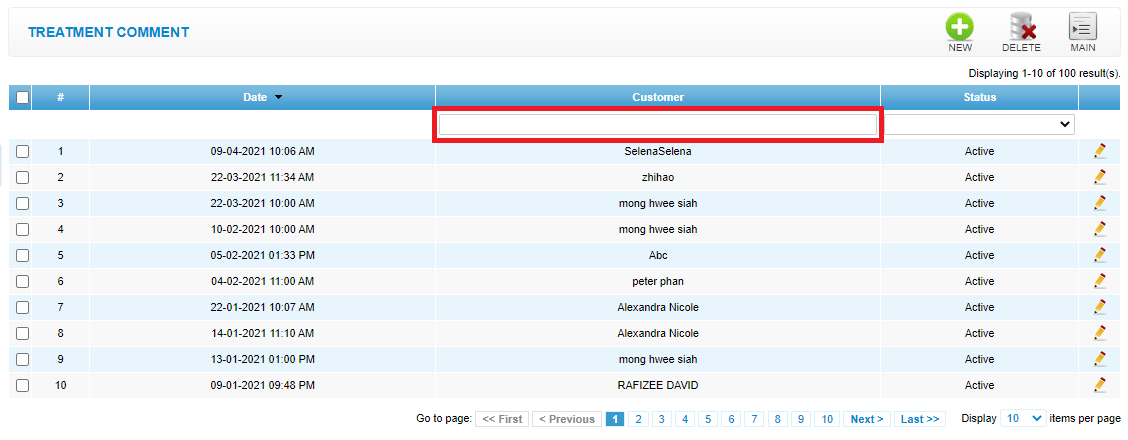
 Step 3: Enter the customer name to search
 Step 4: Select the customer
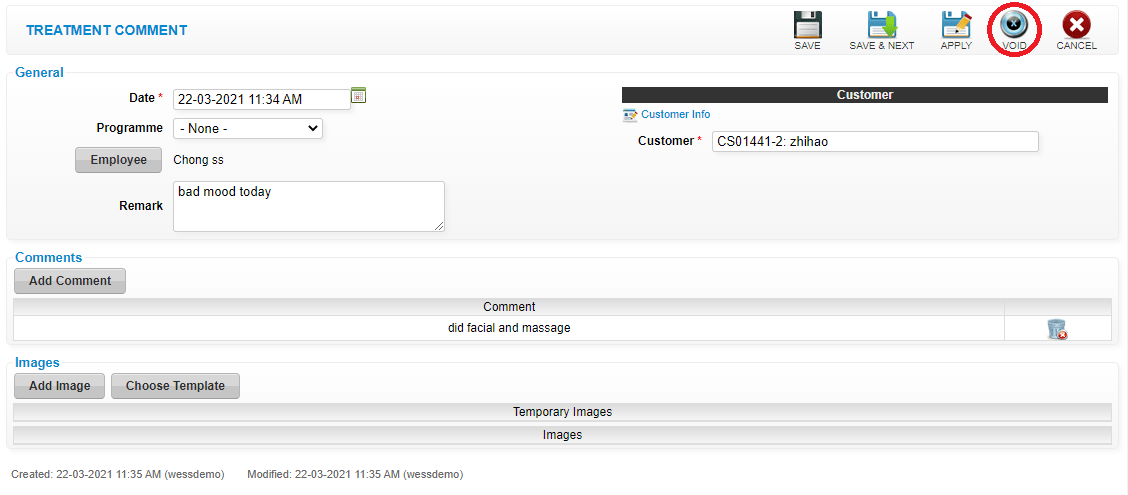
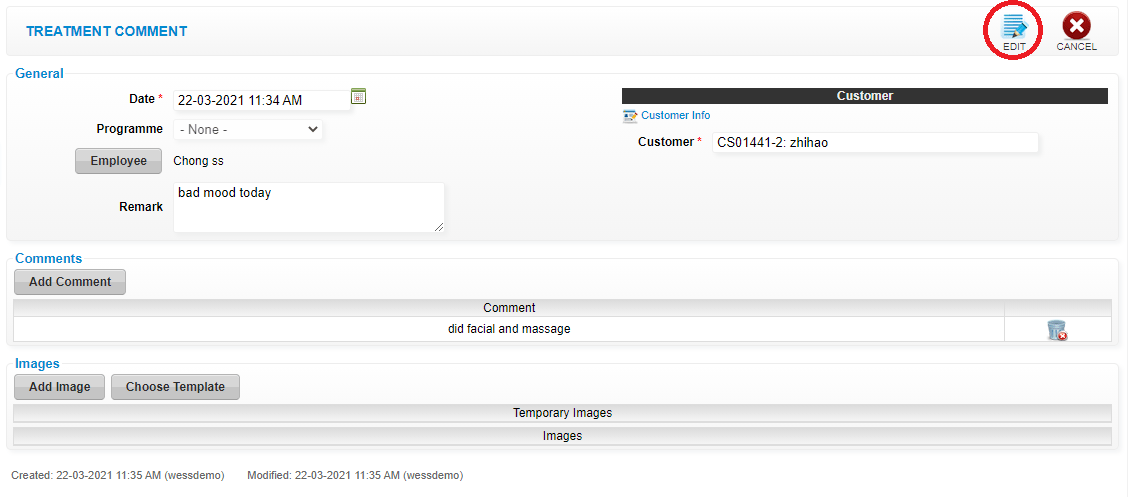
 Step 5: Click “EDIT”
 Step 6: Click “VOID”
 Last update: April 2021
Step 2: Click “TREATMENT COMMENT”
Step 3: Enter the customer name to search
Step 4: Select the customer
Step 5: Click “EDIT”
Step 6: Click “VOID”
Last update: April 2021Step 1: Click “CUSTOMER”
 Step 2: Click “TREATMENT COMMENT”
 Step 3: Enter the customer name to search
 Step 4: Select the customer
 Step 5: Click “EDIT”
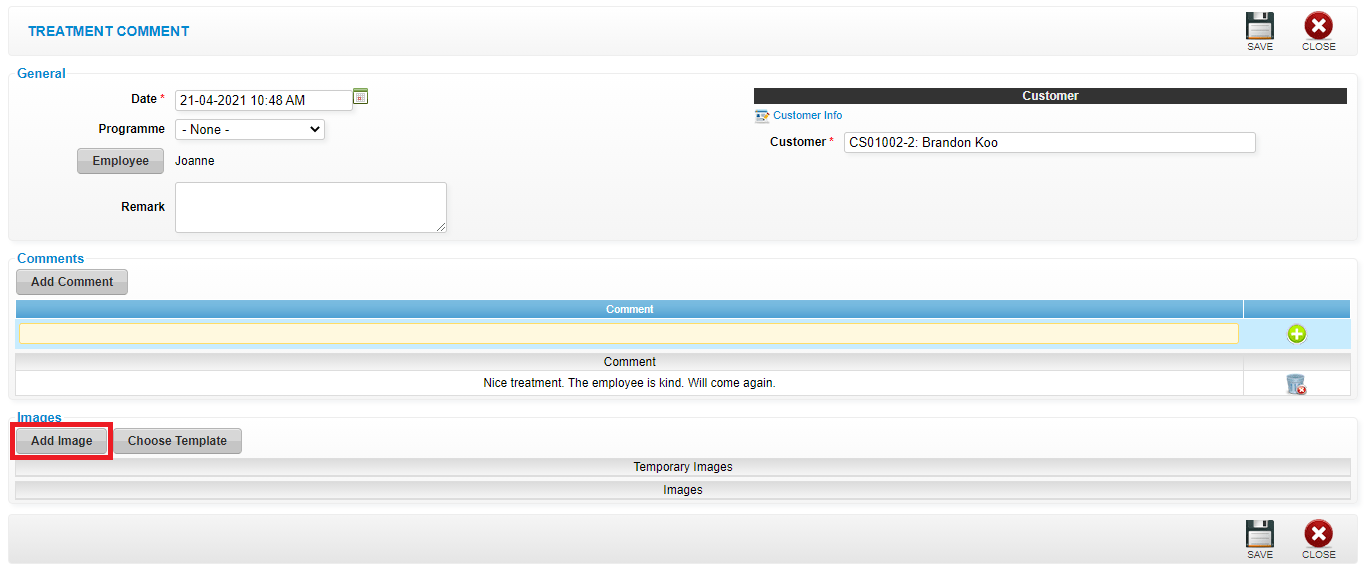
 Step 6: Click “ADD IMAGE” to add image
 Step 7: Click “SAVE”
 Last update: April 2021
Step 2: Click “TREATMENT COMMENT”
Step 3: Enter the customer name to search
Step 4: Select the customer
Step 5: Click “EDIT”
Step 6: Click “ADD IMAGE” to add image
Step 7: Click “SAVE”
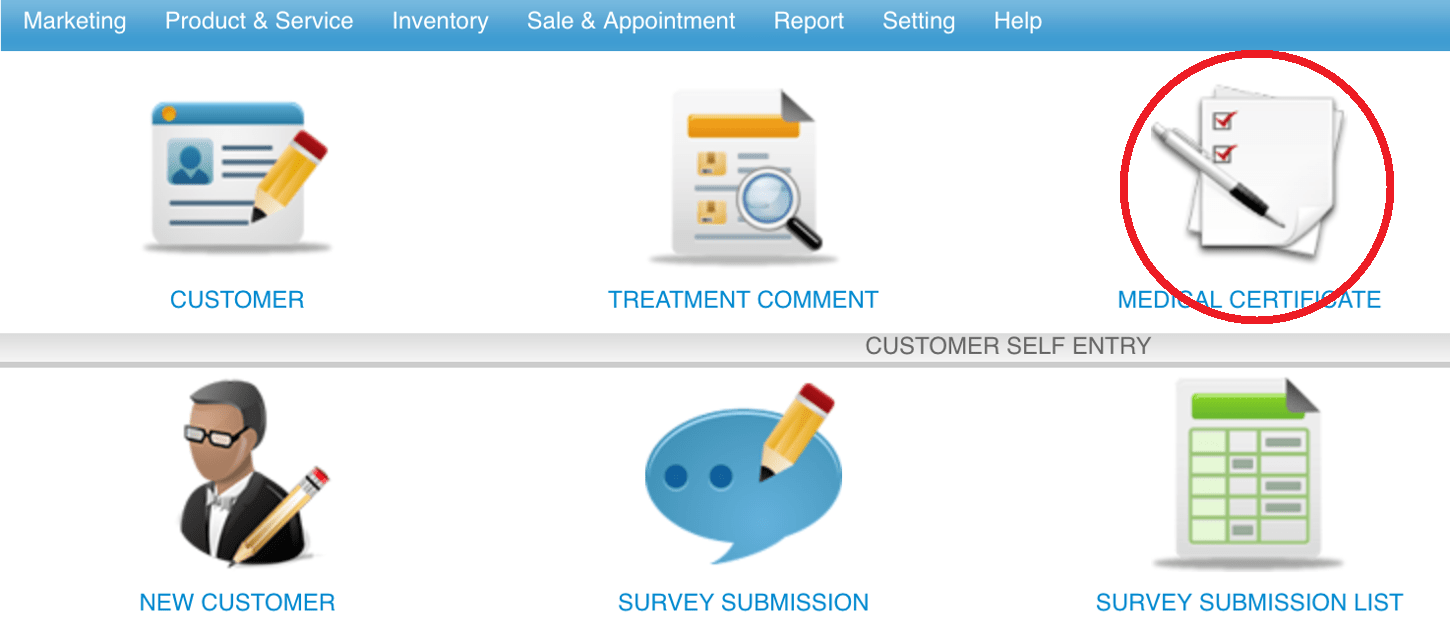
Last update: April 2021Step 1: Click “CUSTOMER”
 Step 2: Click “MEDICAL CERTIFICATE”
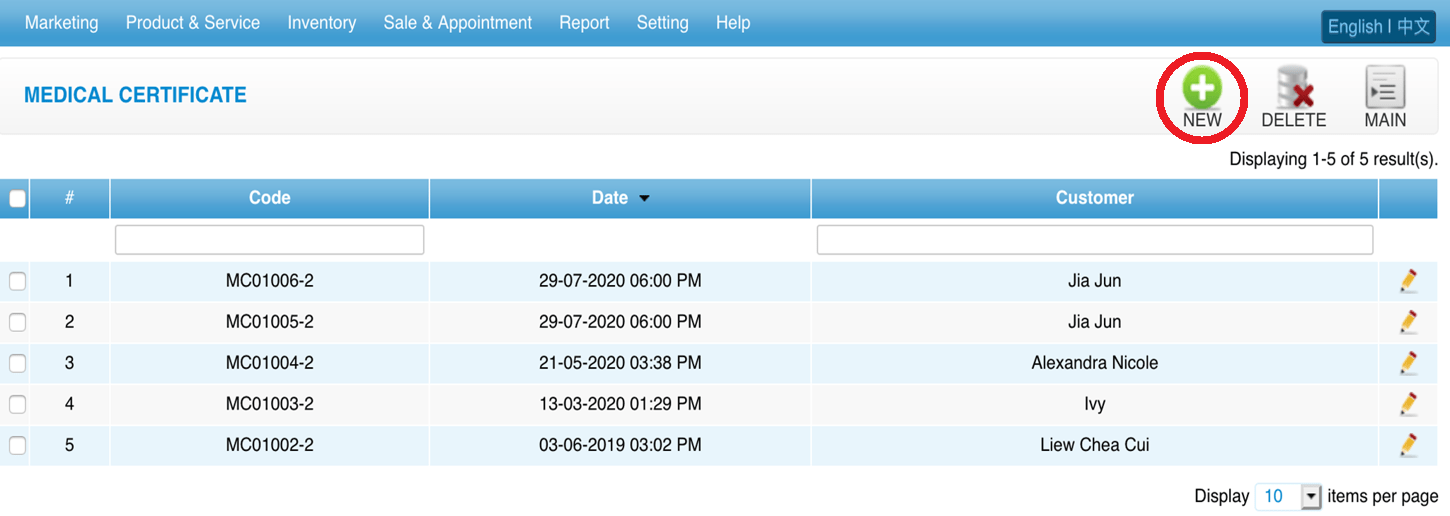
 Step 3: Click “NEW”
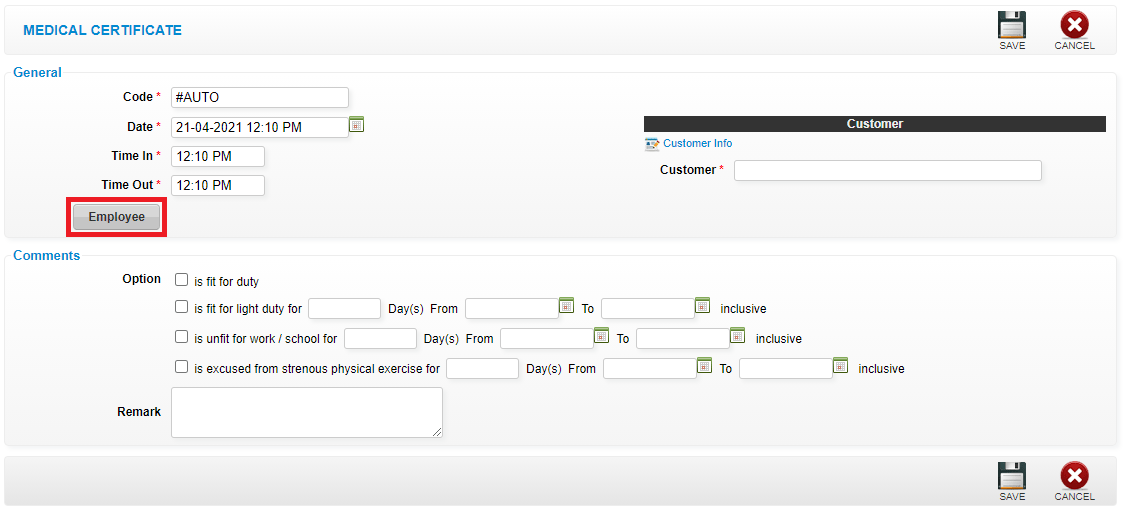
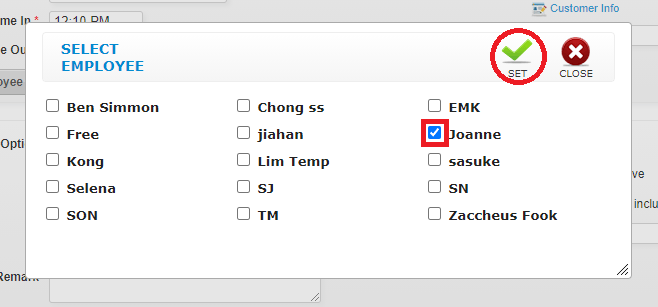
 Step 4: Click “EMPLOYEE”
 Step 5: After employee is selected then click “SET”
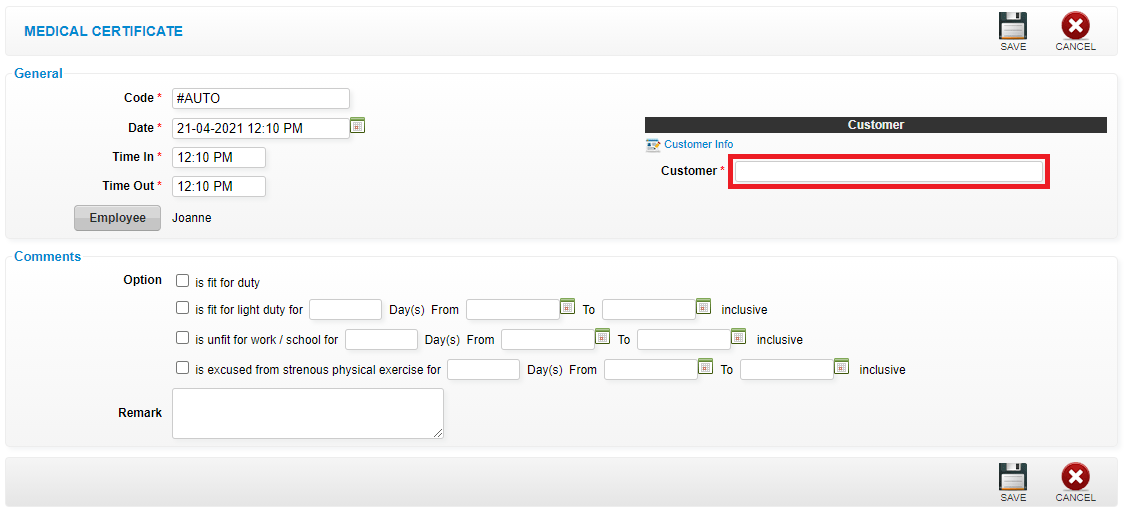
 Step 6: Enter the customer name to search
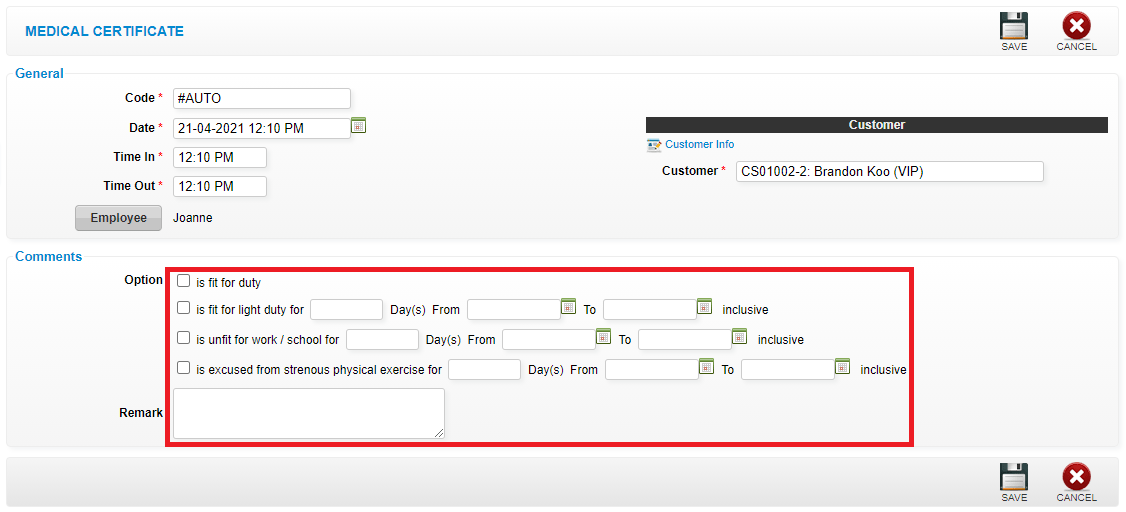
 Step 7: Fill in the “MC” details
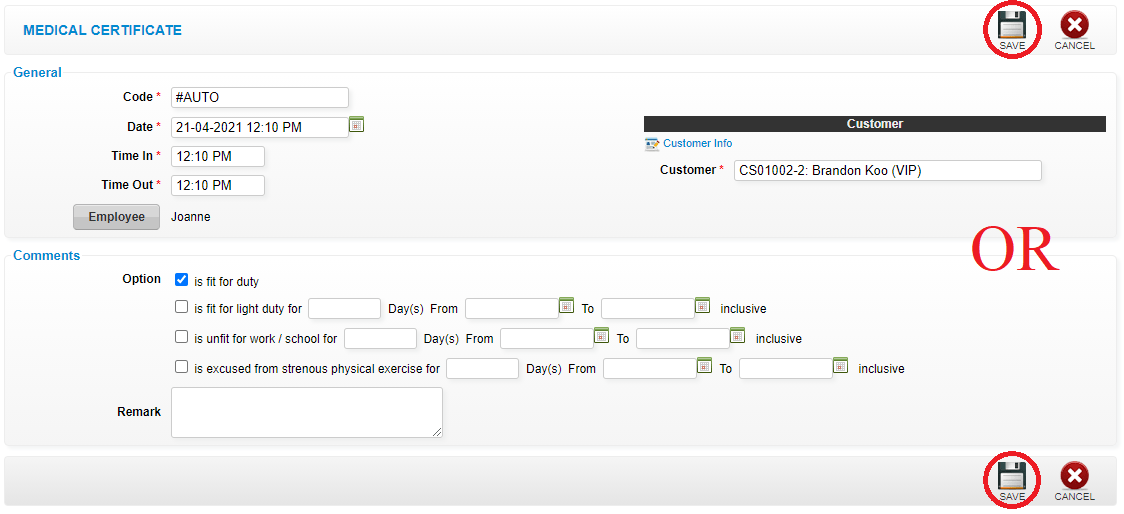
 Step 8: Click “SAVE”
 Last update: April 2021
Step 2: Click “MEDICAL CERTIFICATE”
Step 3: Click “NEW”
Step 4: Click “EMPLOYEE”
Step 5: After employee is selected then click “SET”
Step 6: Enter the customer name to search
Step 7: Fill in the “MC” details
Step 8: Click “SAVE”
Last update: April 2021Step 1: Click “CUSTOMER”
 Step 2: Click “MEDICAL CERTIFICATE”
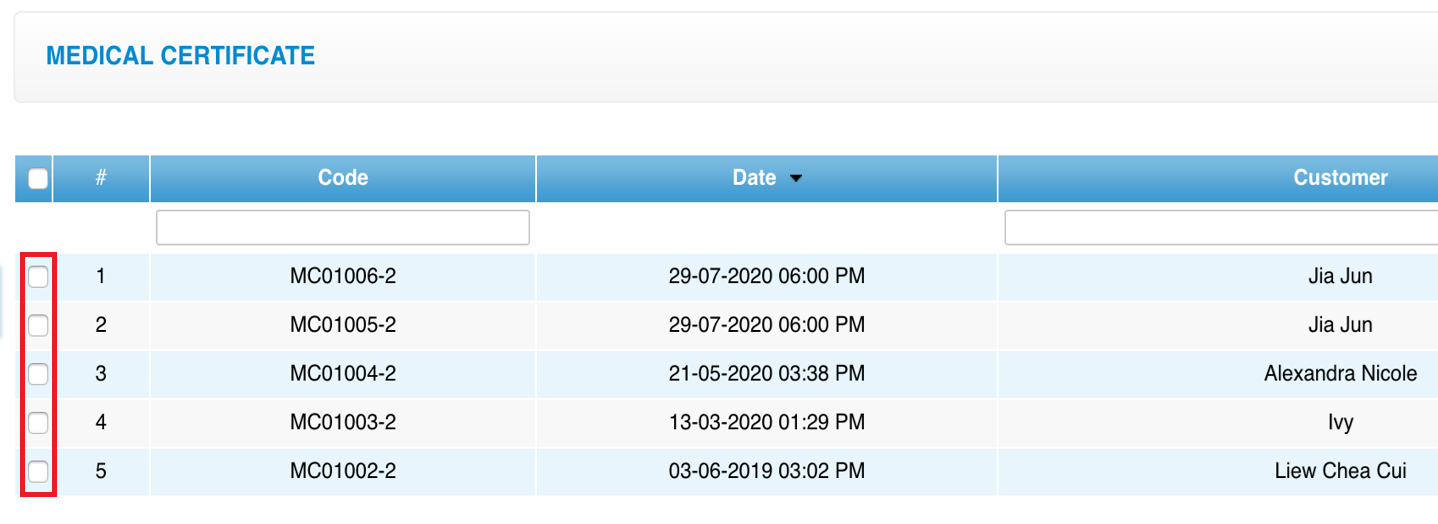
 Step 3: Select the “MC” that want to delete
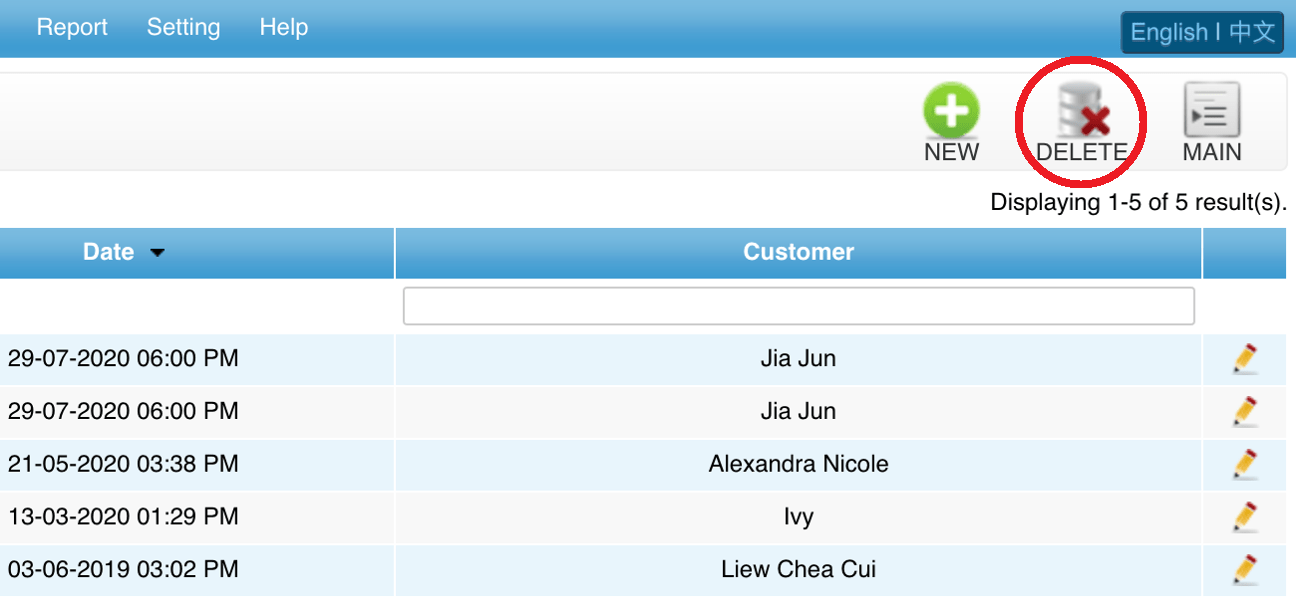
 Step 4: Click “DELETE”
 Last update: April 2021
Step 2: Click “MEDICAL CERTIFICATE”
Step 3: Select the “MC” that want to delete
Step 4: Click “DELETE”
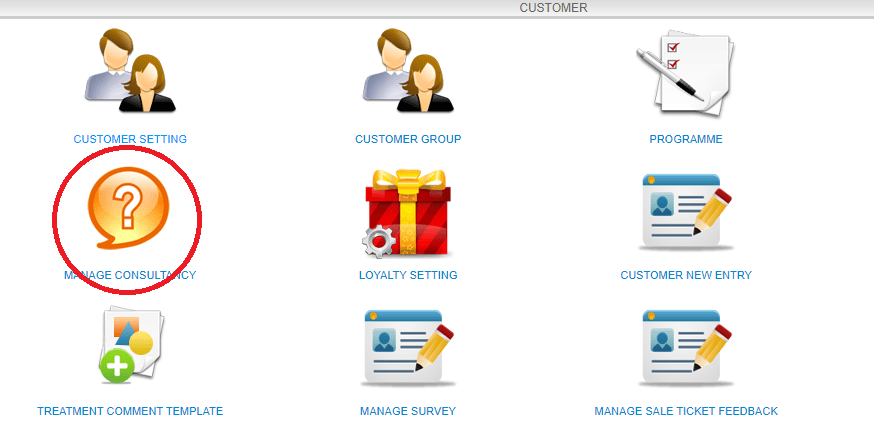
Last update: April 2021Step 1: Click “SETTING”
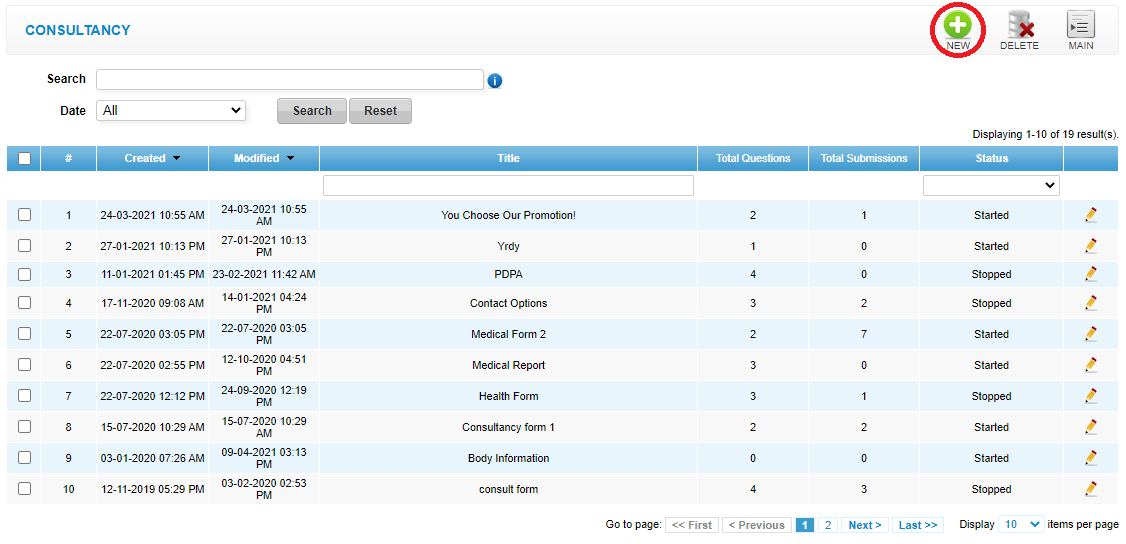
 Step 2: Click “MANAGE CONSULTANCY”
 Step 3: Click “NEW”
 Step 4: Enter the title as a consultancy form title name
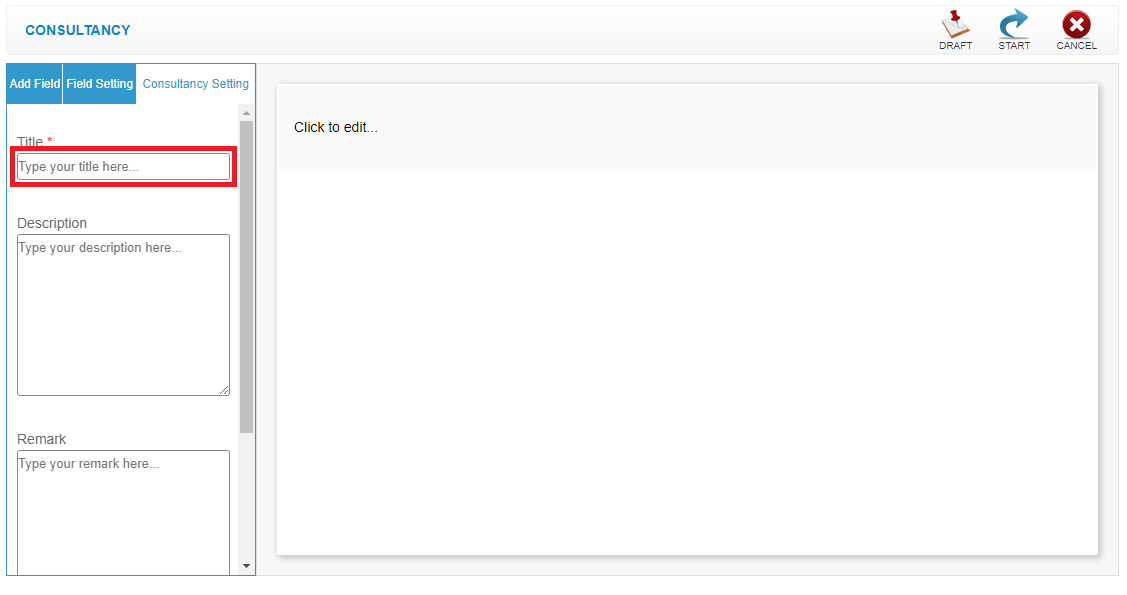 Step 5: Enter the description, it will display at the top of the consultancy form
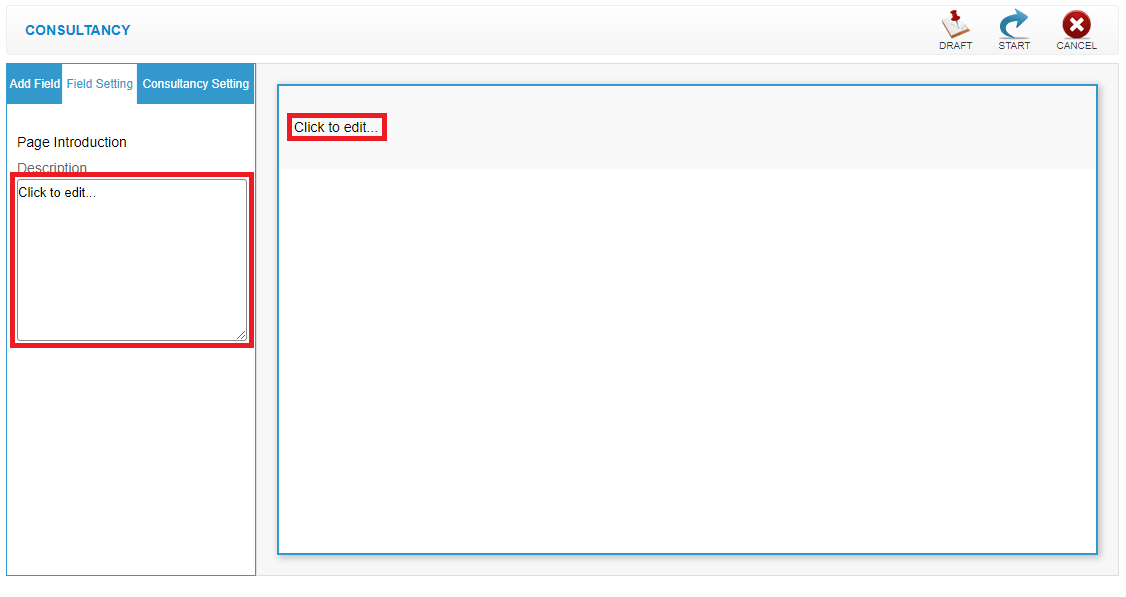 Step 6: You can drag and drop a question from left to the right panel
 Step 7: You can change the question & option
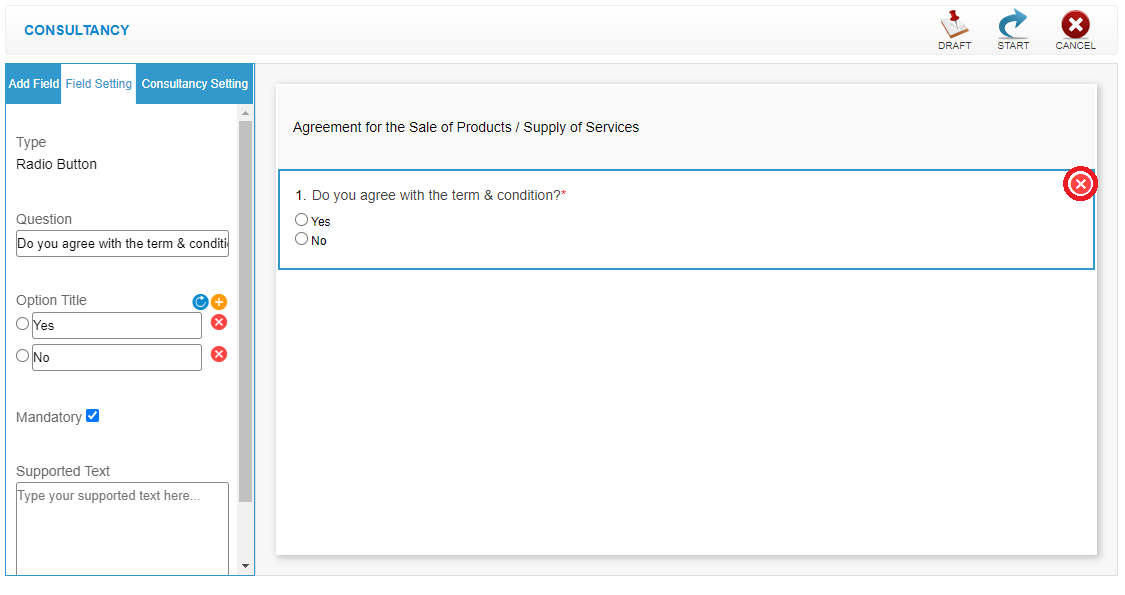
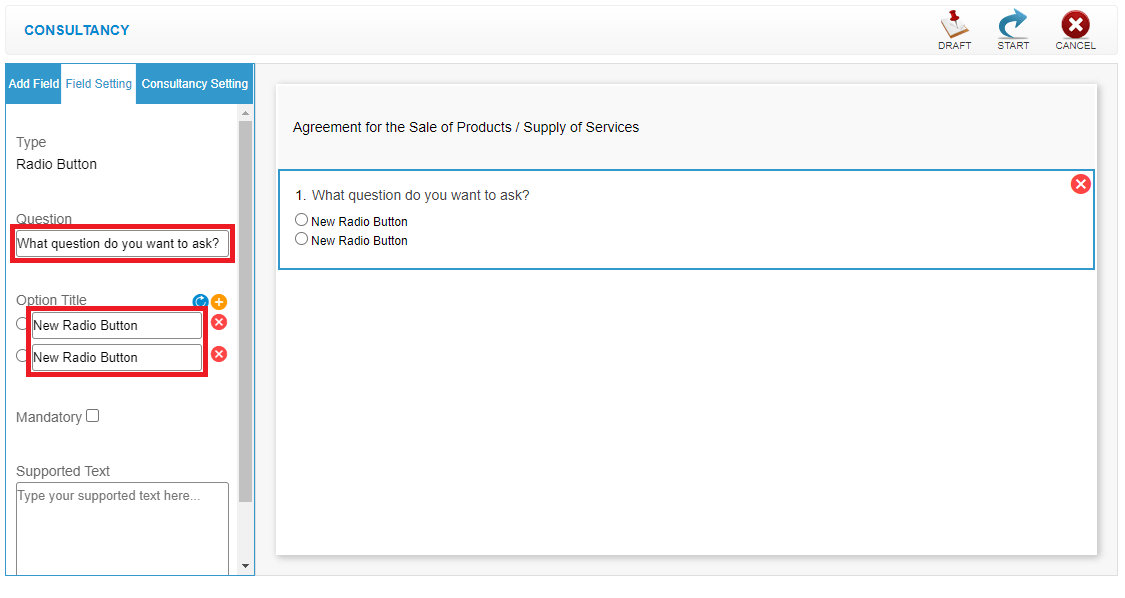 Step 8: You can tick the mandatory box to make it as compulsory question
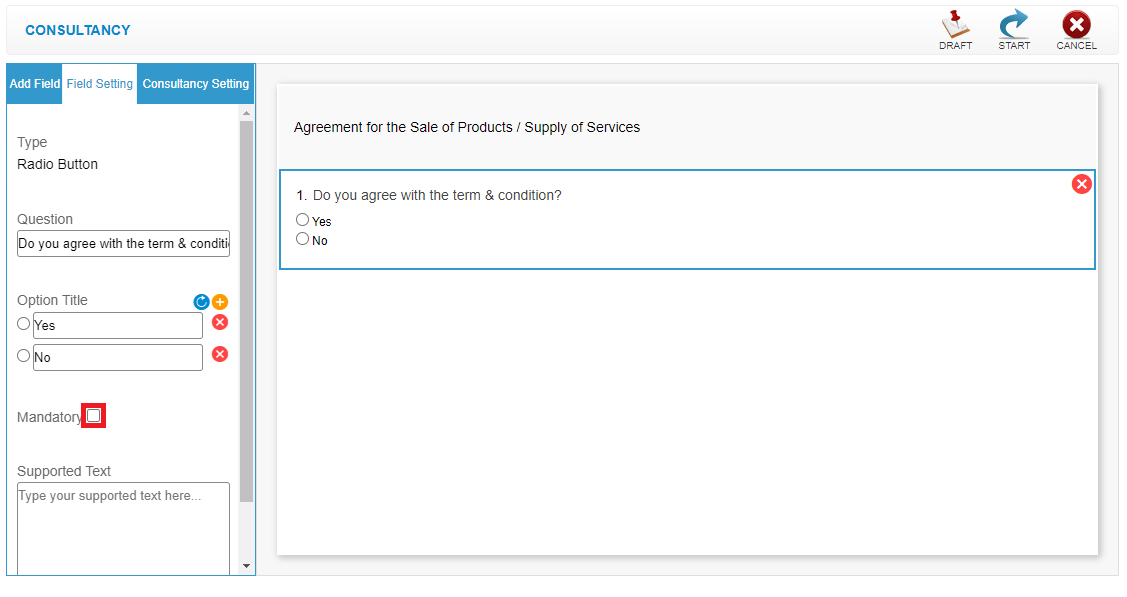 Step 9: Click “❌” to remove unwanted field
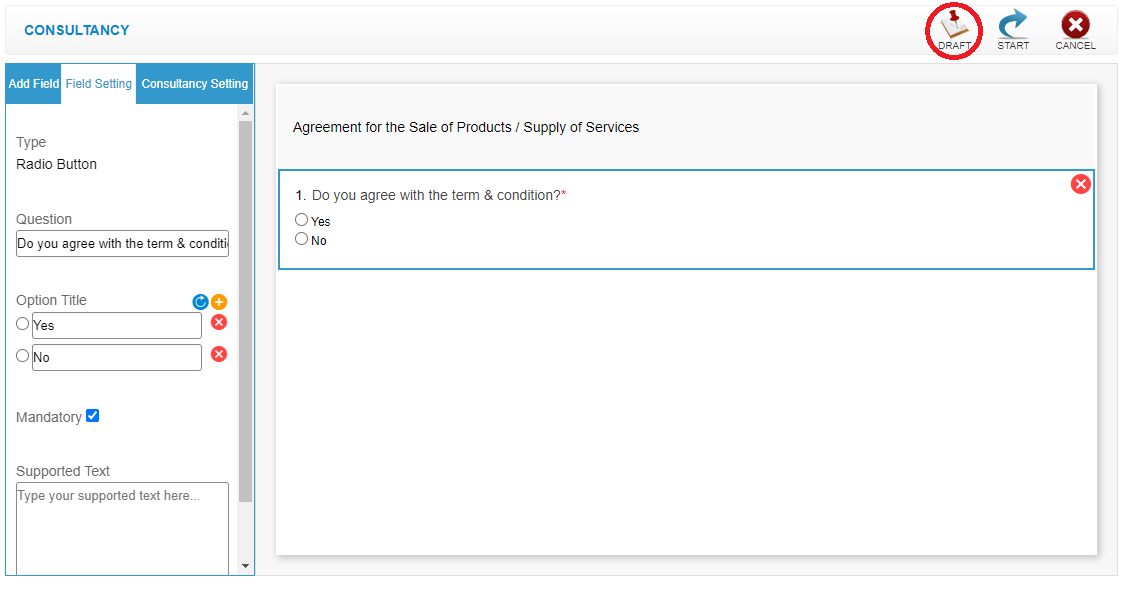
 Step 10: Click “DRAFT” to save the form as draft
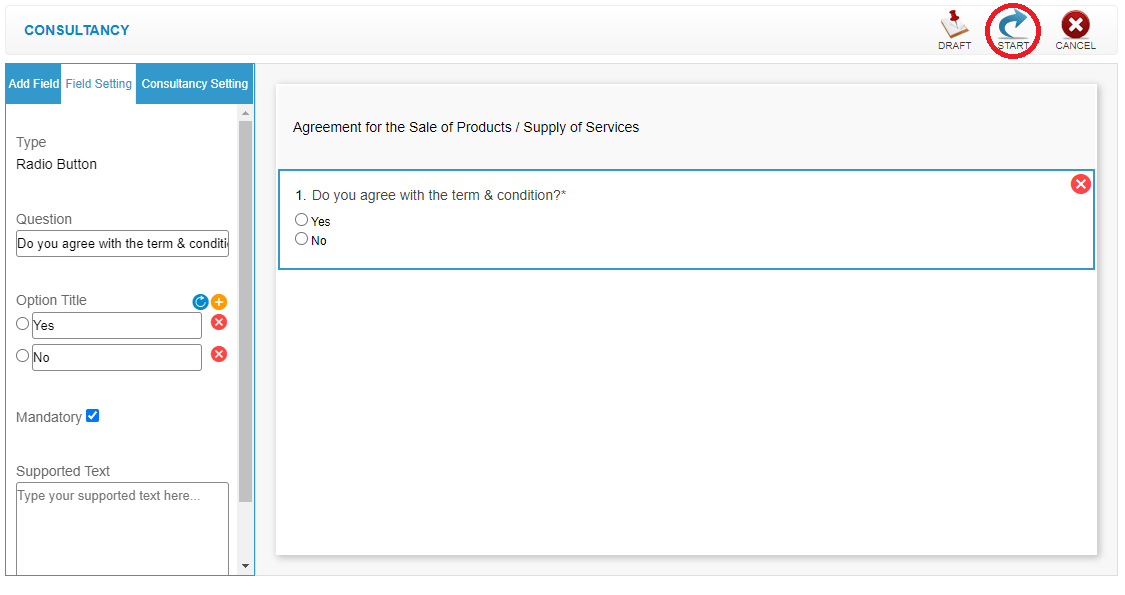
 Step 11: Click “SUBMIT” to start public this form
 Last update: April 2021
Step 2: Click “MANAGE CONSULTANCY”
Step 3: Click “NEW”
Step 4: Enter the title as a consultancy form title name
Step 5: Enter the description, it will display at the top of the consultancy form
Step 6: You can drag and drop a question from left to the right panel
Step 7: You can change the question & option
Step 8: You can tick the mandatory box to make it as compulsory question
Step 9: Click “❌” to remove unwanted field
Step 10: Click “DRAFT” to save the form as draft
Step 11: Click “SUBMIT” to start public this form
Last update: April 2021Step 1: Click “CUSTOMER”
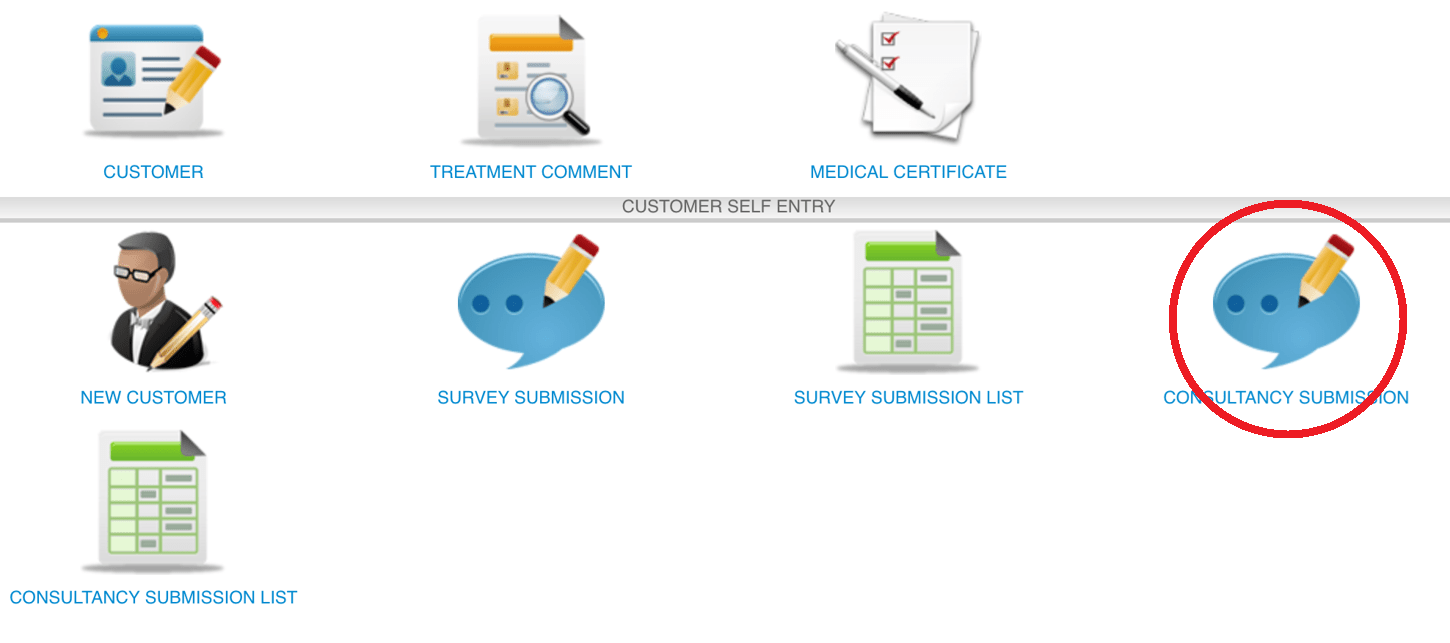
 Step 2: Click “CONSULTANCY SUBMISSION”
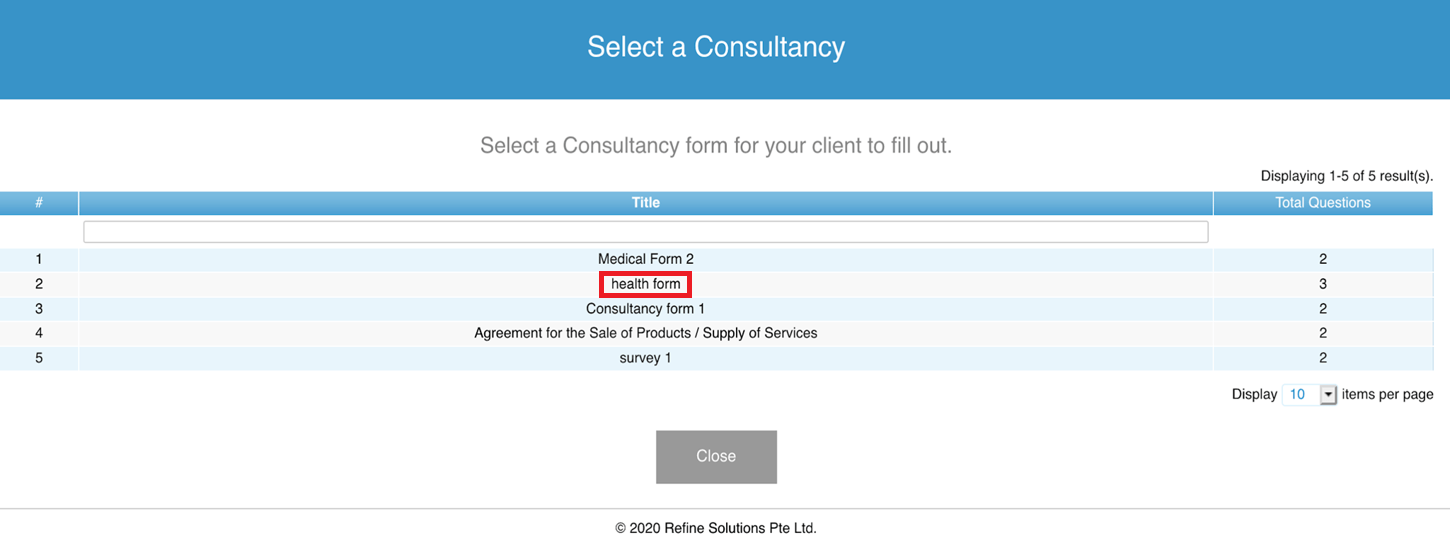
 Step 3: Select the consultancy form
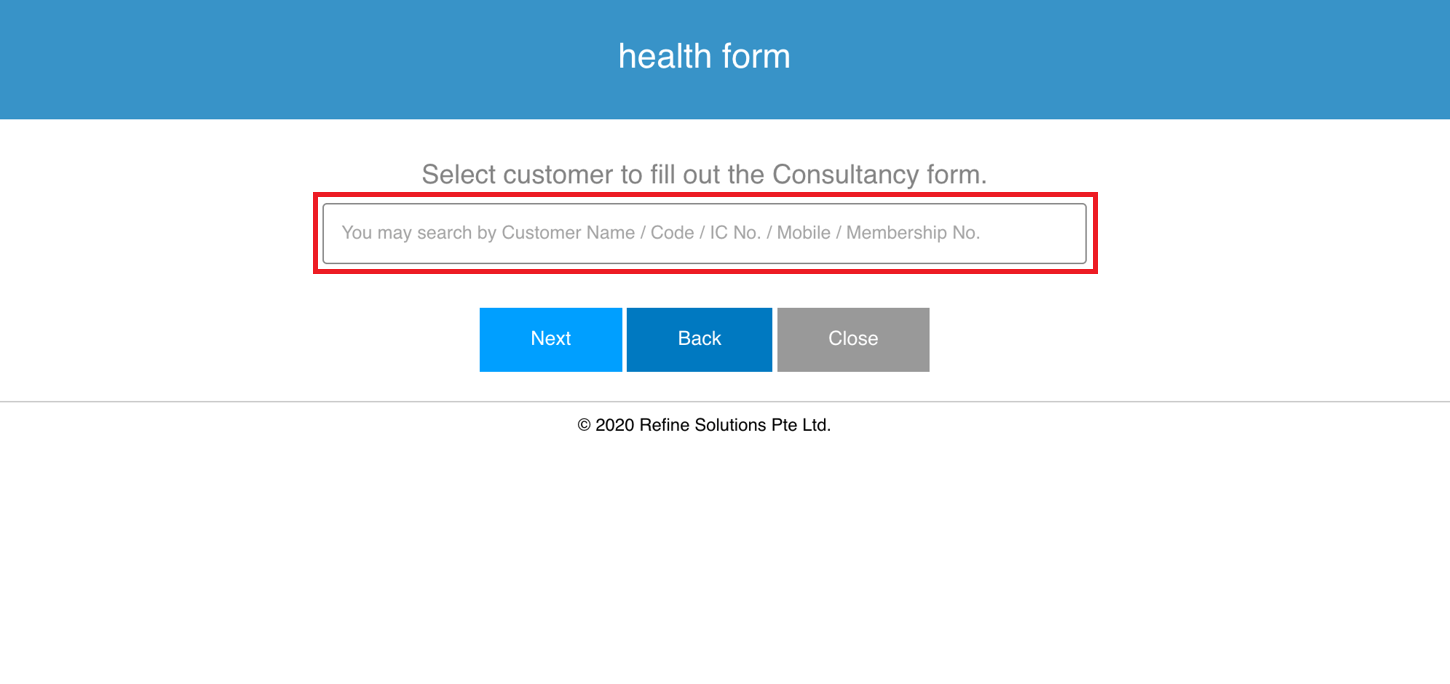
 Step 4: Enter the customer name, code, IC number, mobile, or membership number to search
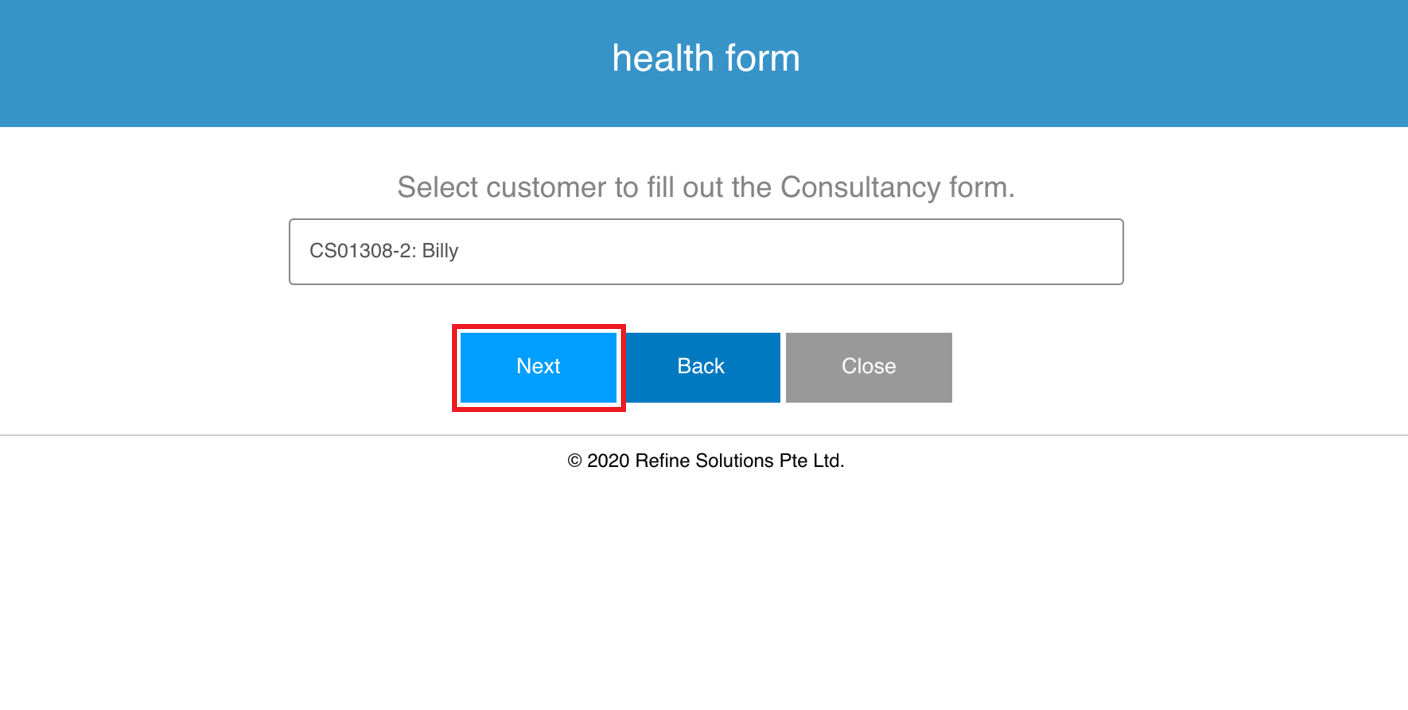
 Step 5: Click “NEXT”
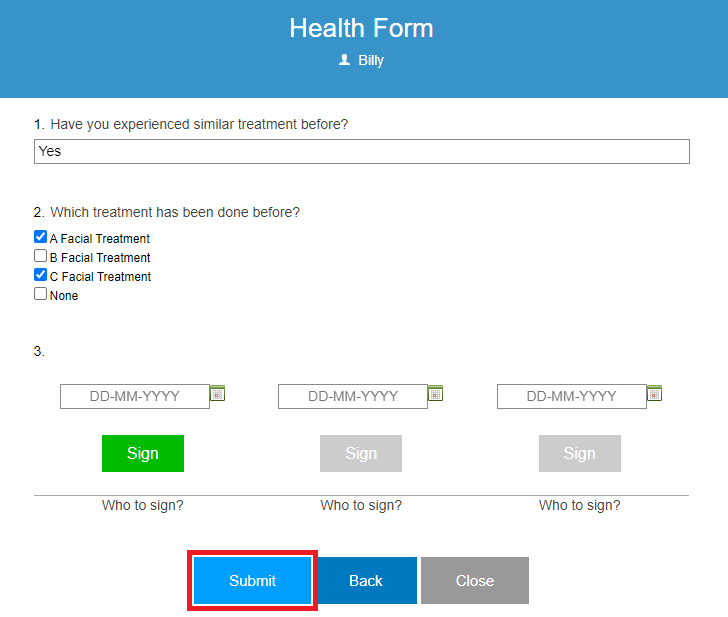
 Step 6: Fill in consultancy form details
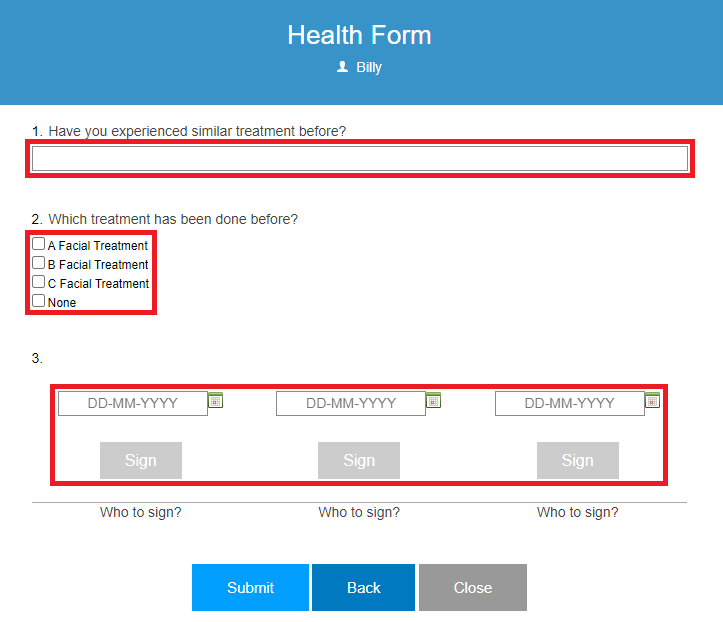 Step 7: Click “SUBMIT”
 Last update: April 2021
Step 2: Click “CONSULTANCY SUBMISSION”
Step 3: Select the consultancy form
Step 4: Enter the customer name, code, IC number, mobile, or membership number to search
Step 5: Click “NEXT”
Step 6: Fill in consultancy form details
Step 7: Click “SUBMIT”
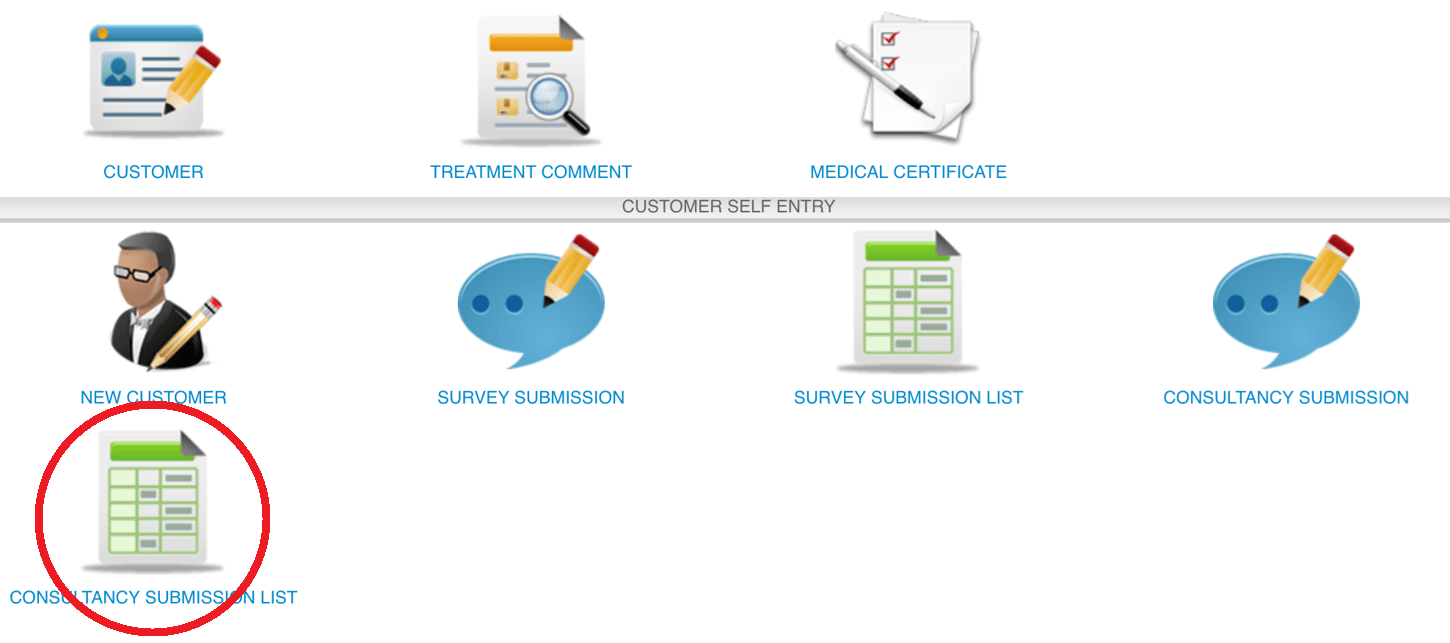
Last update: April 2021Step 1: Click “CUSTOMER”
 Step 2: Click “CONSULTANCY SUBMISSION LIST”
 Step 3: Click and select the date
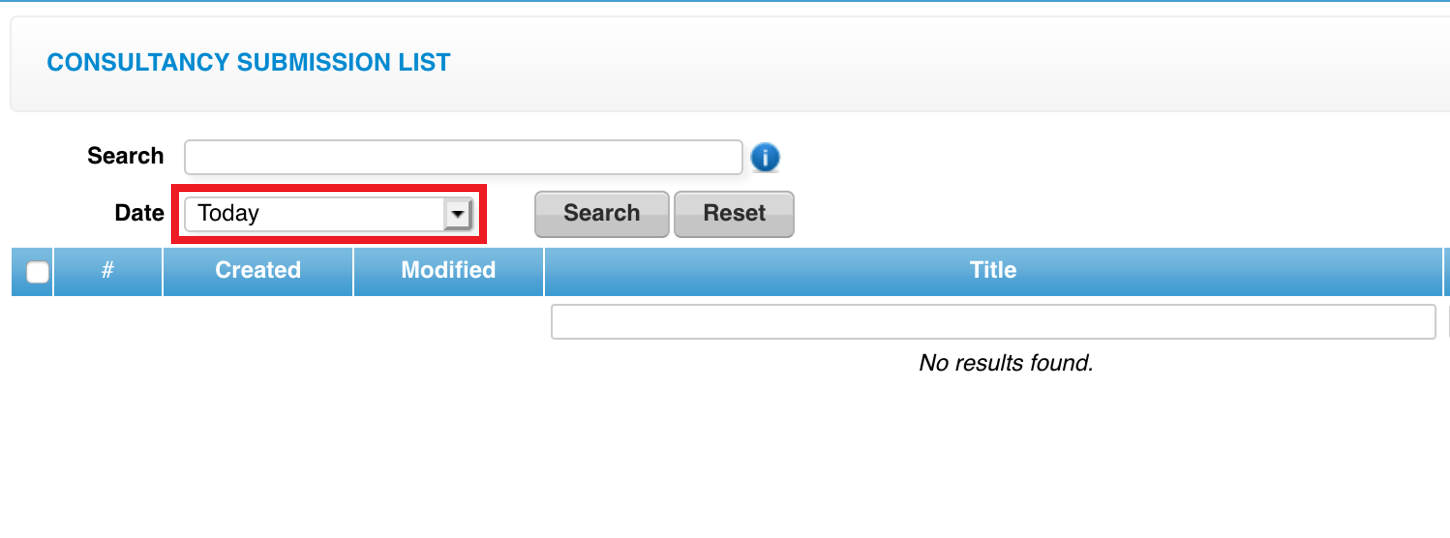 Step 4: Select the consultancy form
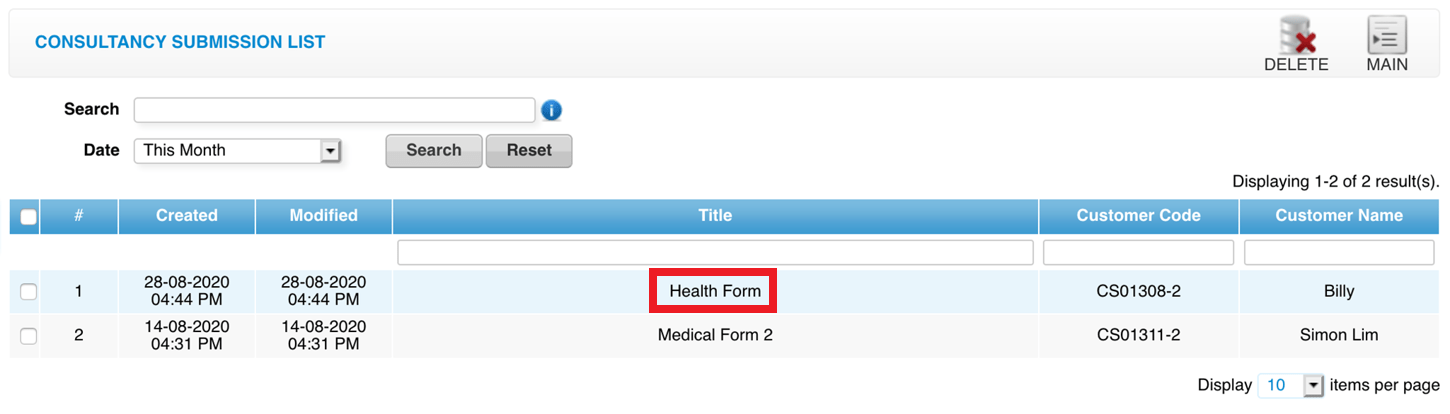 Step 5: Click “EDIT”
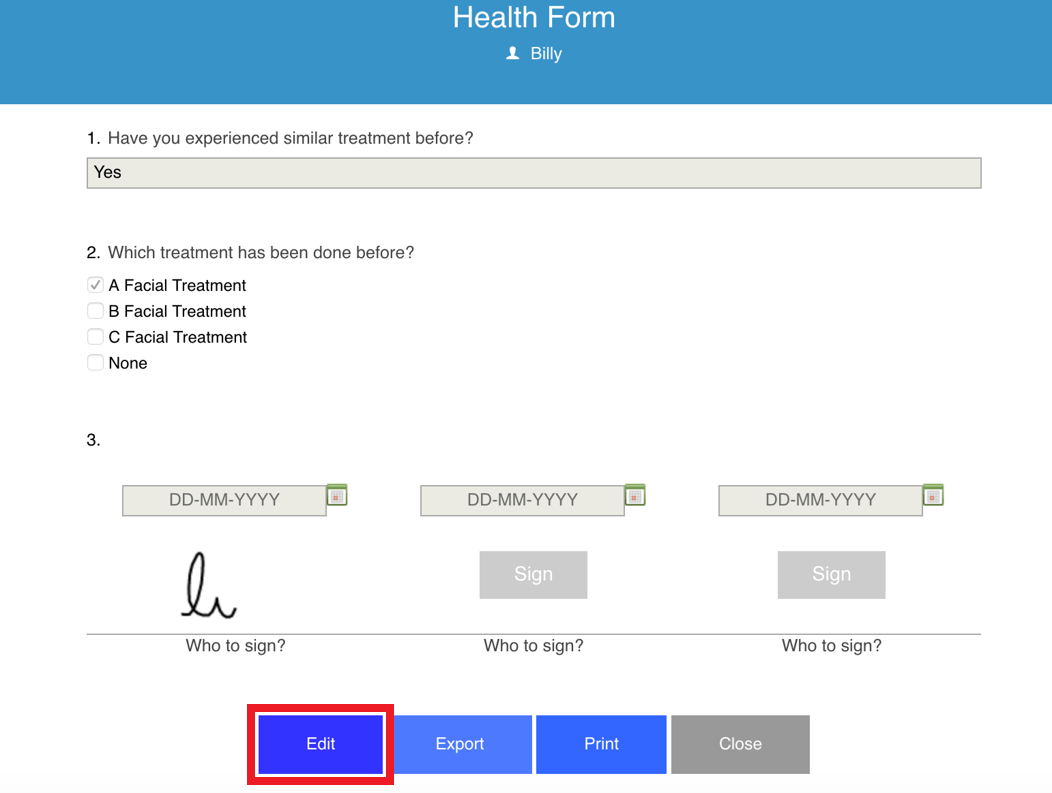 Step 6: You can make the changes if needed
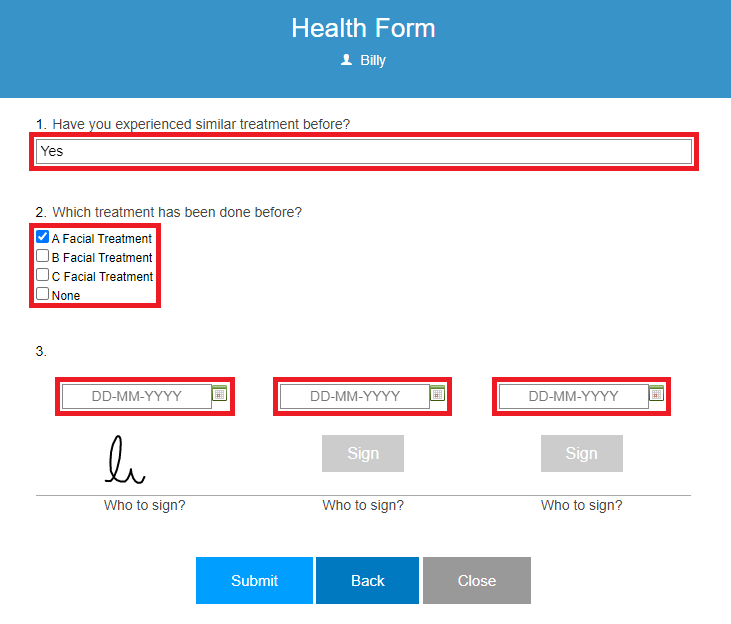 Step 7: Click “SUBMIT”
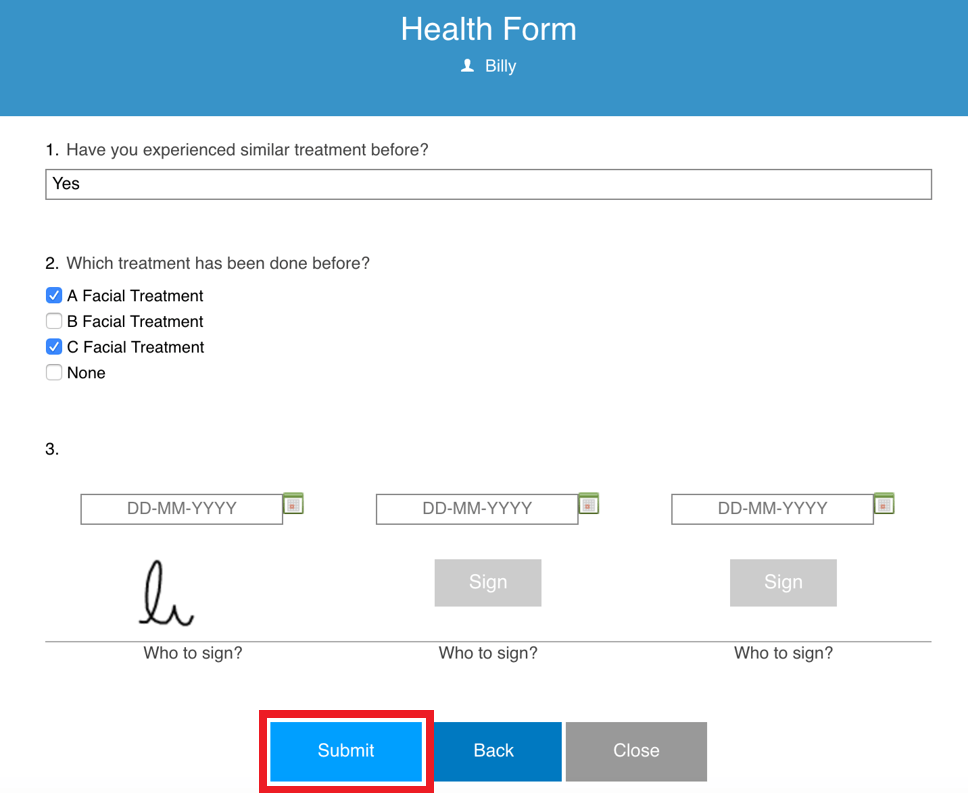 Last update: April 2021
Step 2: Click “CONSULTANCY SUBMISSION LIST”
Step 3: Click and select the date
Step 4: Select the consultancy form
Step 5: Click “EDIT”
Step 6: You can make the changes if needed
Step 7: Click “SUBMIT”
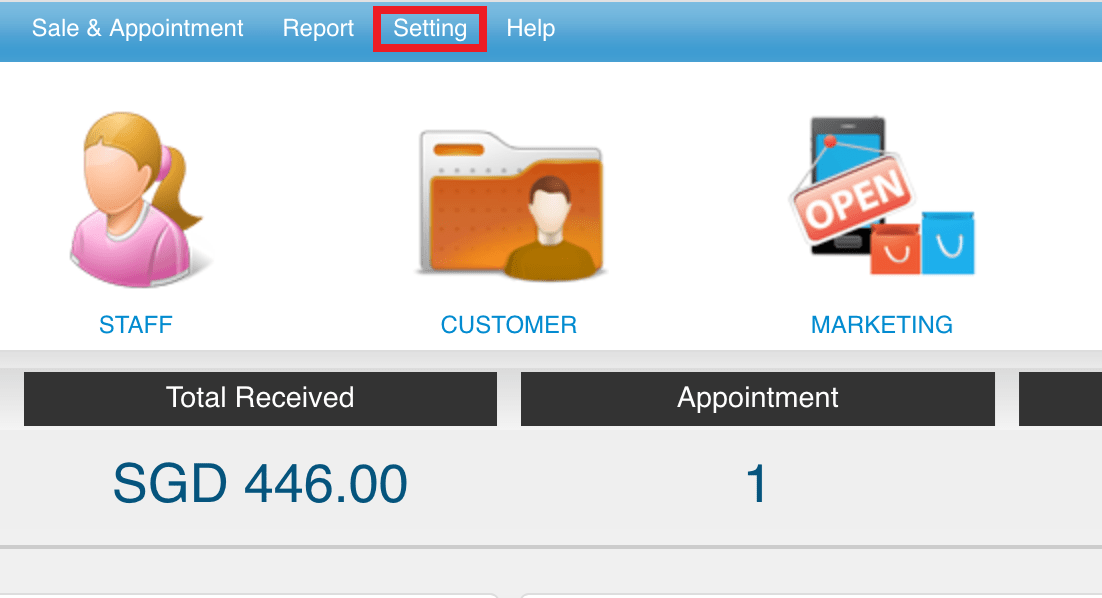
Last update: April 2021Step 1: Click “SETTING”
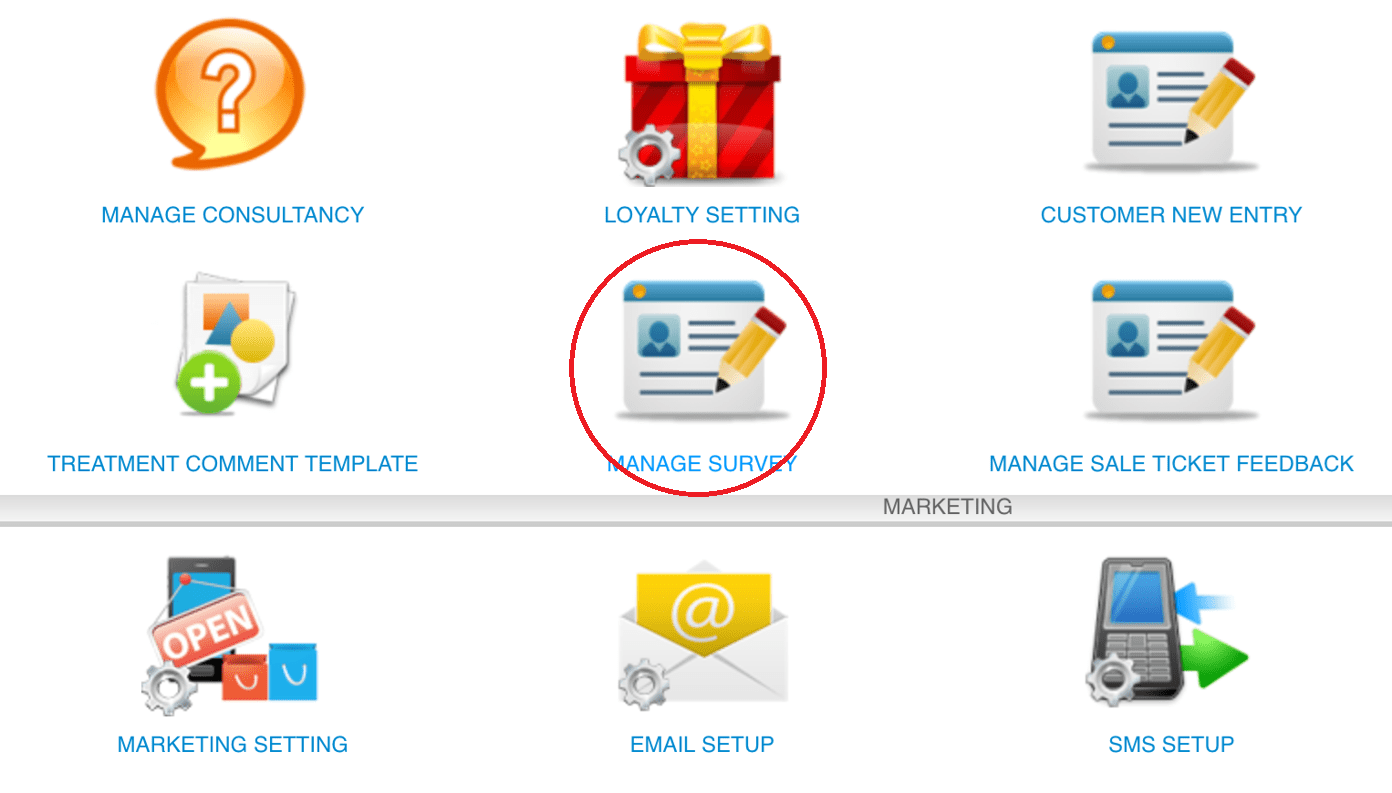
 Step 2: Click “MANAGE SURVEY”
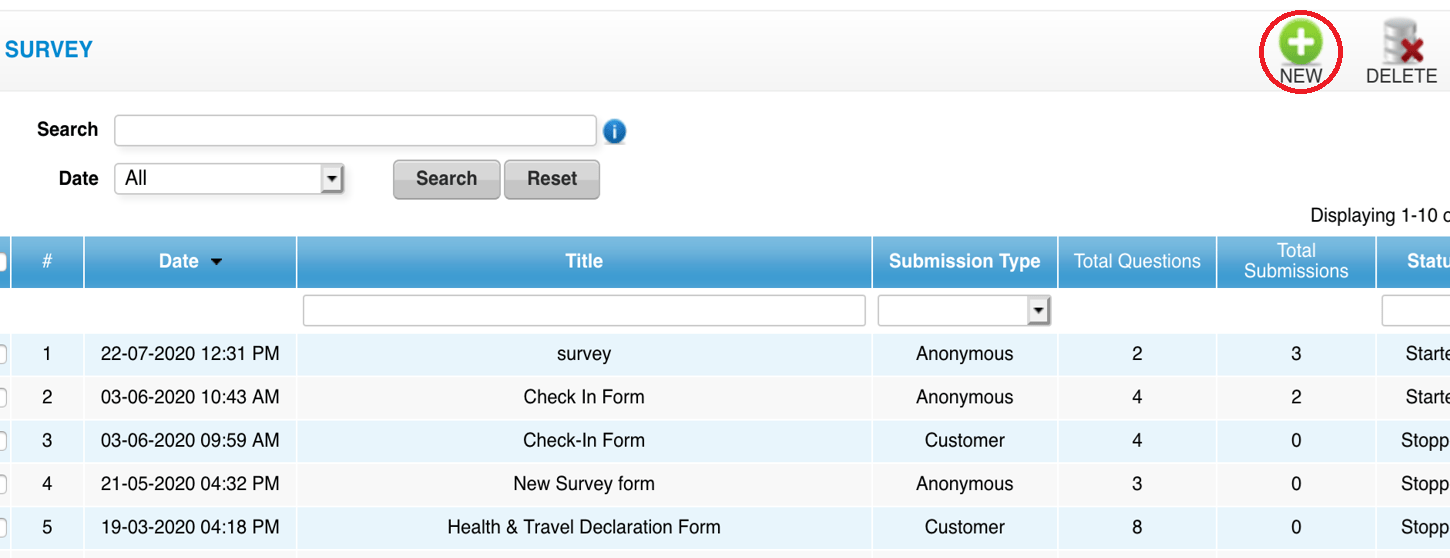
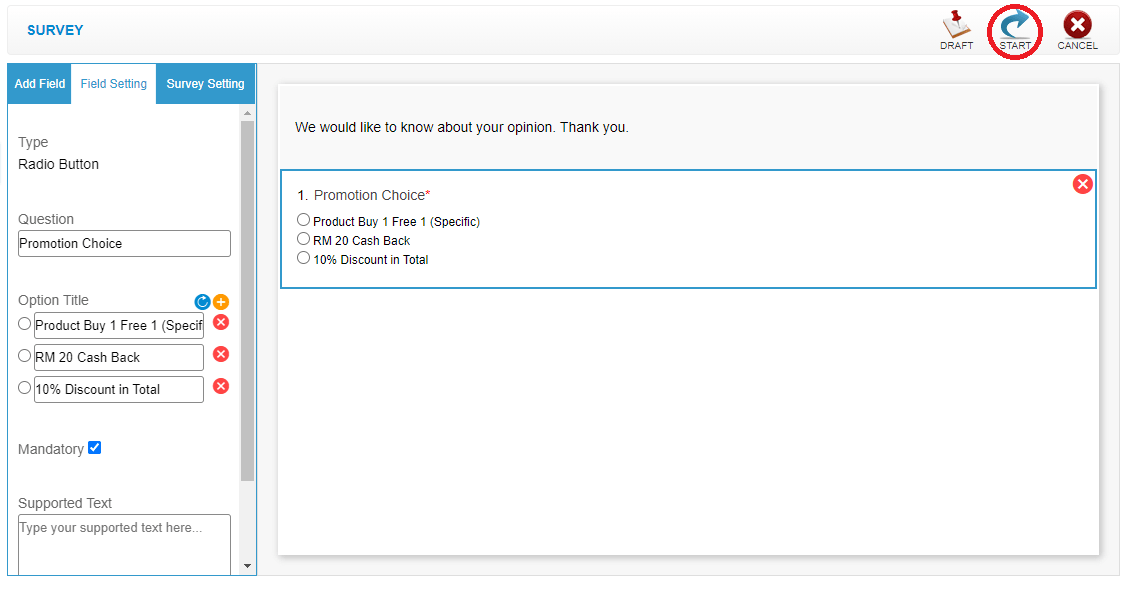
 Step 3: Click “NEW”
 Step 4: Enter the title as a survey form title name
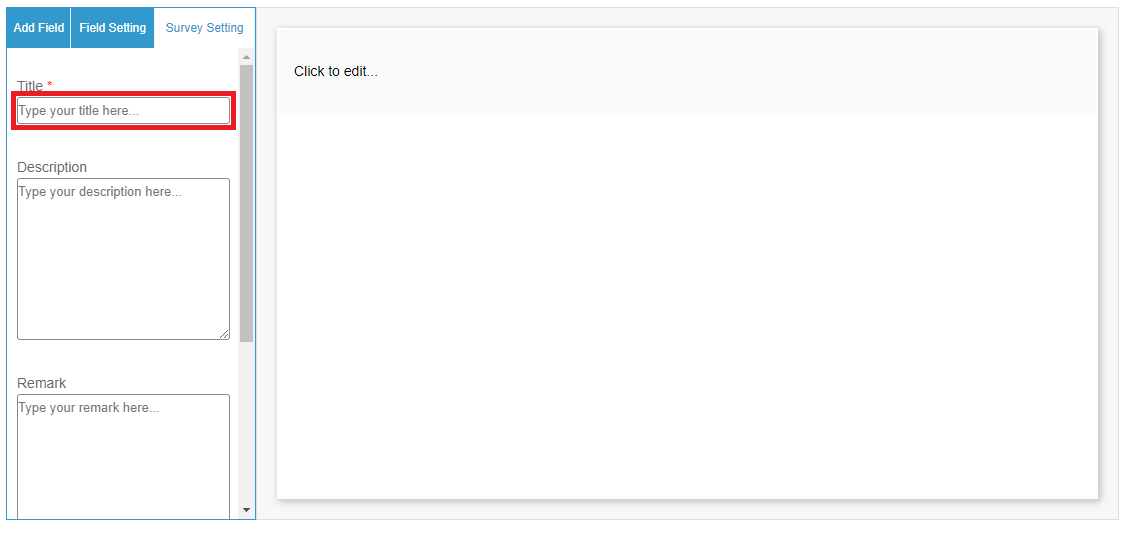 Step 5: Enter the description, it will display at the top of the survey form
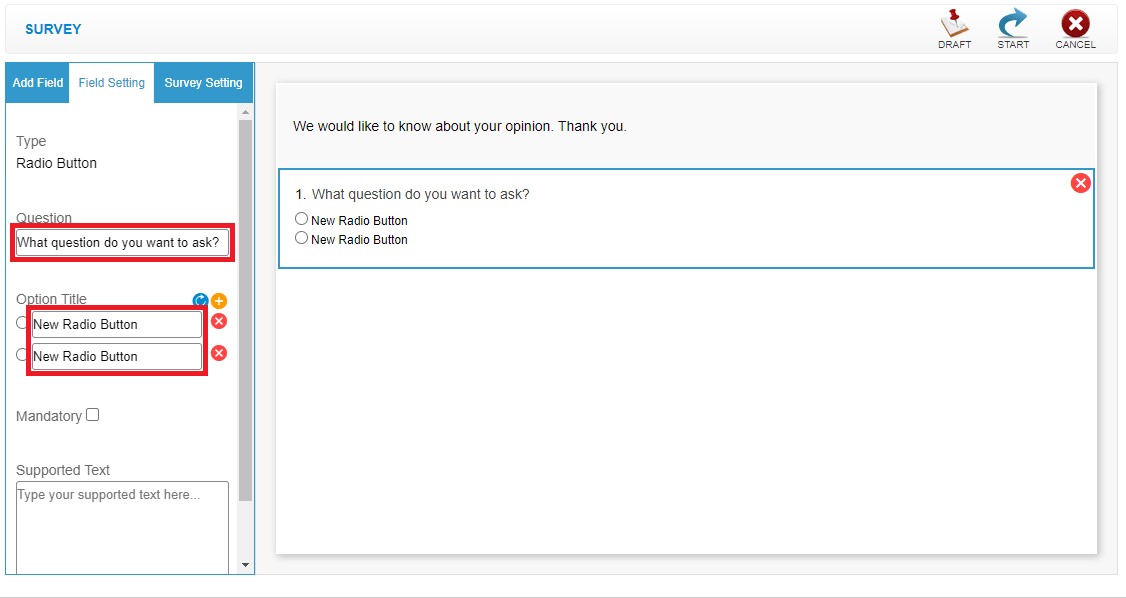
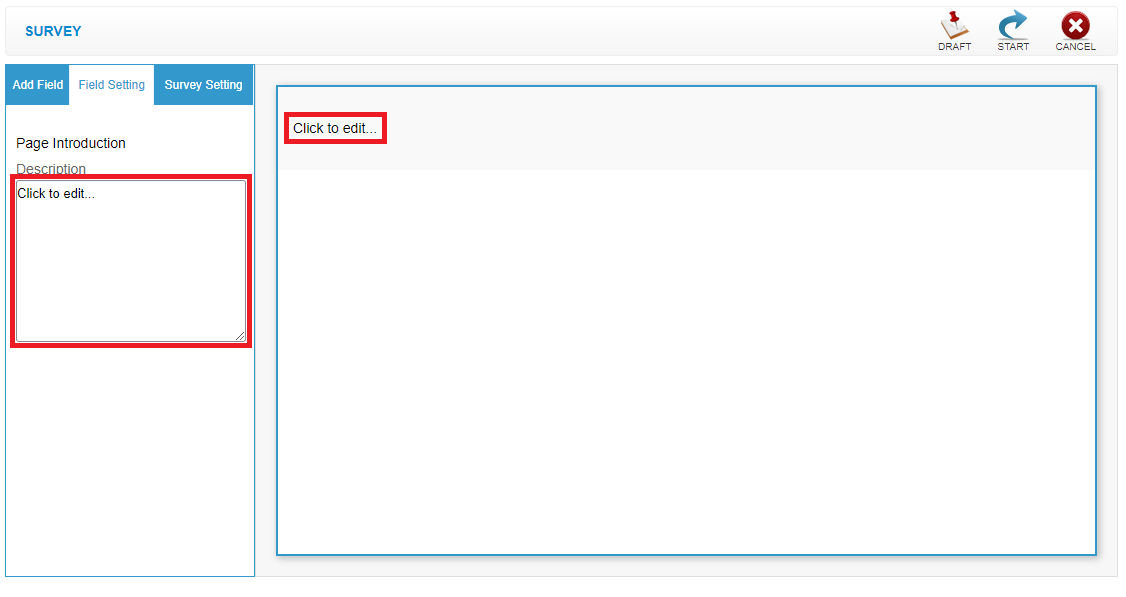 Step 6: You can drag and drop a question from left to the right panel
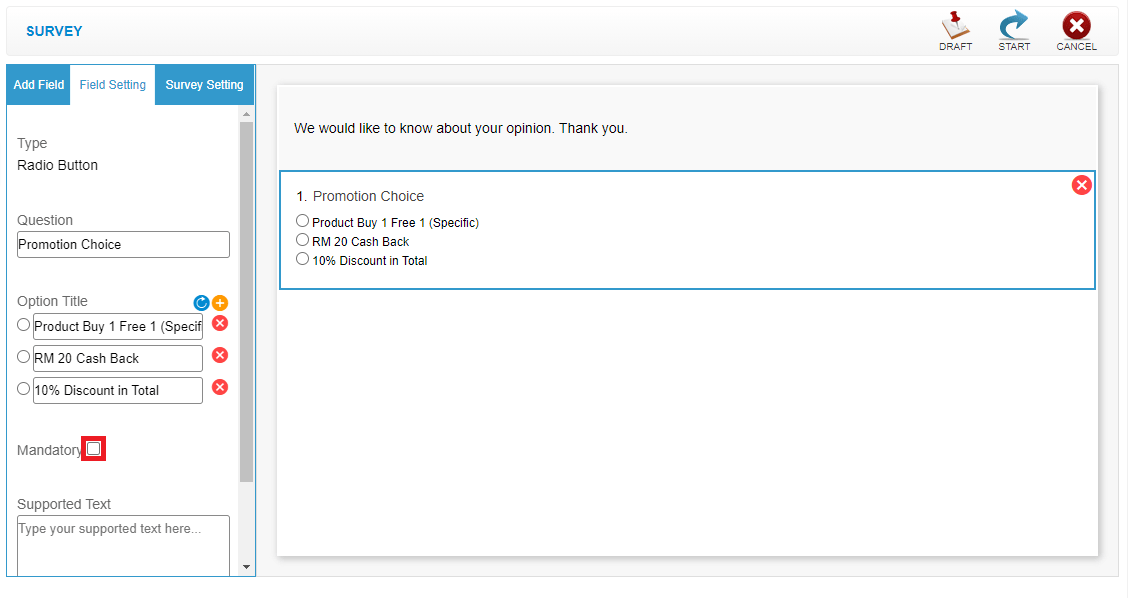
 Step 7: You can change the question & option
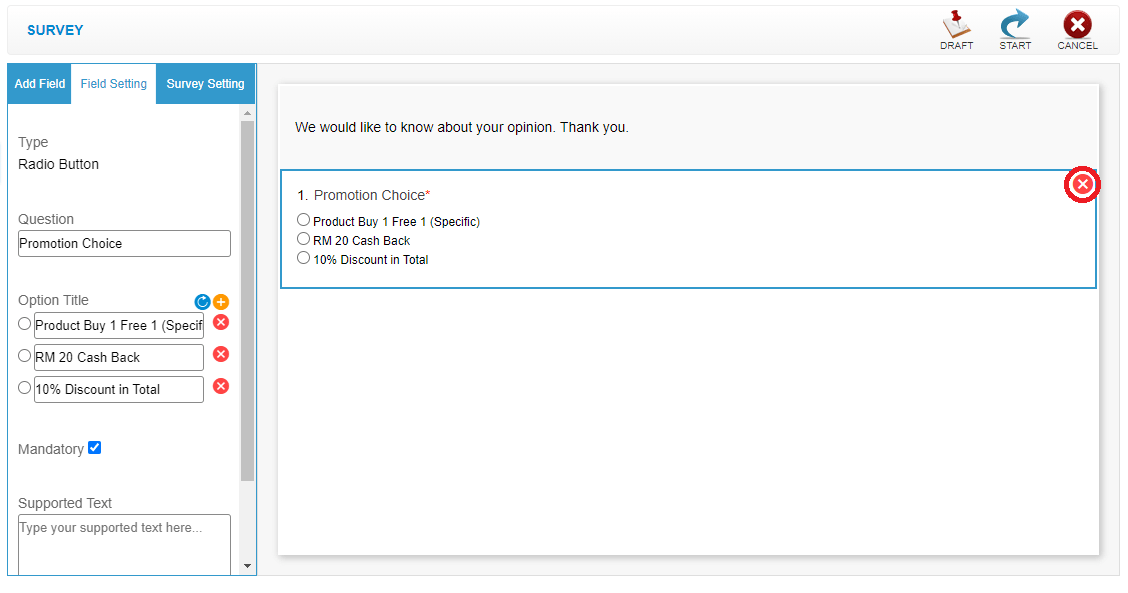
 Step 8: You can tick the mandatory box to make it as compulsory question
 Step 9: Click “❌” to remove unwanted field
 Step 10: Click “DRAFT” to save the form as draft
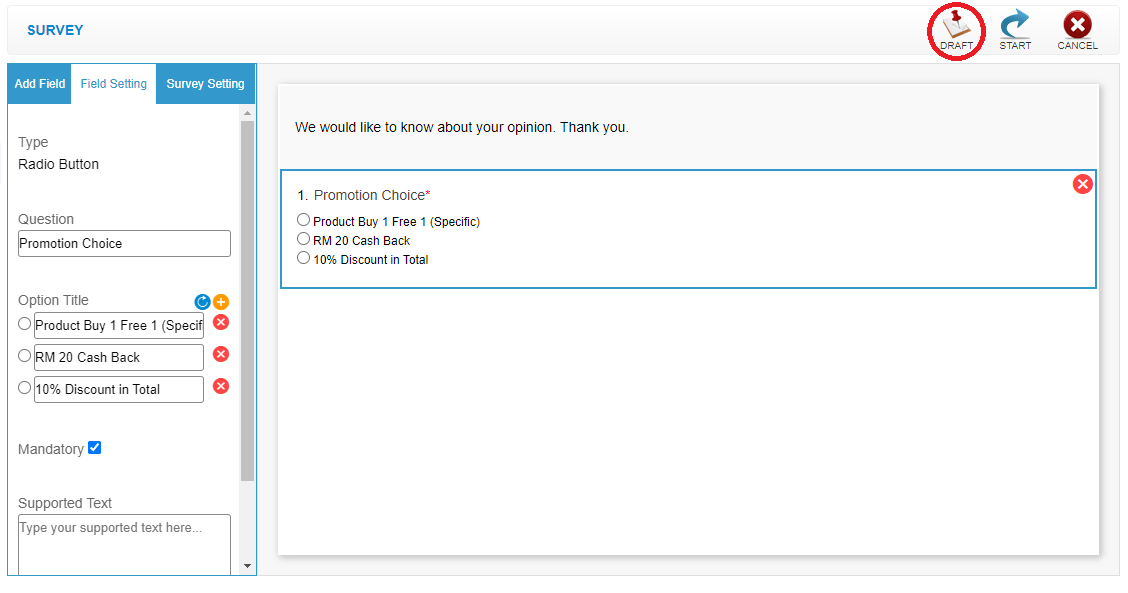 Step 11: Click “SUBMIT” to start public this form
 Last update: April 2021
Step 2: Click “MANAGE SURVEY”
Step 3: Click “NEW”
Step 4: Enter the title as a survey form title name
Step 5: Enter the description, it will display at the top of the survey form
Step 6: You can drag and drop a question from left to the right panel
Step 7: You can change the question & option
Step 8: You can tick the mandatory box to make it as compulsory question
Step 9: Click “❌” to remove unwanted field
Step 10: Click “DRAFT” to save the form as draft
Step 11: Click “SUBMIT” to start public this form
Last update: April 2021Step 1: Click “CUSTOMER”
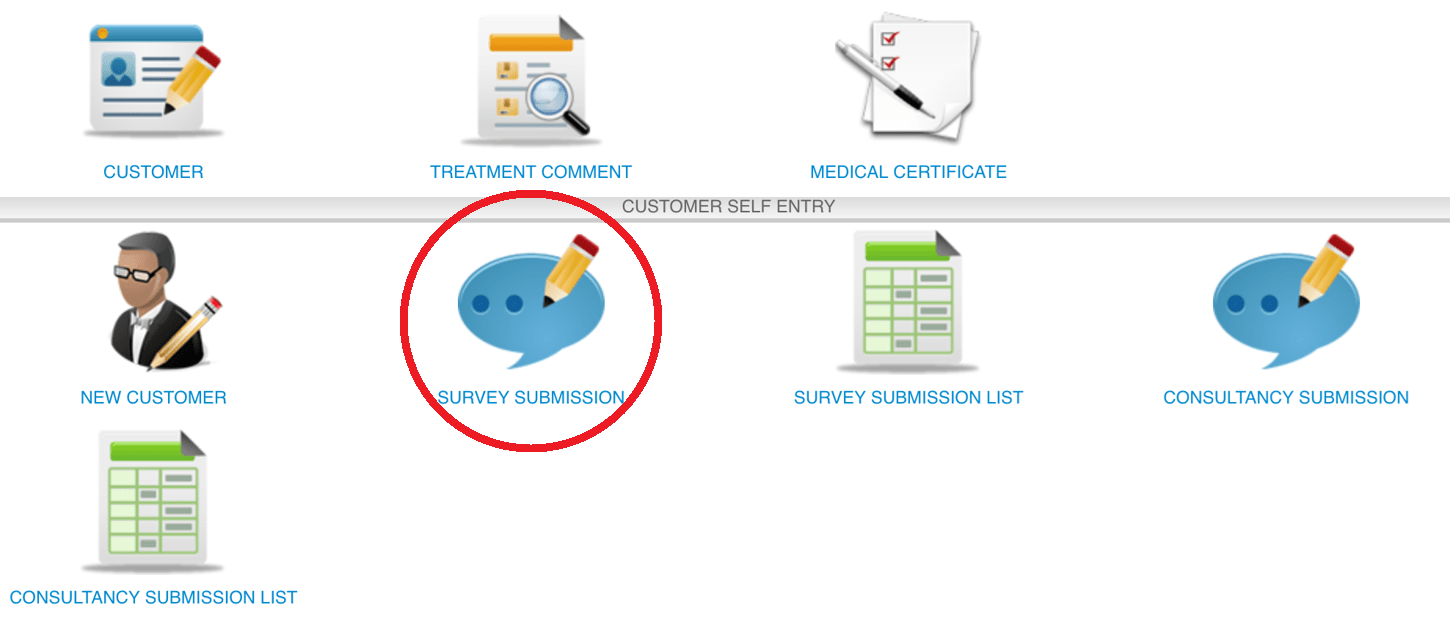
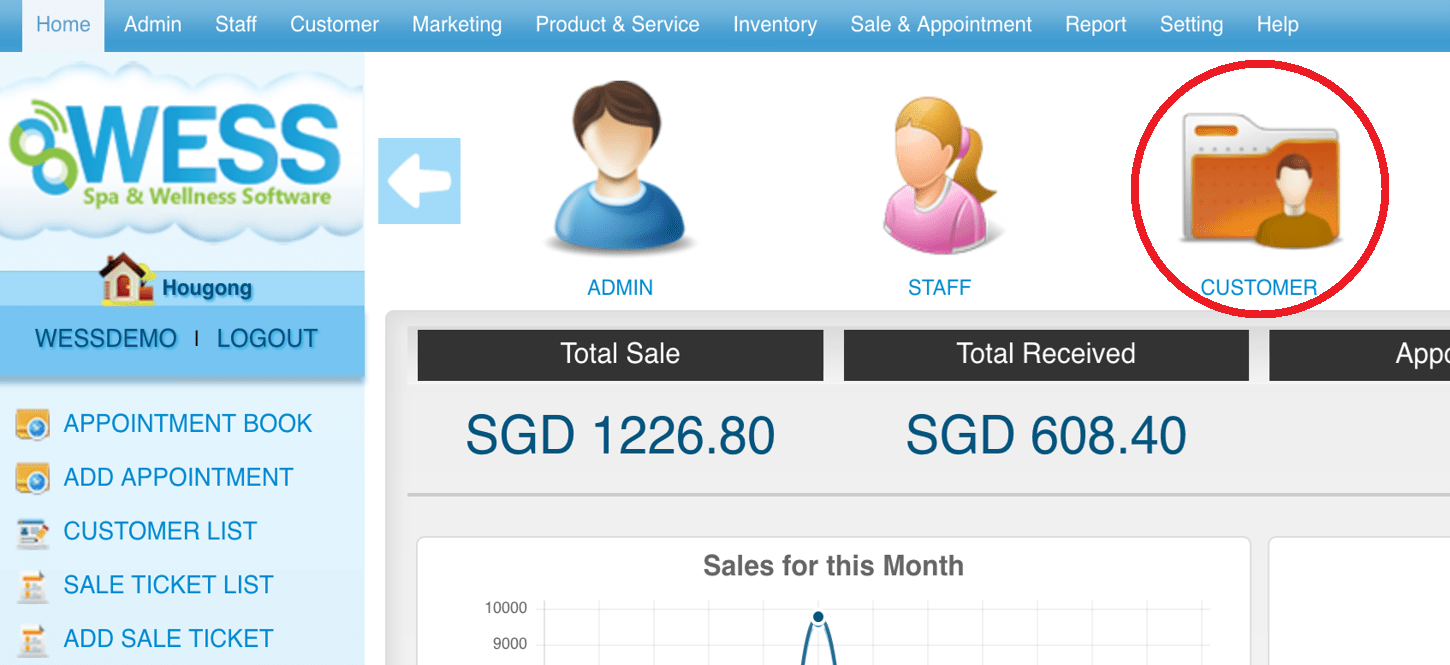 Step 2: Click “SURVEY SUBMISSION”
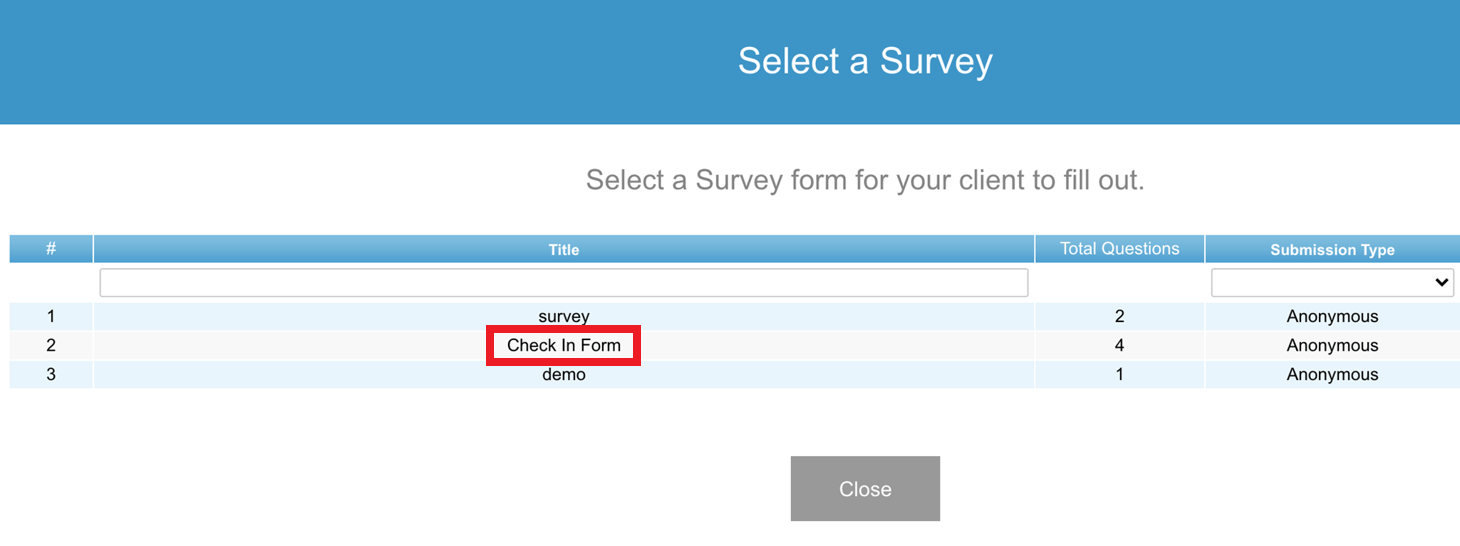
 Step 3: Select the survey form
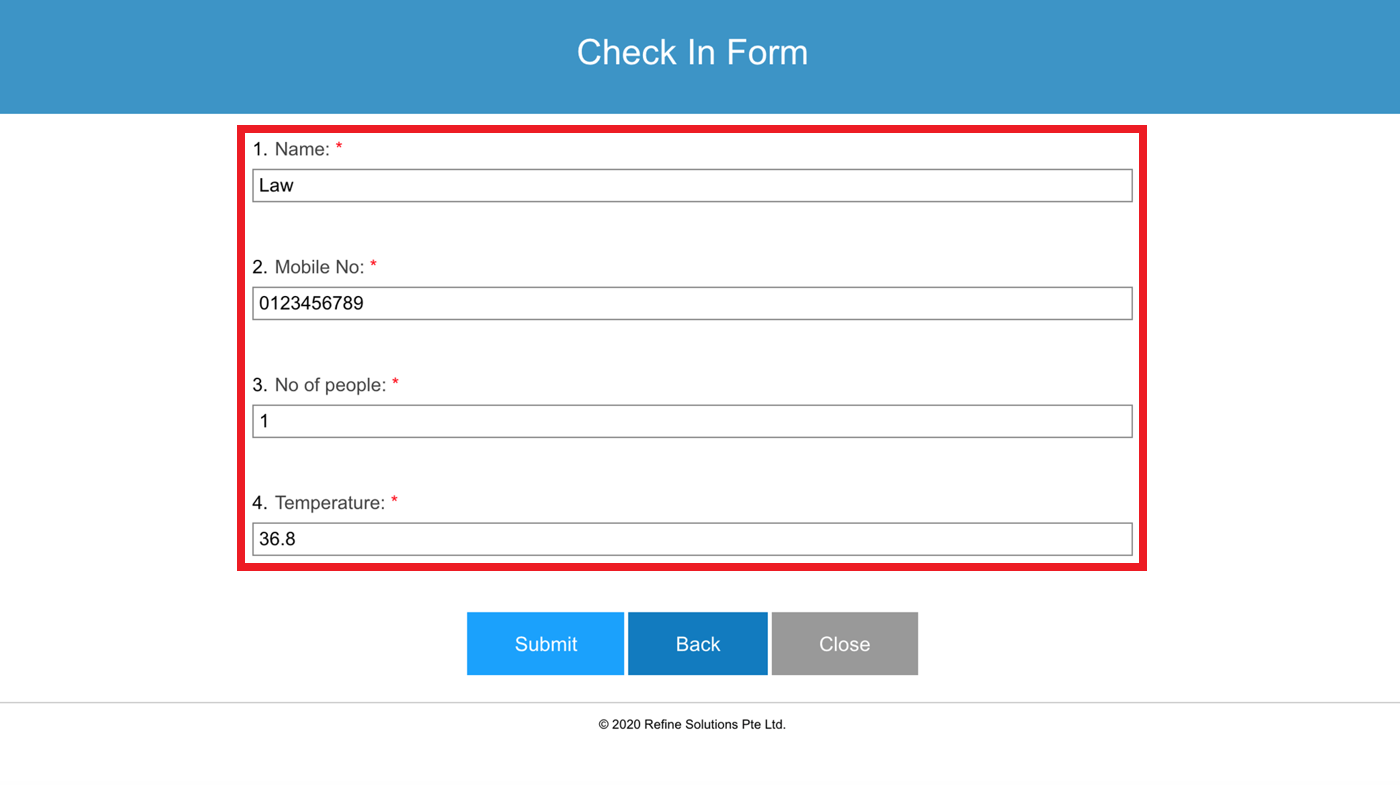
 Step 4: Fill in customer details
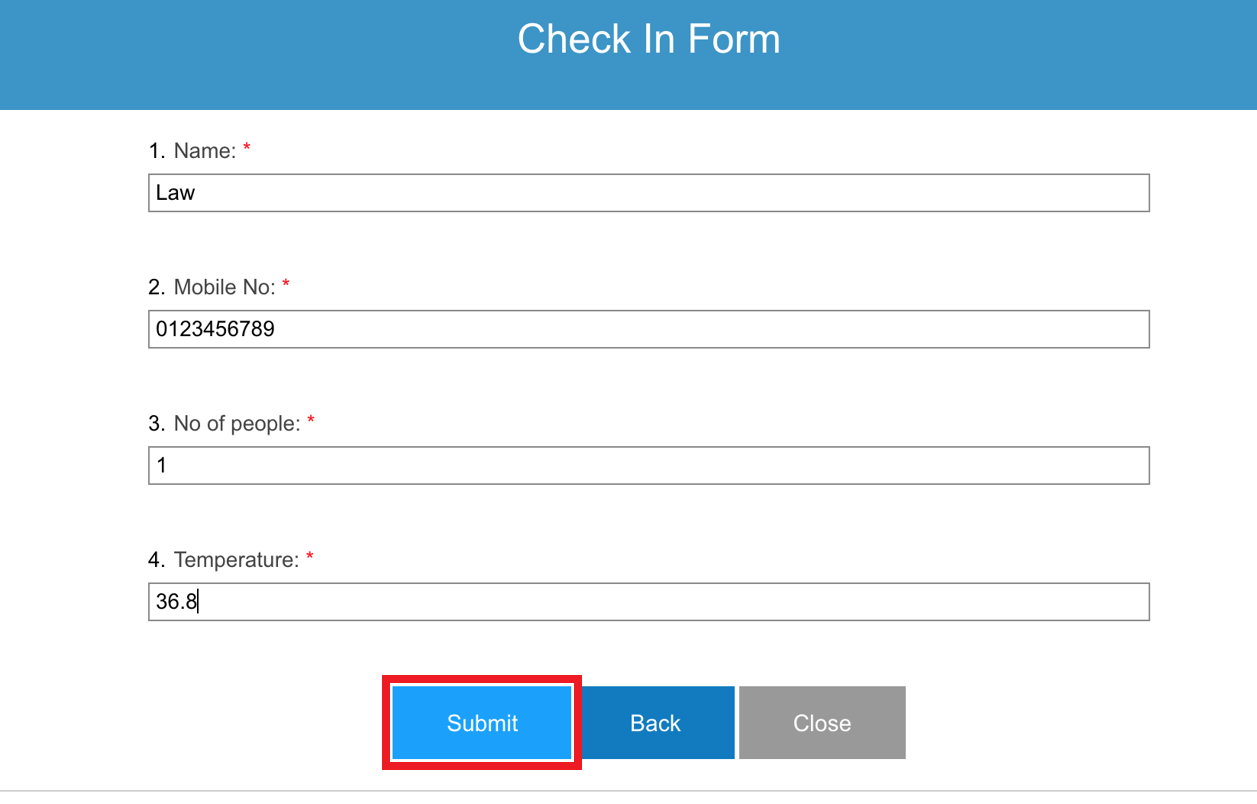
 Step 5: Click “SUBMIT”
 Last update: April 2021
Step 2: Click “SURVEY SUBMISSION”
Step 3: Select the survey form
Step 4: Fill in customer details
Step 5: Click “SUBMIT”
Last update: April 2021Step 1: Click “CUSTOMER”
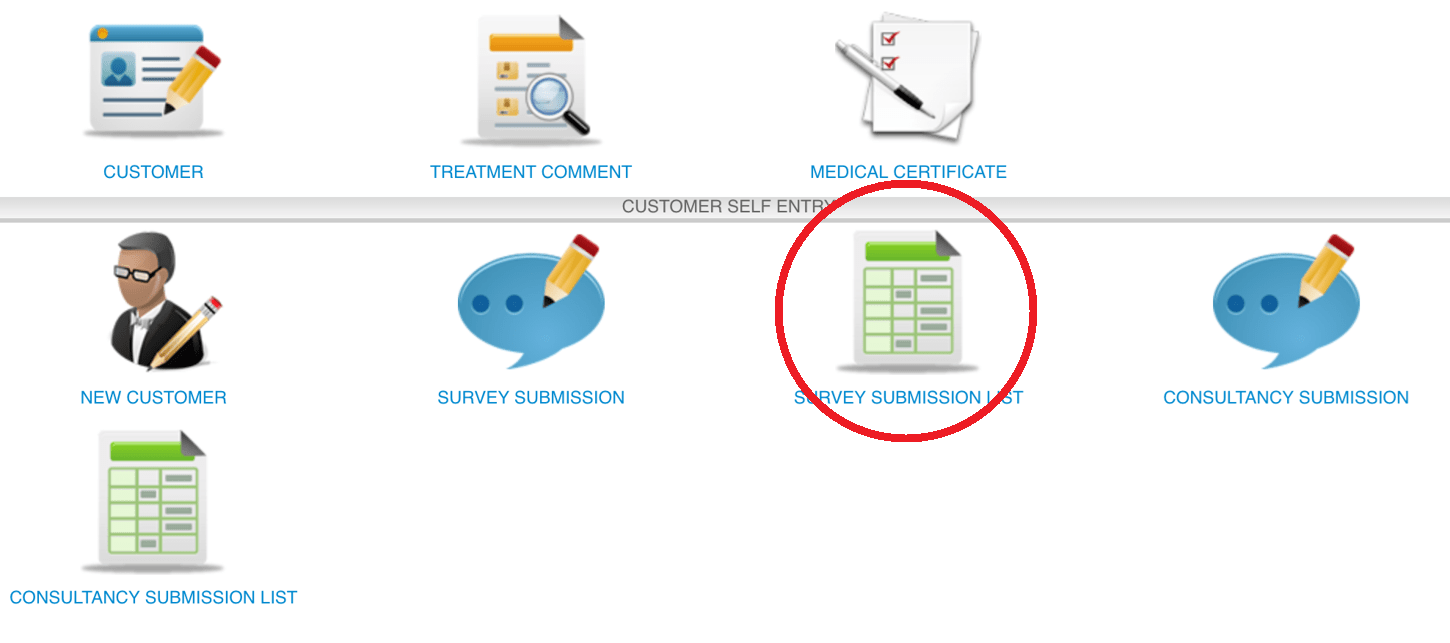
 Step 2: Click “SURVEY SUBMISSION LIST”
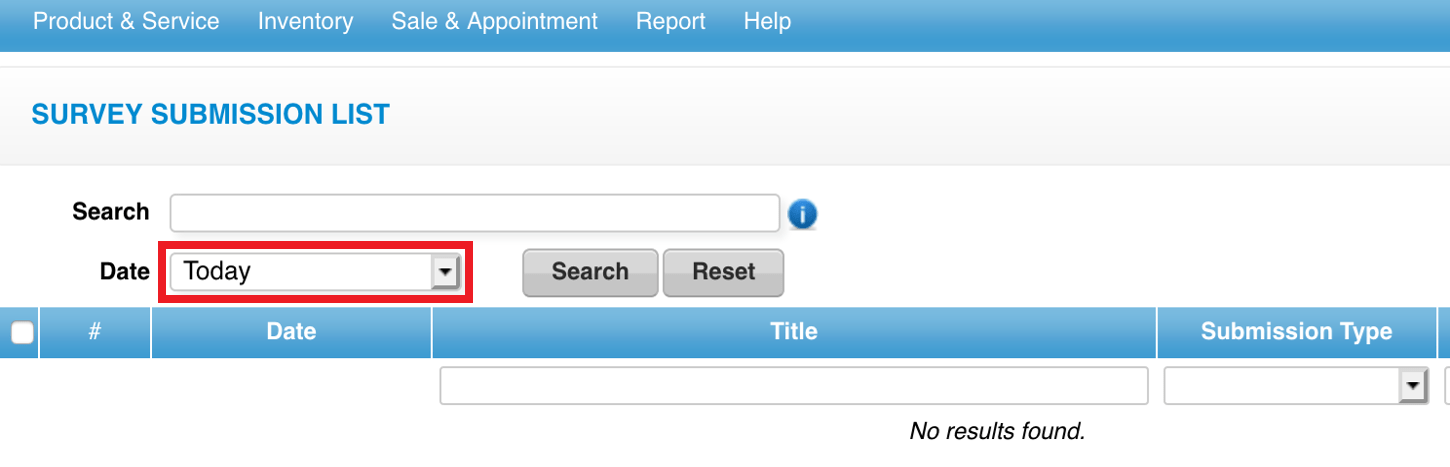
 Step 3: Click and select the date
 Step 4: Select the survey form
 Last update: April 2021
Step 2: Click “SURVEY SUBMISSION LIST”
Step 3: Click and select the date
Step 4: Select the survey form
Last update: April 2021Step 1: Click “CUSTOMER”
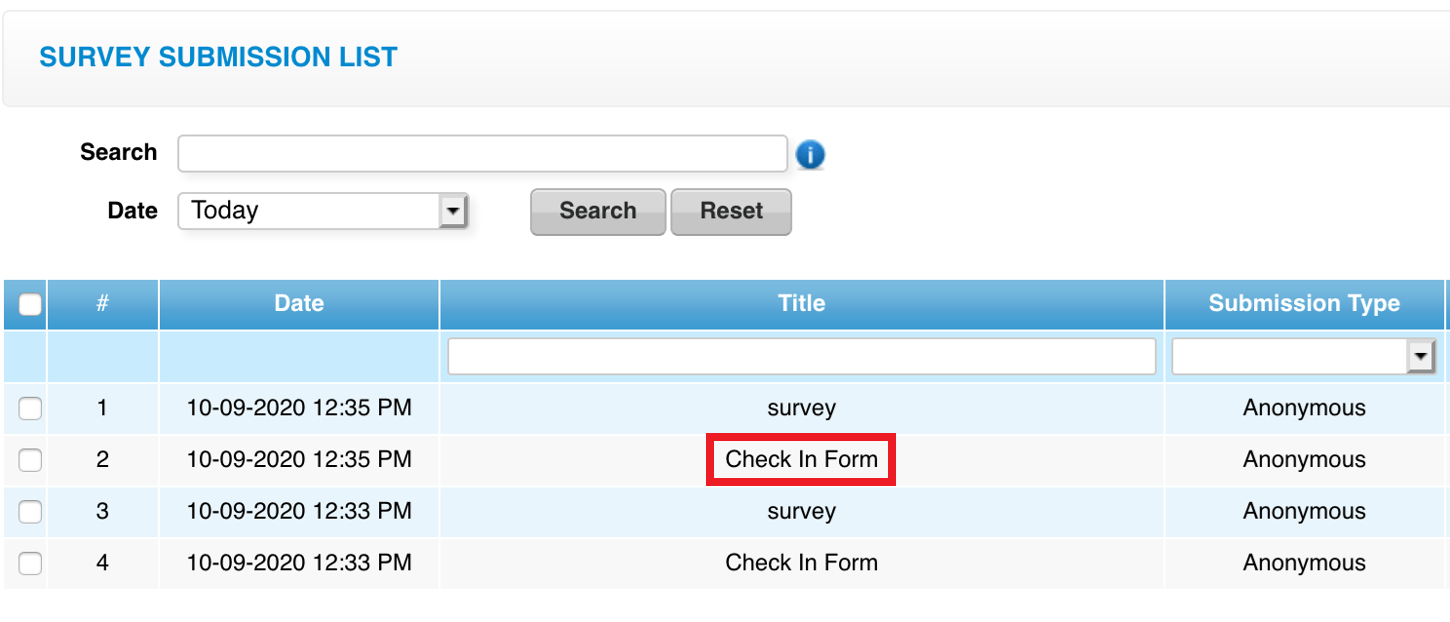
 Step 2: Click “SURVEY SUBMISSION LIST”
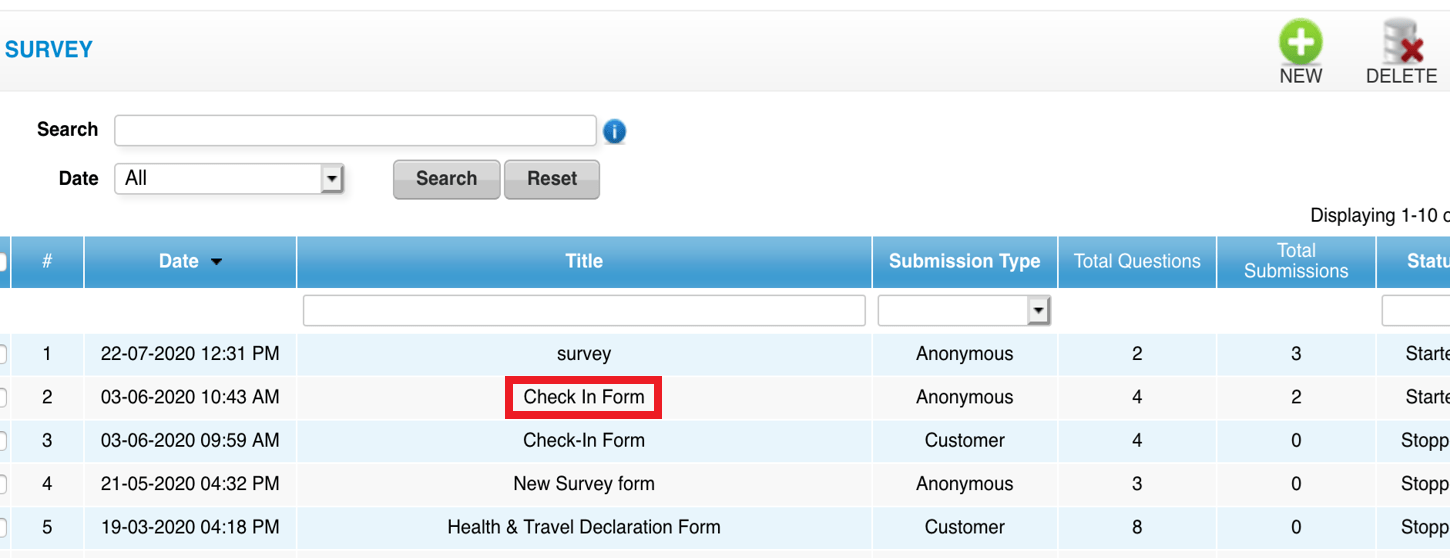
 Step 3: Select the survey form
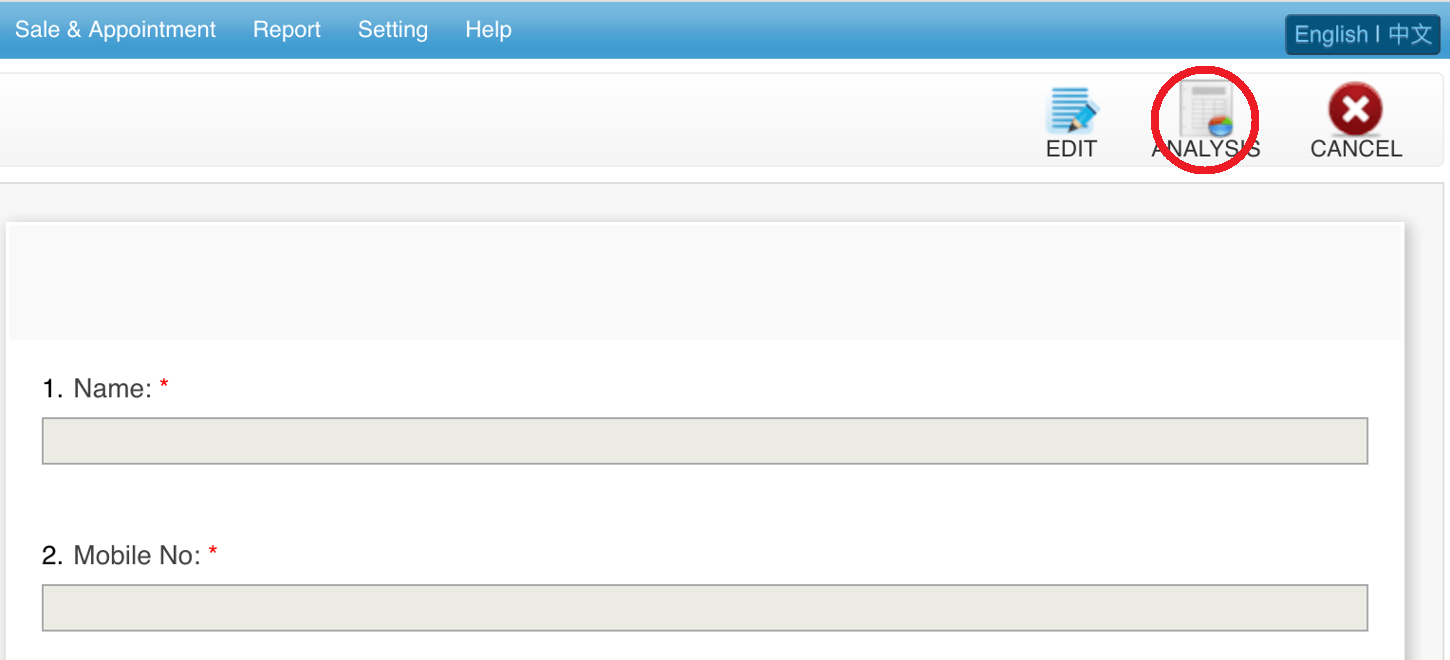
 Step 4: Click “ANALYSIS”
 Last update: April 2021
Step 2: Click “SURVEY SUBMISSION LIST”
Step 3: Select the survey form
Step 4: Click “ANALYSIS”
Last update: April 2021