
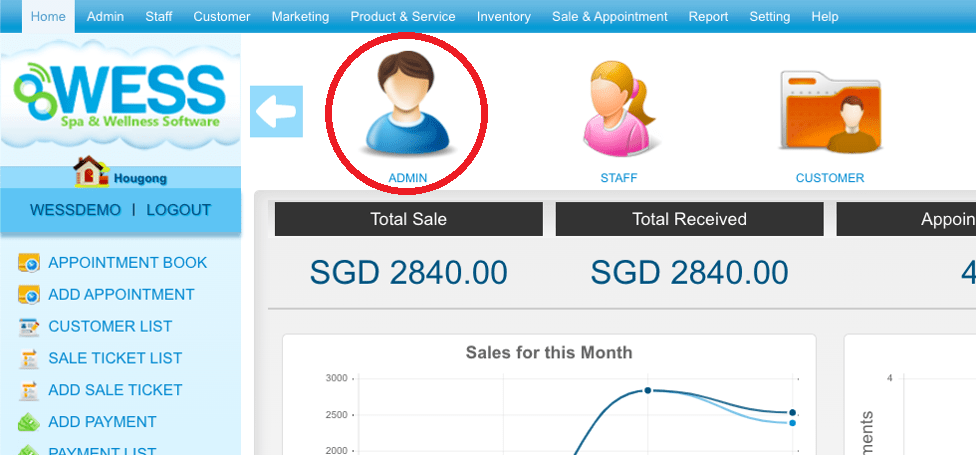
Step 1: Click “ADMIN”
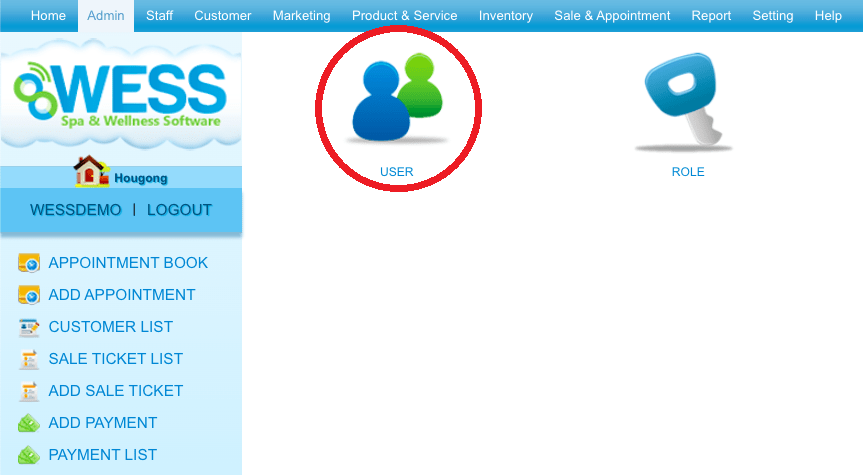
 Step 2: Click “USER”
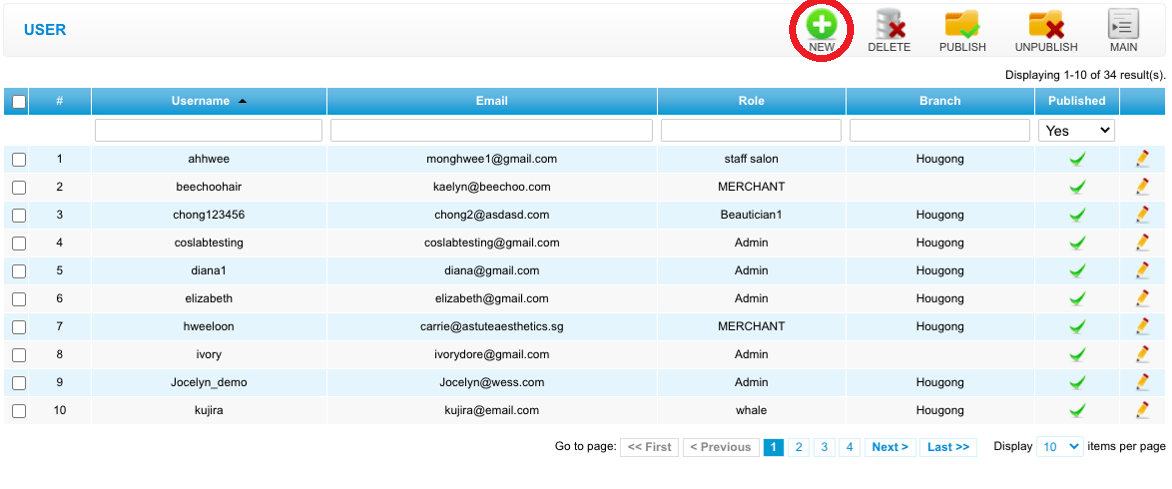
 Step 3: Click “NEW”
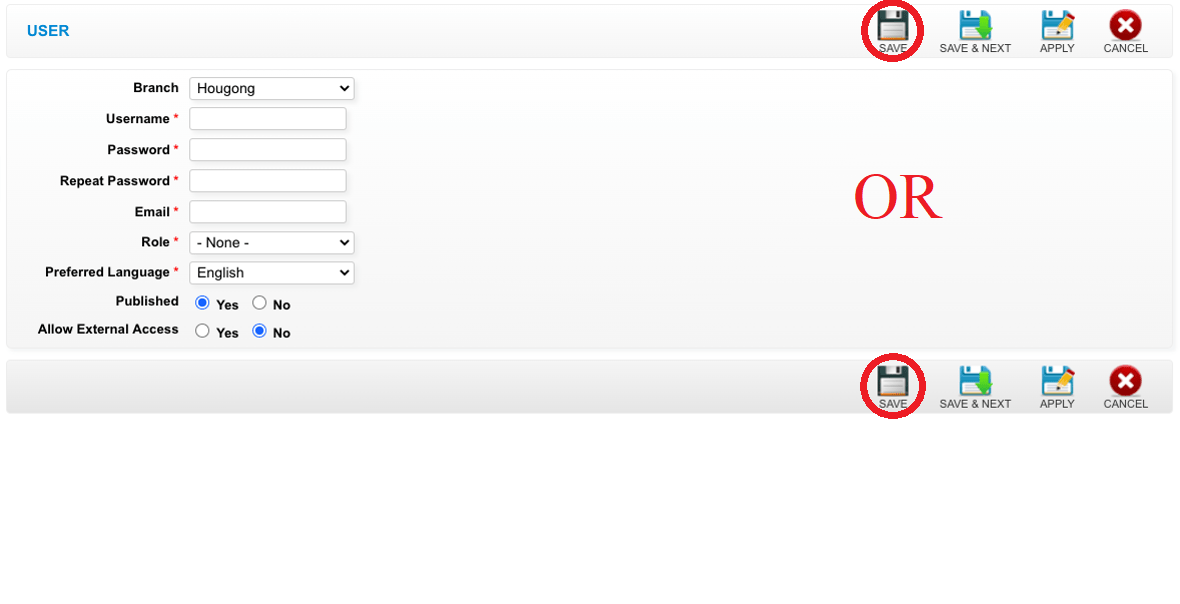
 Step 4: Fill in user details
 Step 5: Click “SAVE”
 Last update: April 2021
Step 2: Click “USER”
Step 3: Click “NEW”
Step 4: Fill in user details
Step 5: Click “SAVE”
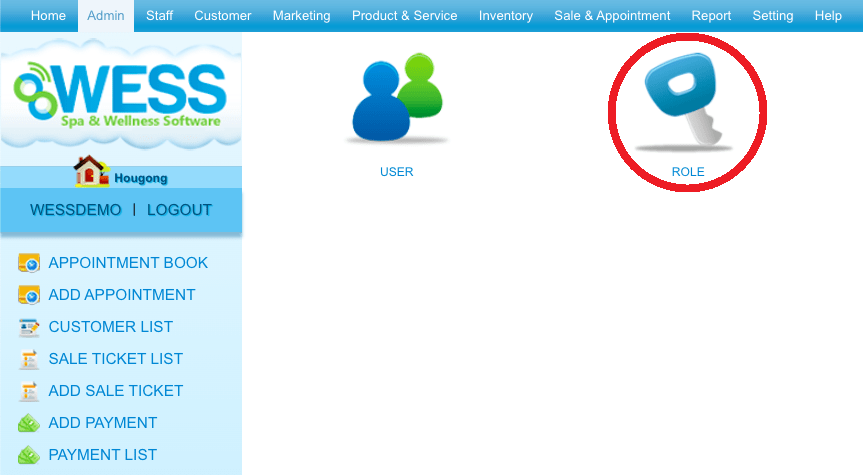
Last update: April 2021Step 1: Click “ADMIN”
 Step 2: Click “ROLE”
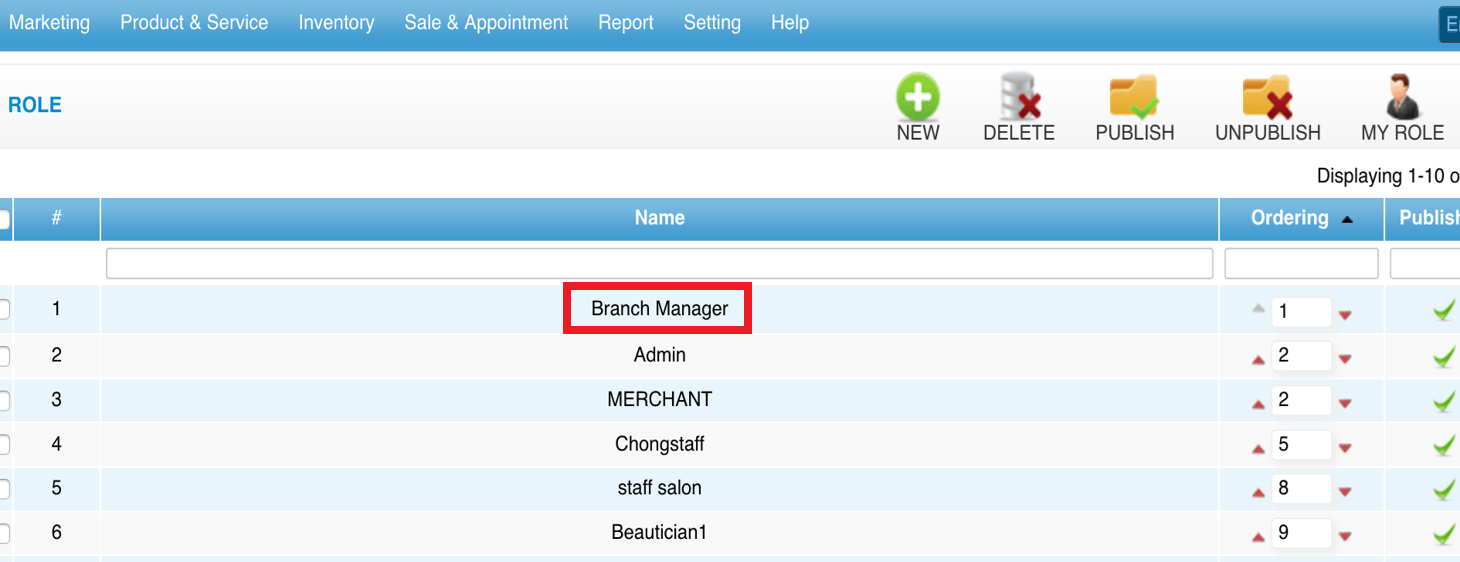
 Step 3: Select the role
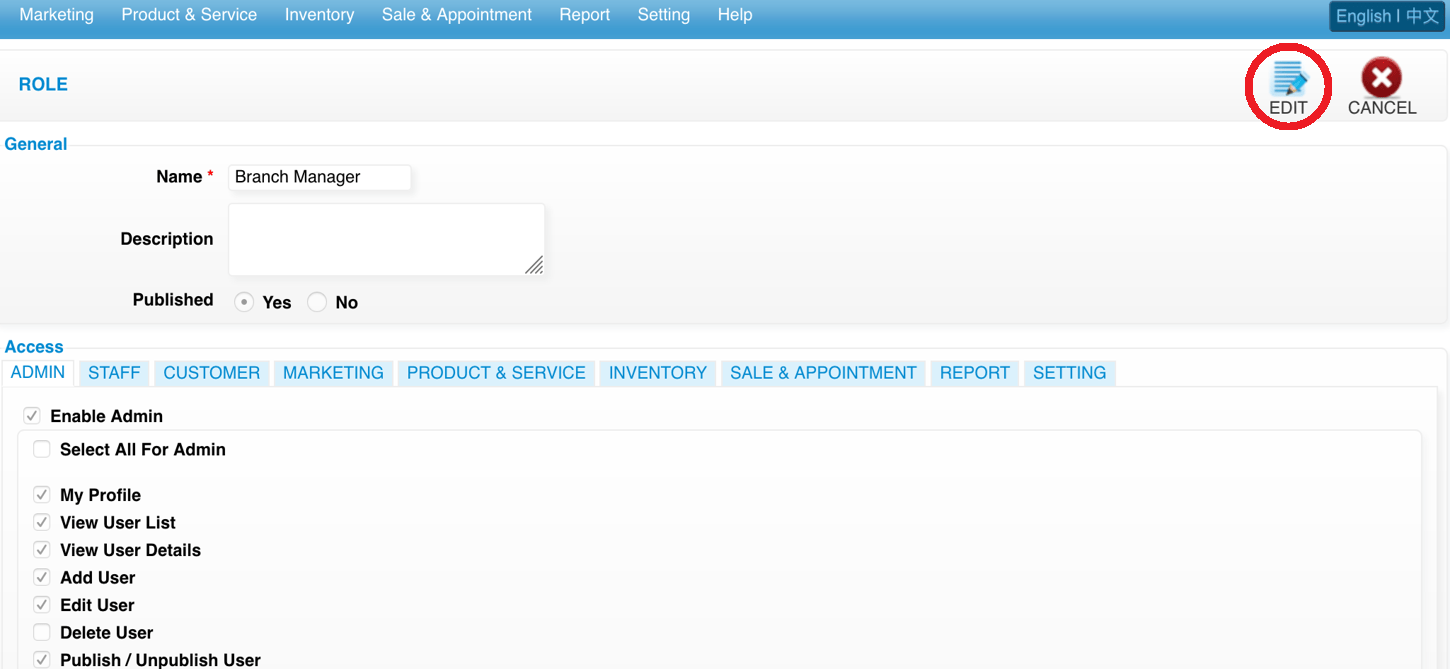
 Step 4: Click “EDIT”
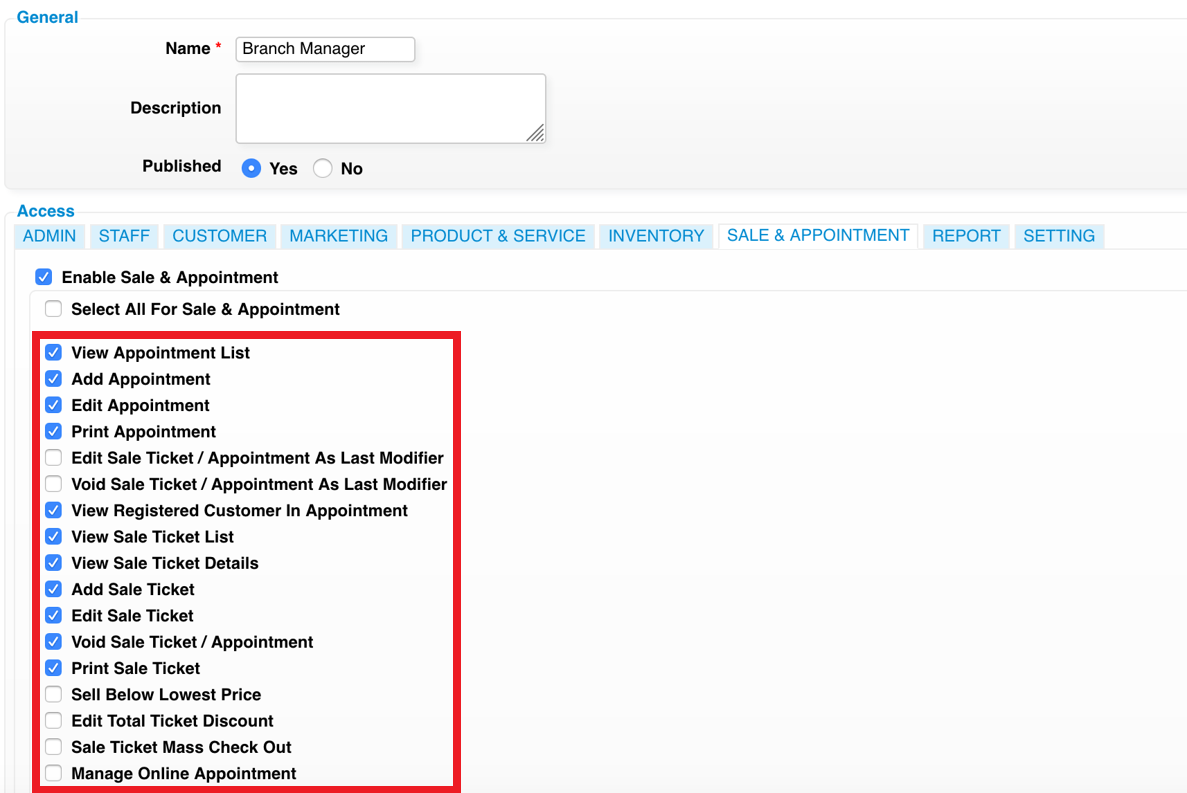
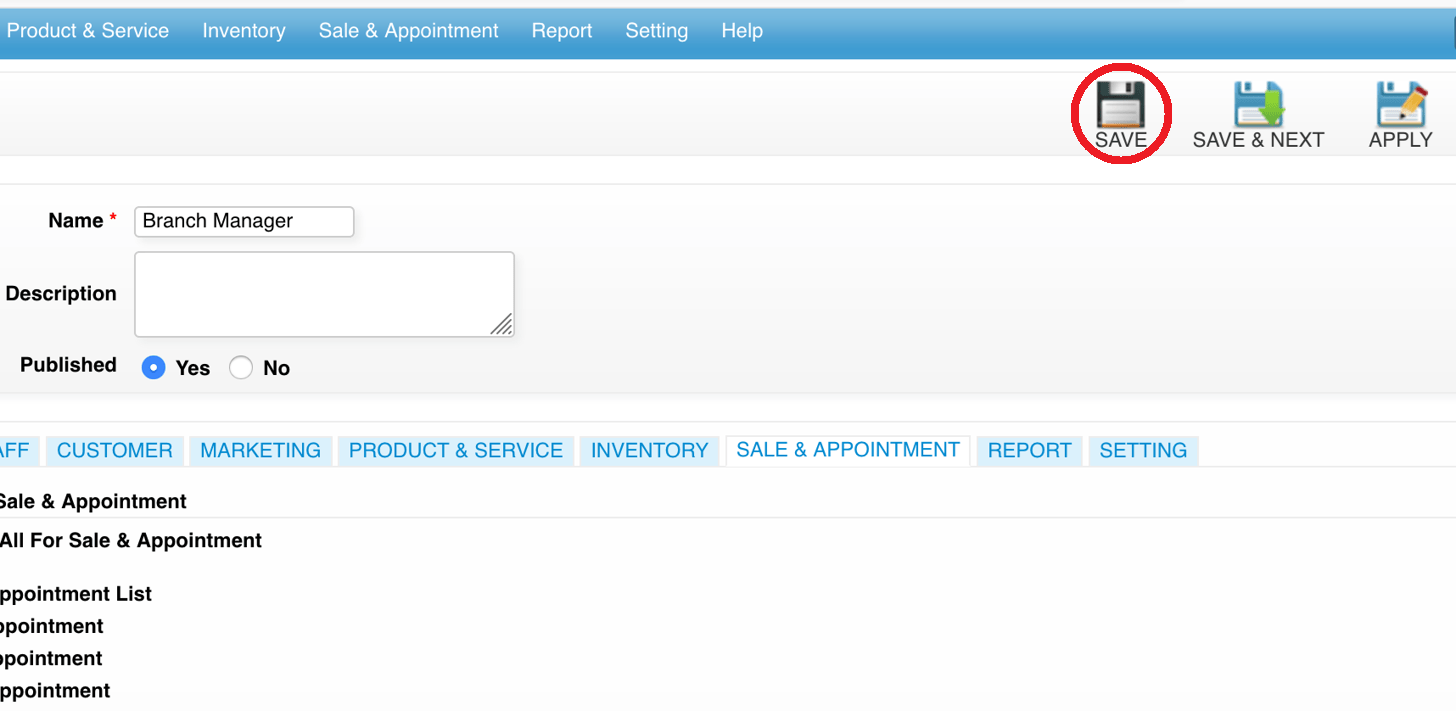
 Step 5: You can make the changes if needed
 Step 6: Click “SAVE”
 Last update: April 2021
Step 2: Click “ROLE”
Step 3: Select the role
Step 4: Click “EDIT”
Step 5: You can make the changes if needed
Step 6: Click “SAVE”
Last update: April 2021Step 1: Click “STAFF”
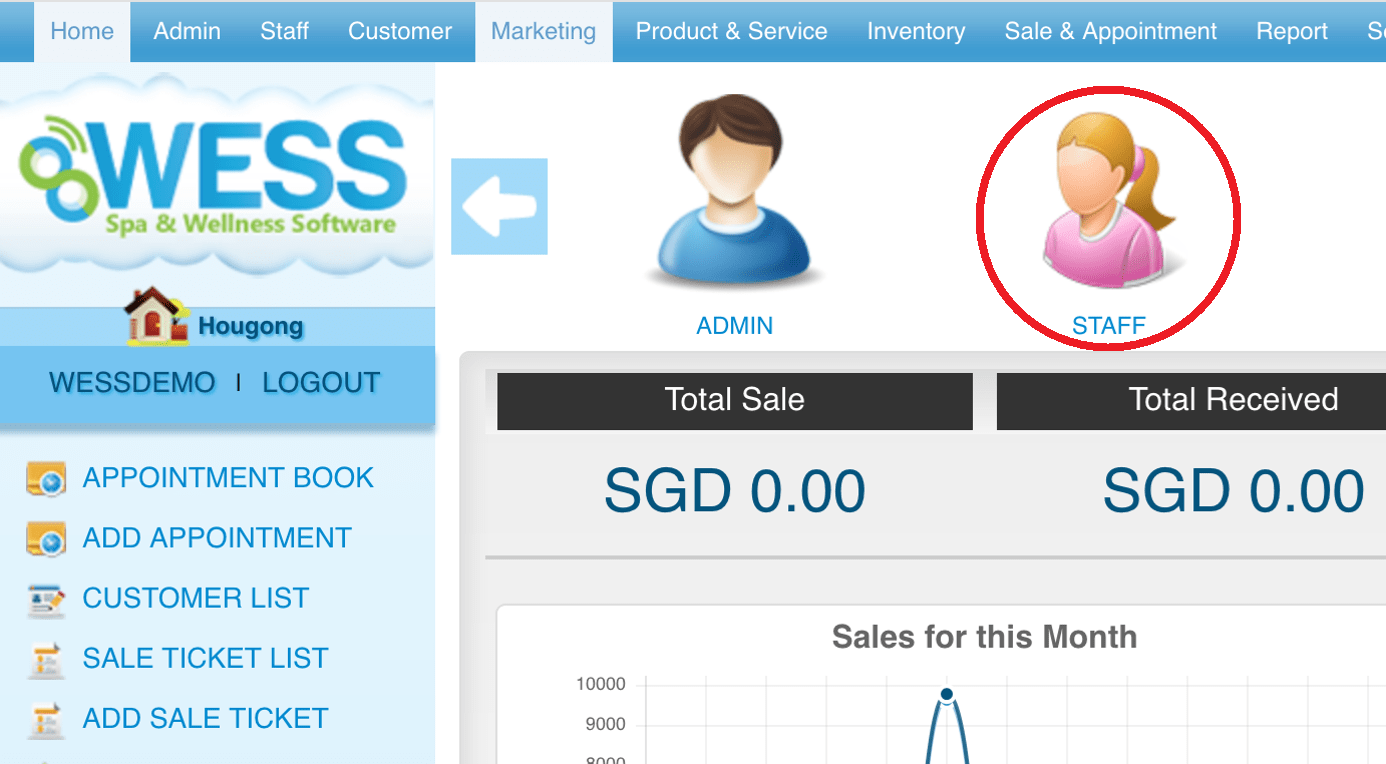 Step 2: Click “EMPLOYEE”
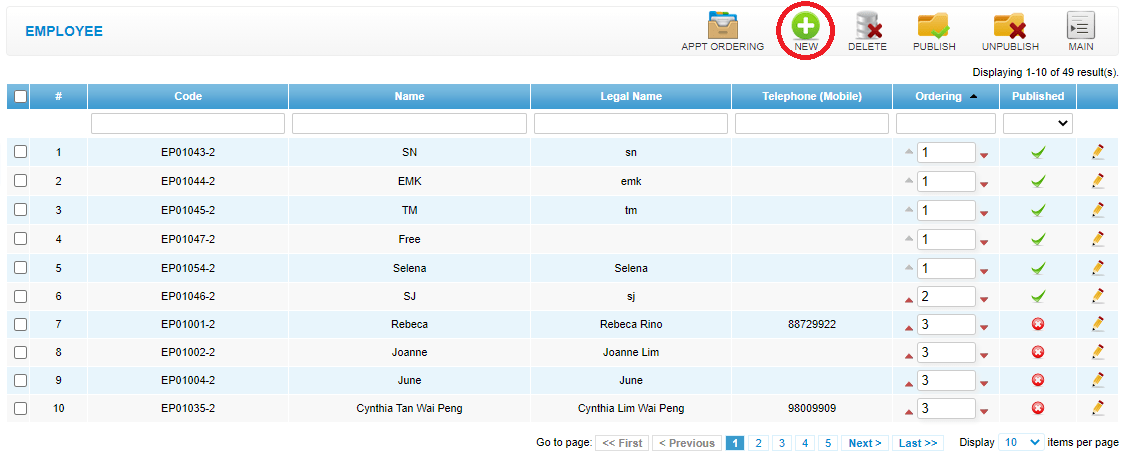
 Step 3: Click “NEW”
 Step 4: Fill in employee details
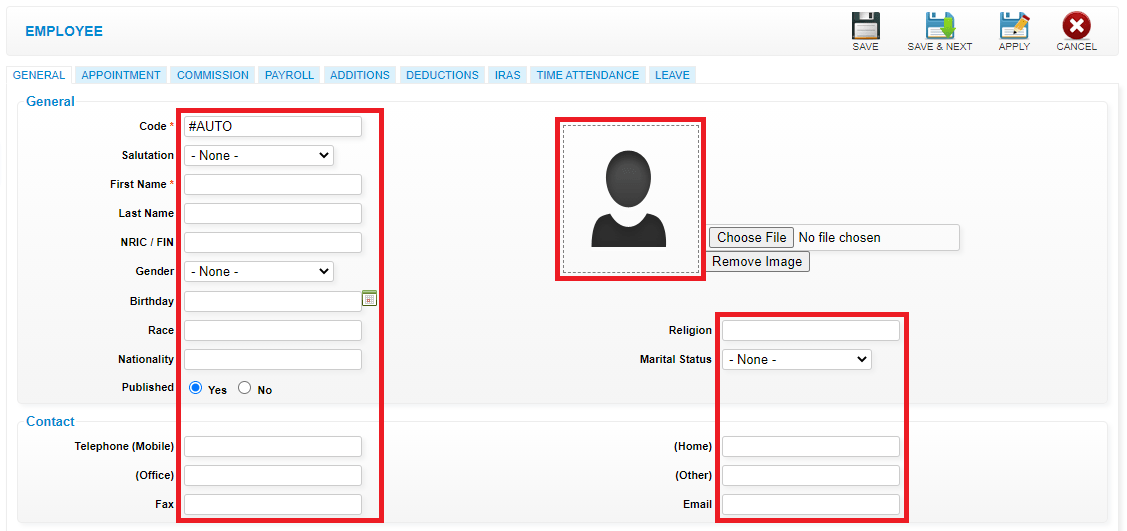 Step 5: Click “SAVE”
 Last update: April 2021
Step 2: Click “EMPLOYEE”
Step 3: Click “NEW”
Step 4: Fill in employee details
Step 5: Click “SAVE”
Last update: April 2021Step 1: Click “CUSTOMER”
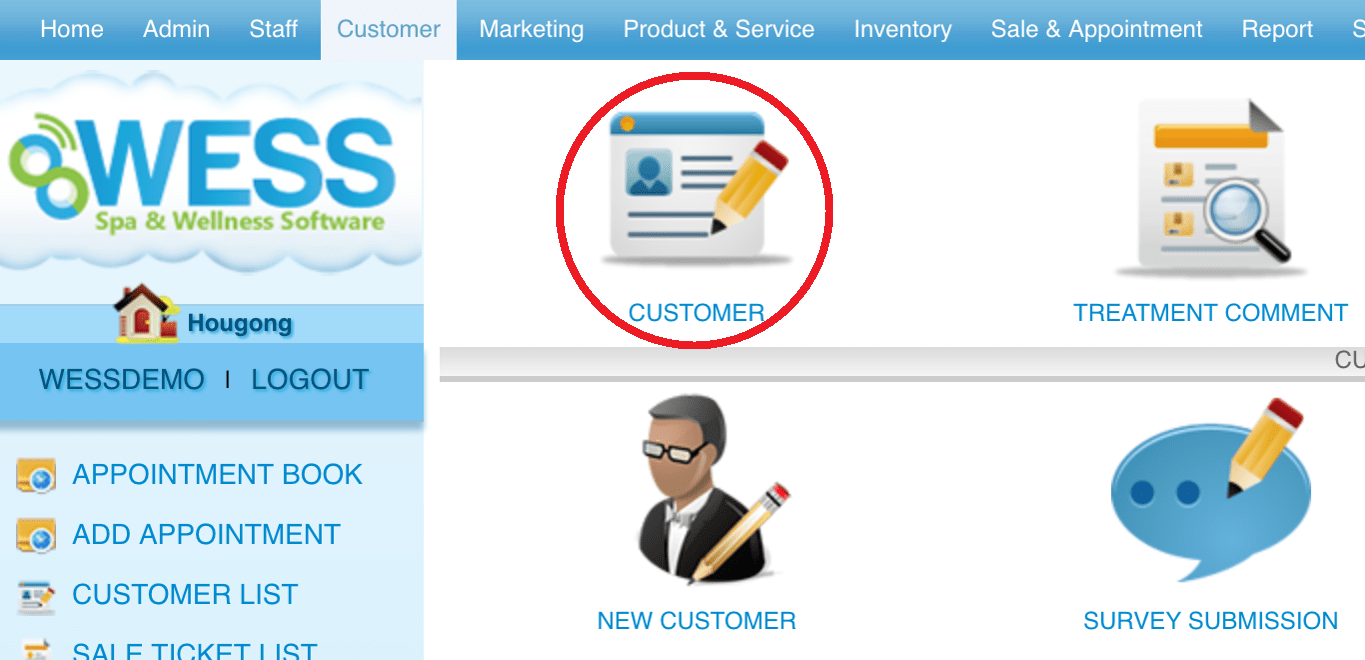
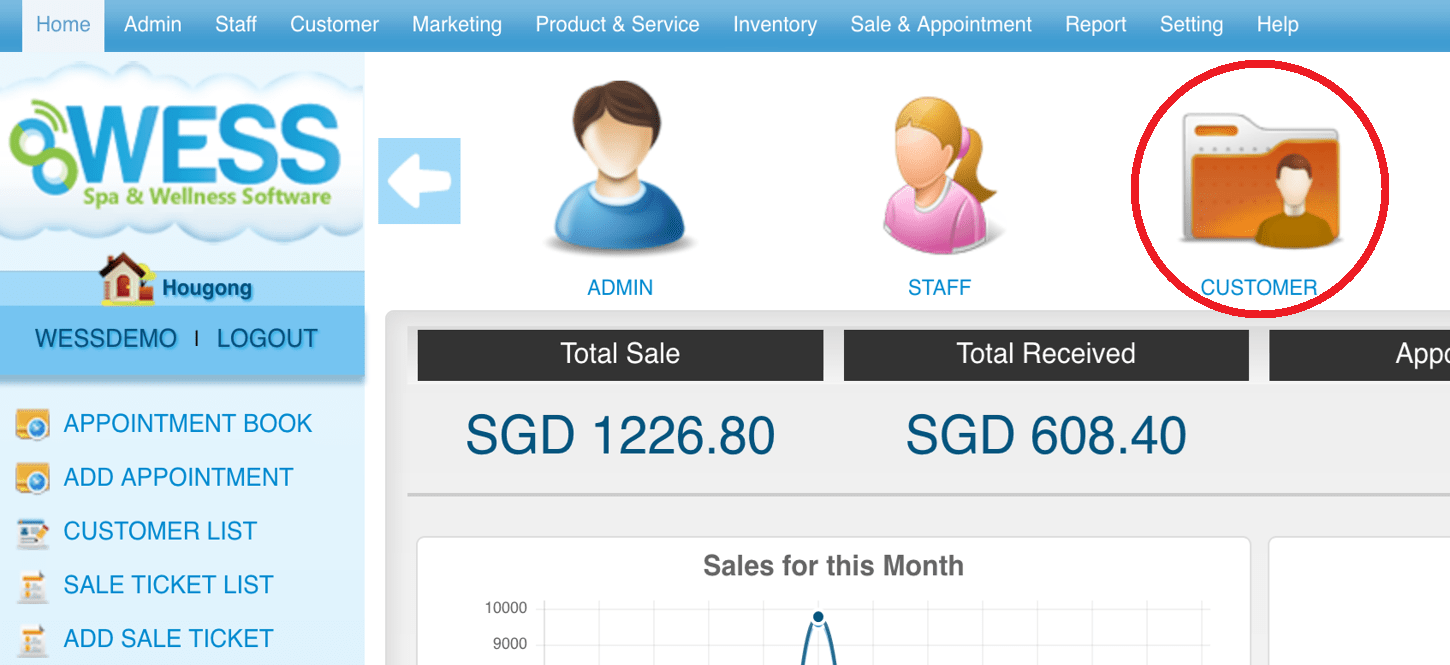 Step 2: Click “CUSTOMER”
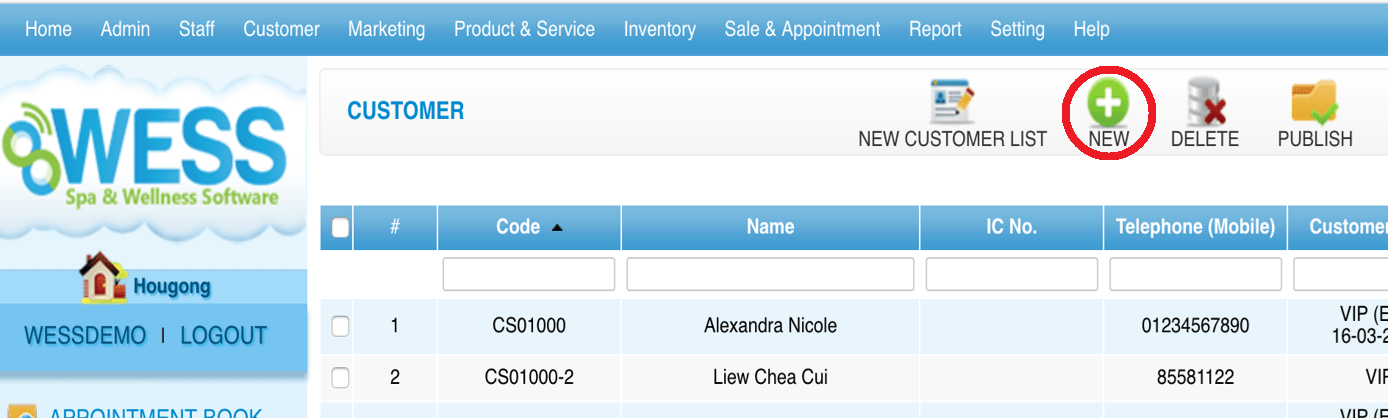
 Step 3: Click “NEW”
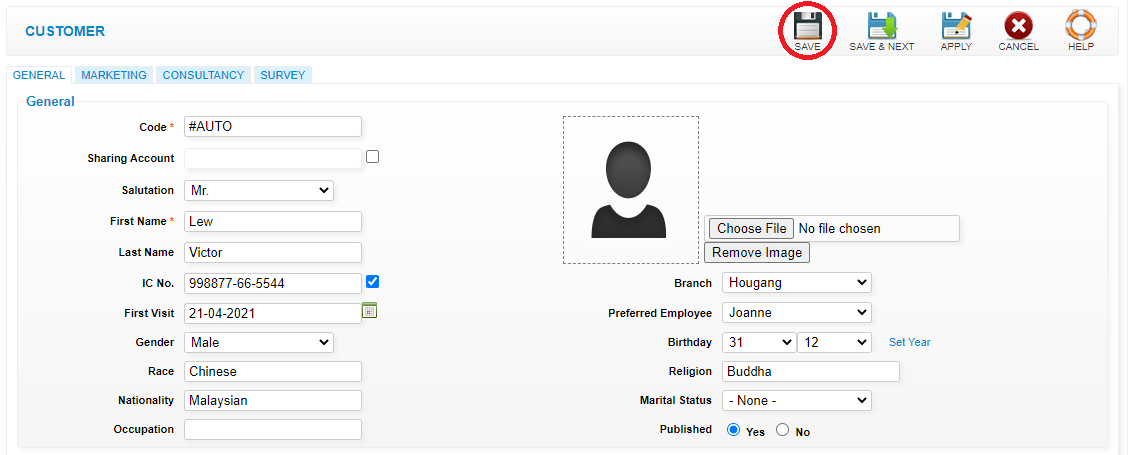
 Step 4: Fill in customer details
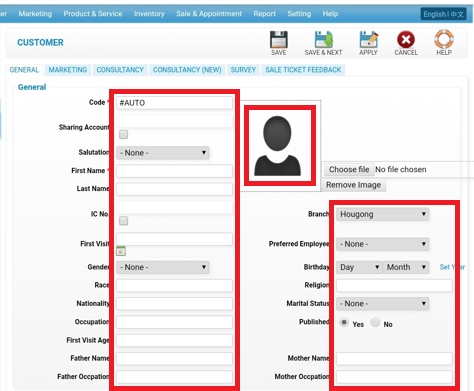 Step 5: Click “SAVE”
 Last update: April 2021
Step 2: Click “CUSTOMER”
Step 3: Click “NEW”
Step 4: Fill in customer details
Step 5: Click “SAVE”
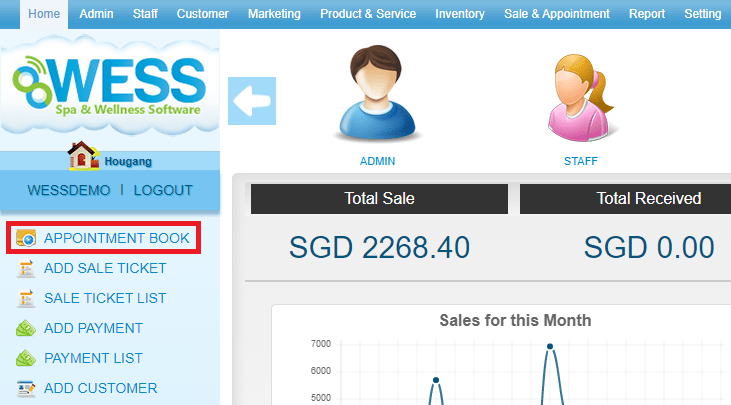
Last update: April 2021Step 1: Click “APPOINTMENT BOOK”
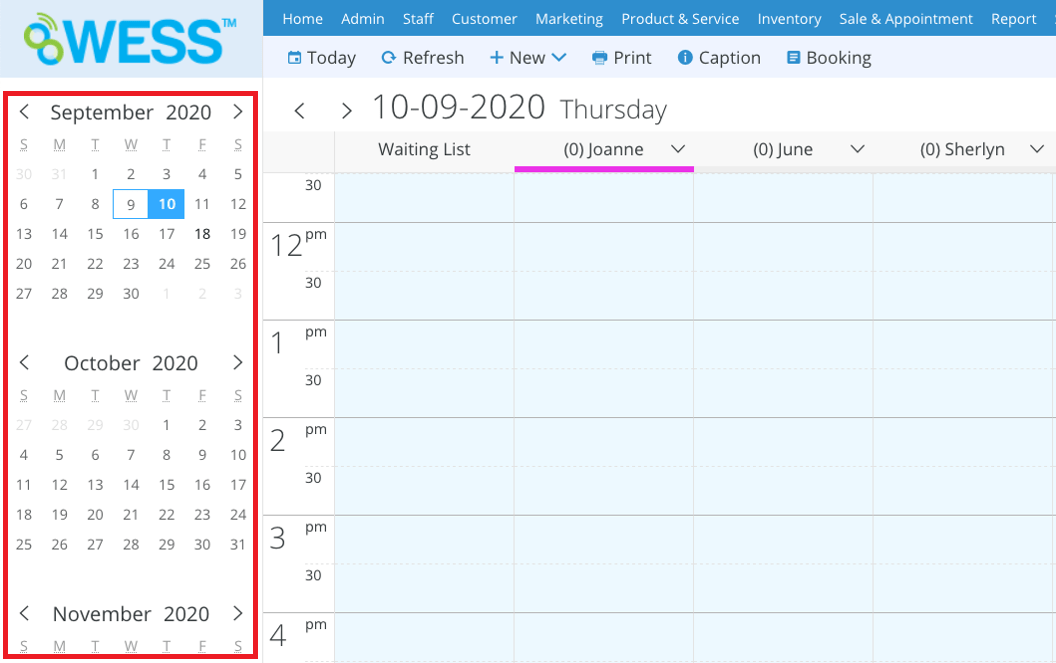
 Step 2: Select the date
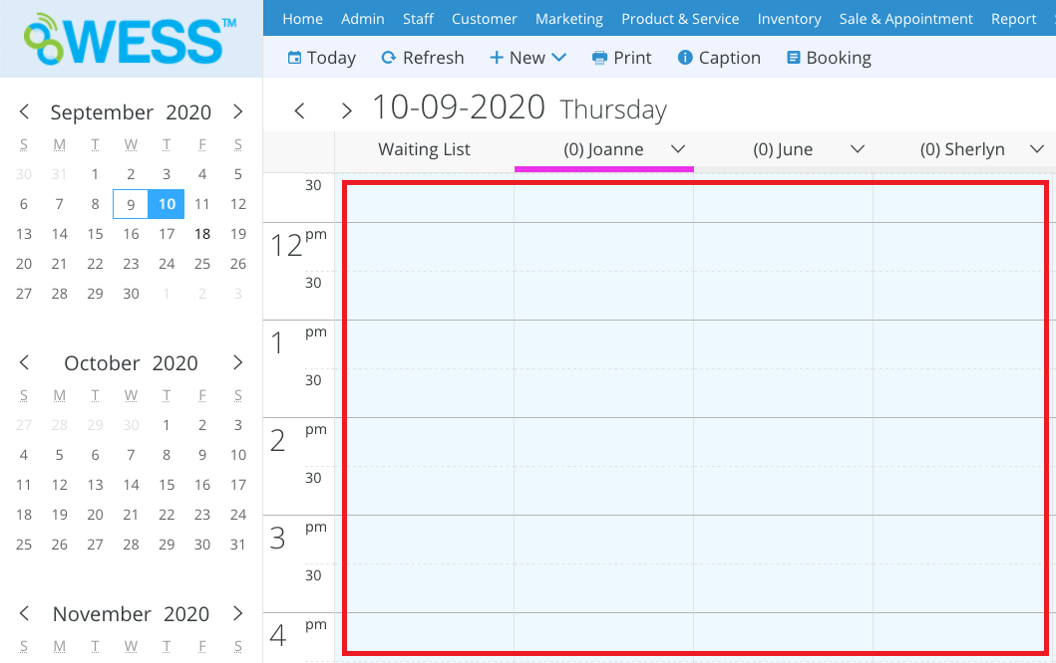
 Step 3: Select the time that customer want to booking
 Step 4: Click “EMPLOYEE OPTION”
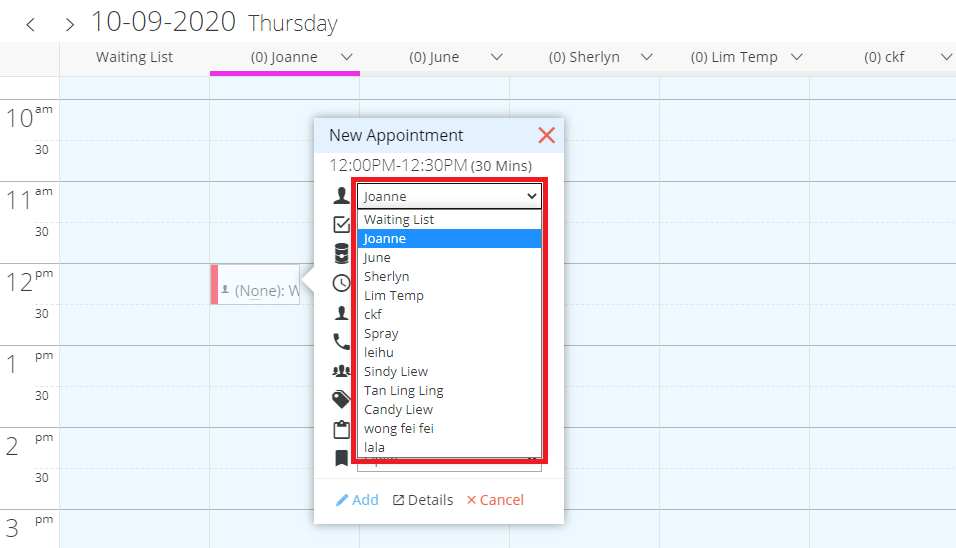
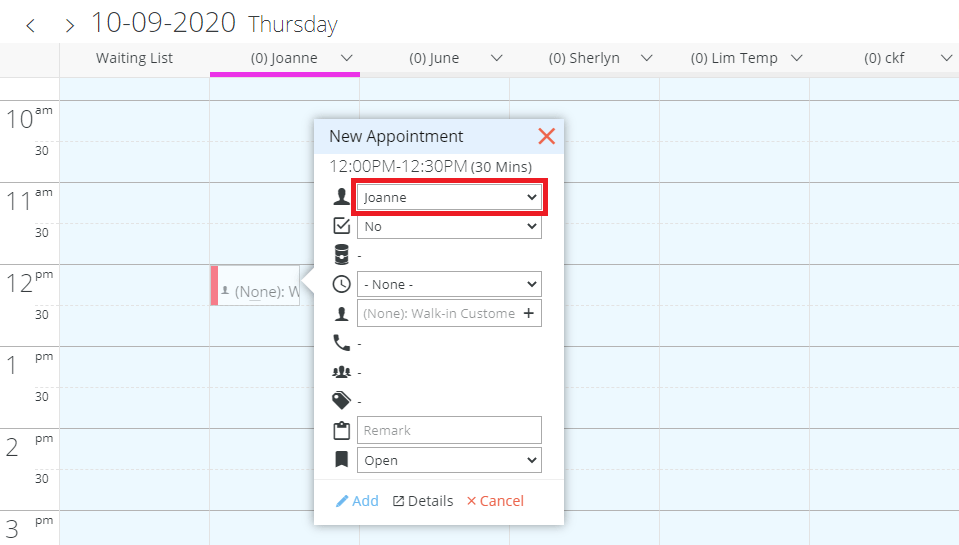 Step 5: Select the employee
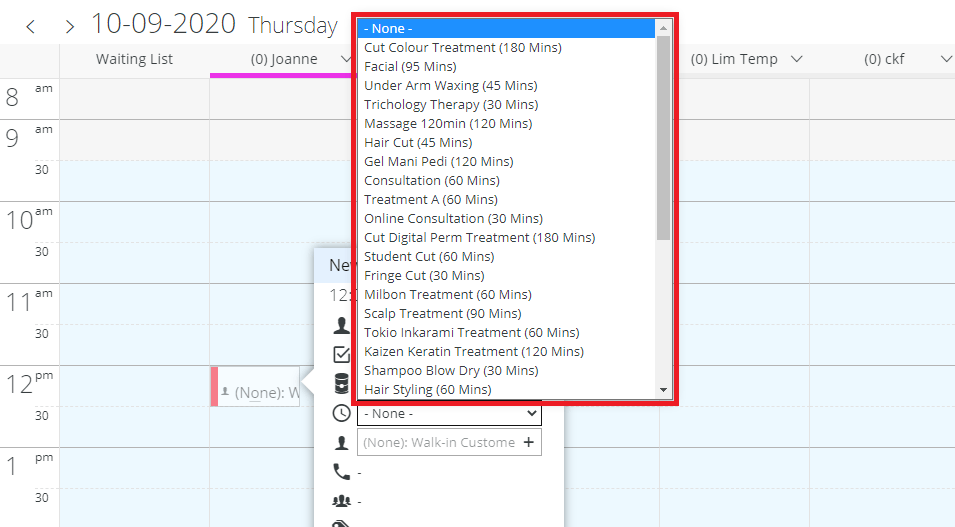
 Step 6: Click and select the programme
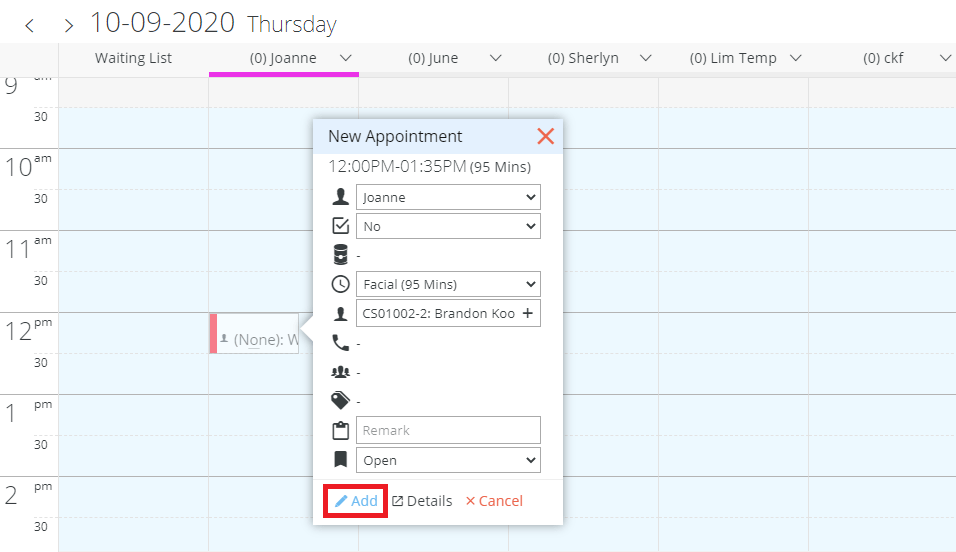
 Step 7: Enter the customer name
 Step 8: Click “ADD”
 Last update: April 2021
Step 2: Select the date
Step 3: Select the time that customer want to booking
Step 4: Click “EMPLOYEE OPTION”
Step 5: Select the employee
Step 6: Click and select the programme
Step 7: Enter the customer name
Step 8: Click “ADD”
Last update: April 2021Step 1: Click “ADD SALE TICKET”
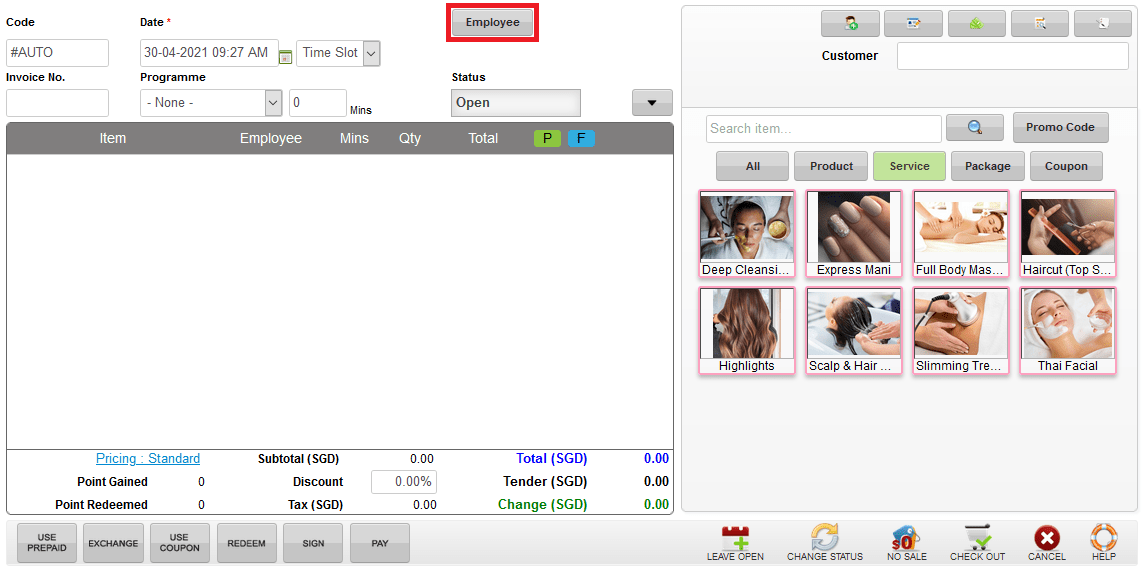
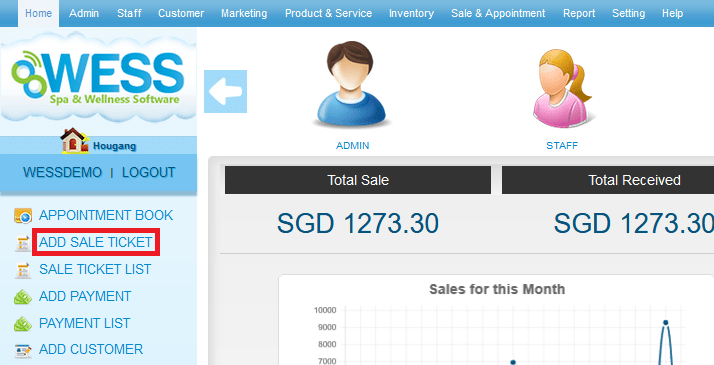 Step 2: Click and select the “EMPLOYEE”
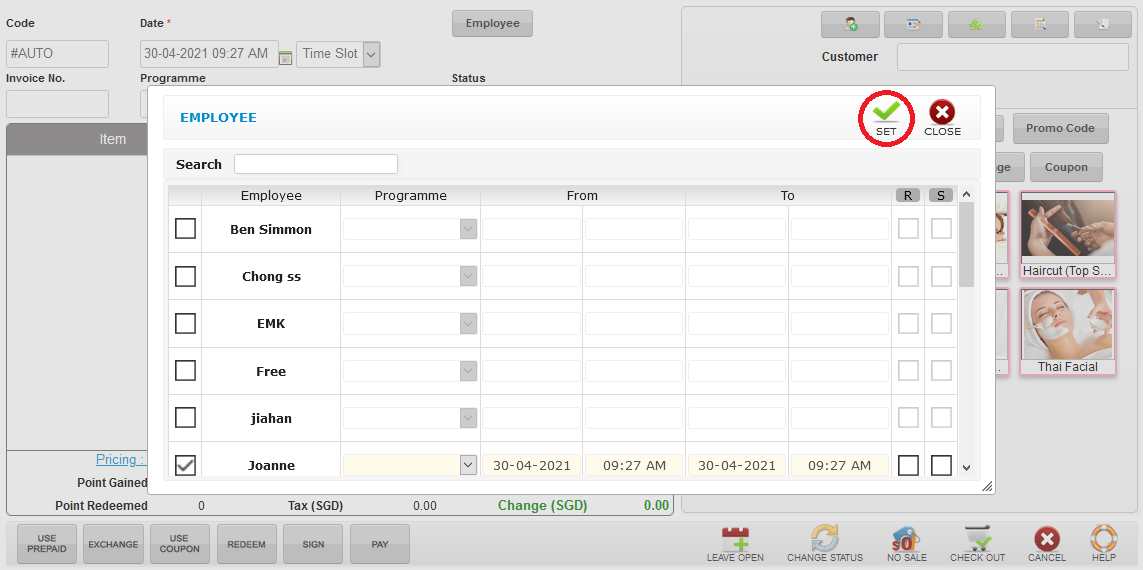
 Step 3: Click “SET”
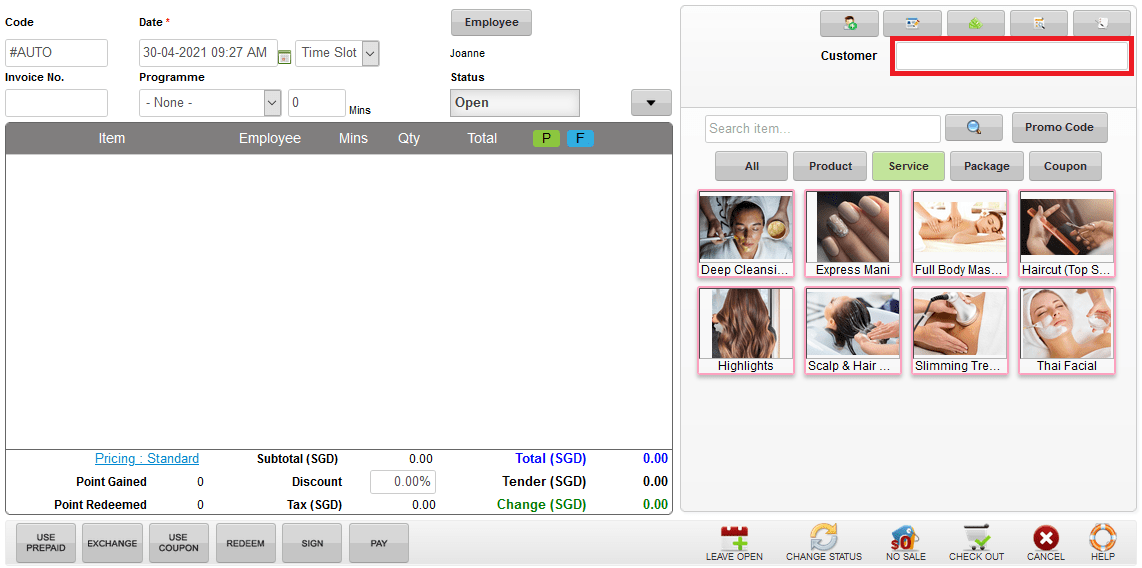
 Step 4: Enter the customer name / code / phone number to search
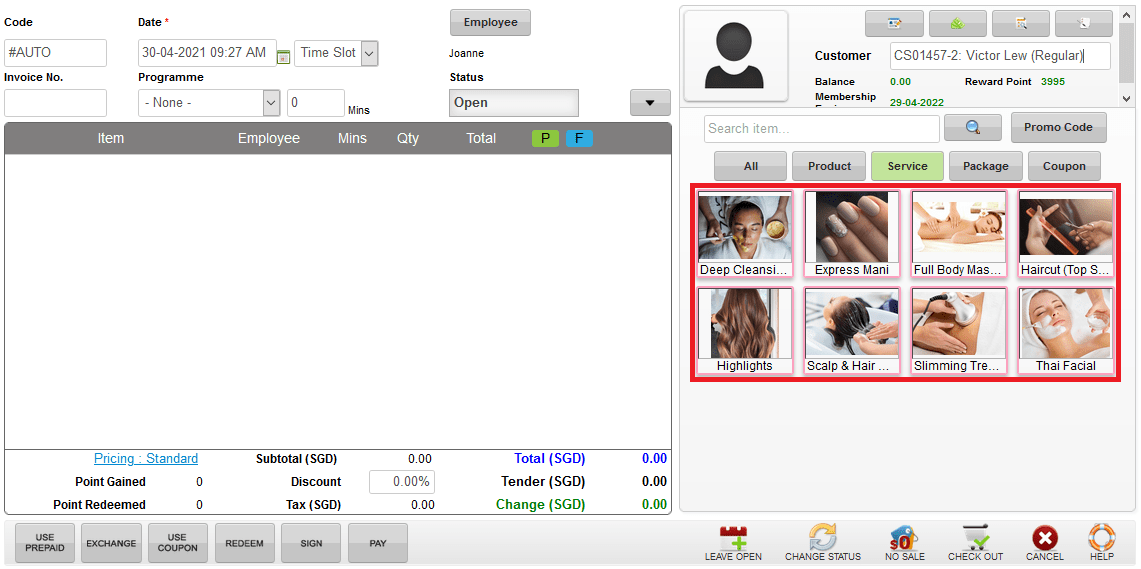
 Step 5: Select the product / service / package / coupon
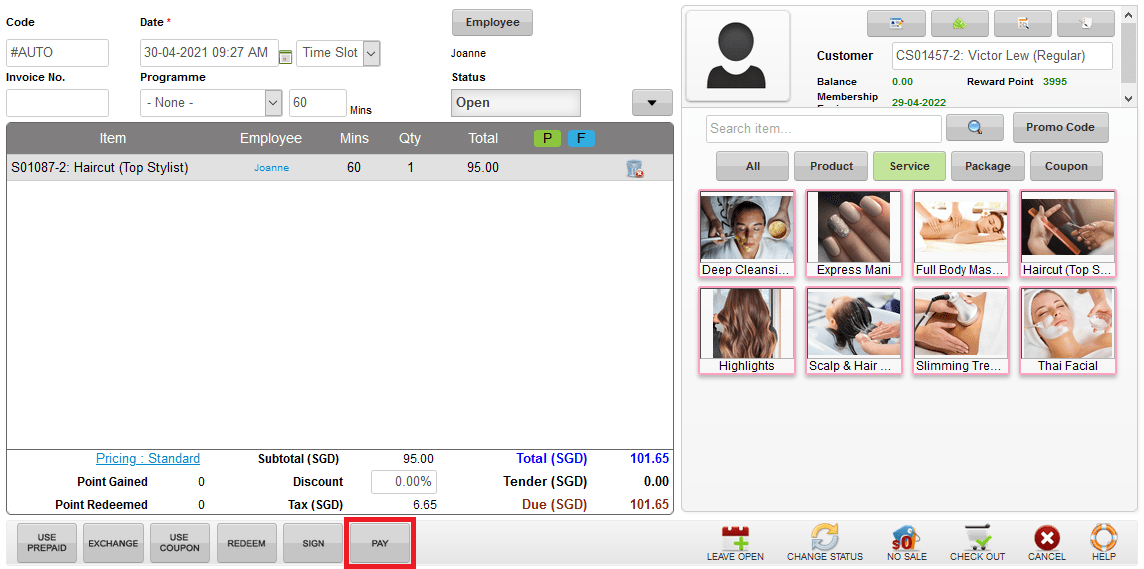
 Step 6: Click “PAY”
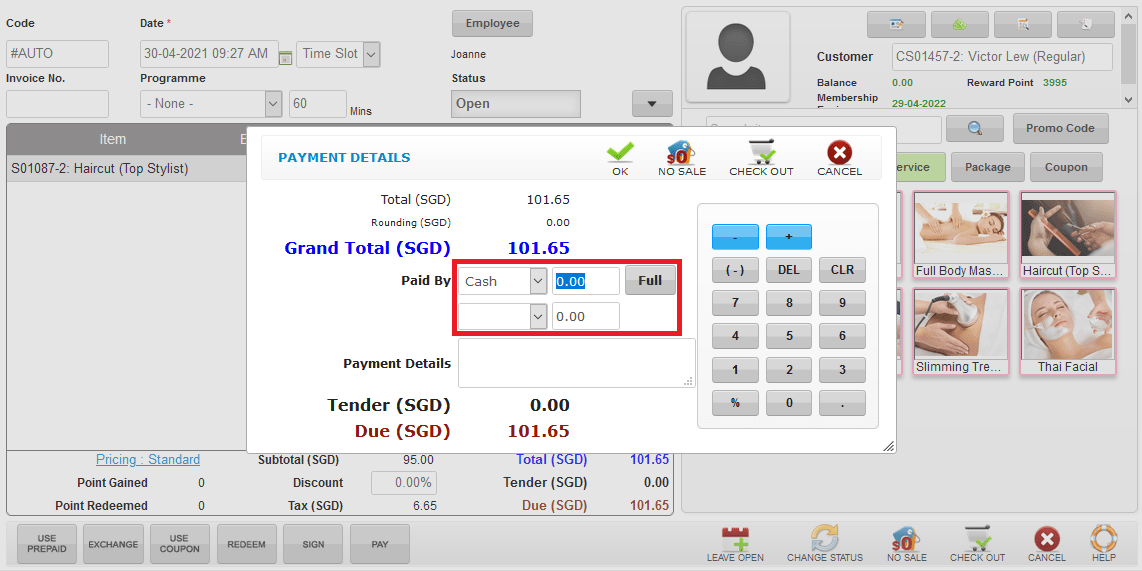
 Step 7: Select the payment method and enter the amount customer paid
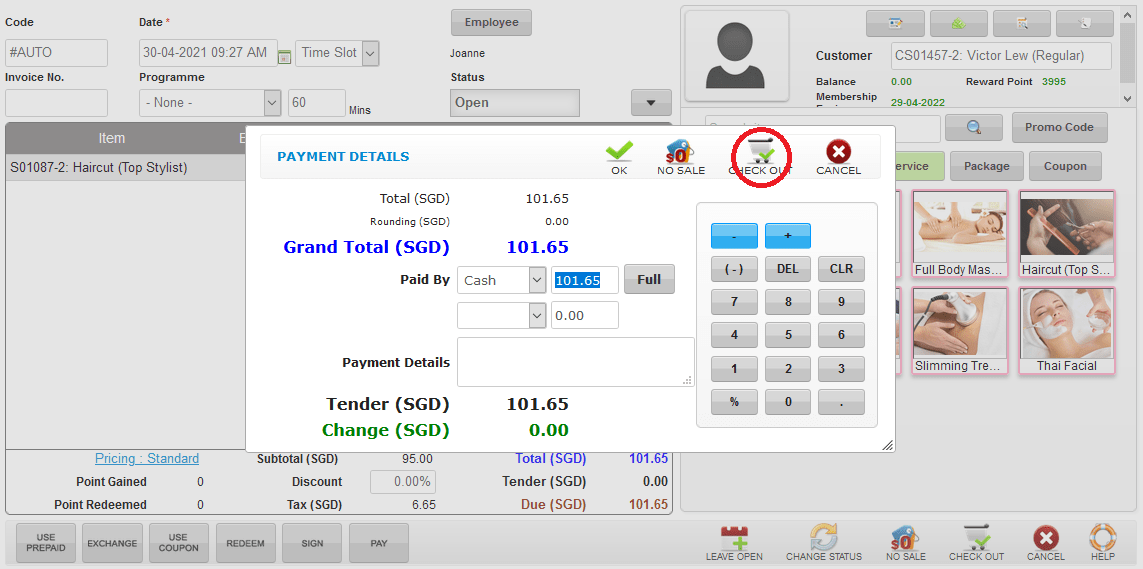
 Step 8: Click “CHECK OUT”
 Step 9: Click “CONFIRM”
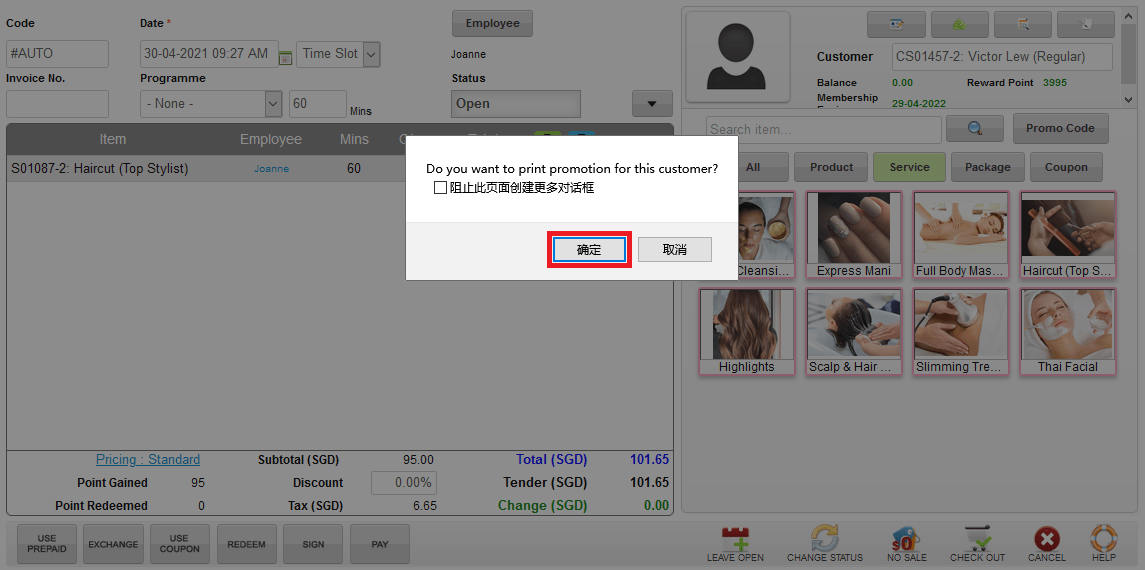
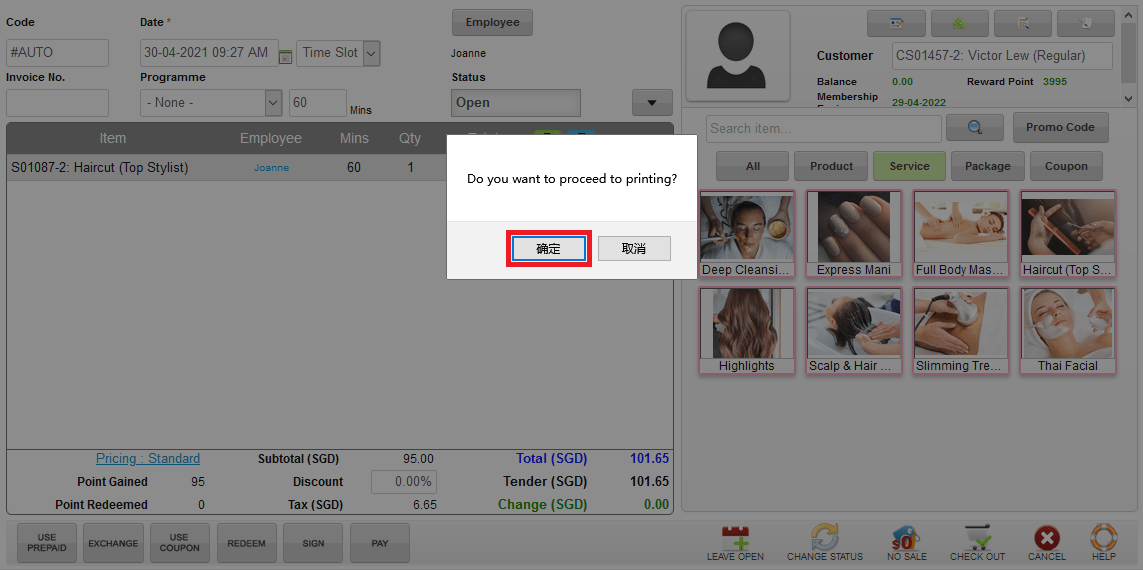 Step 10: Click “CONFIRM”
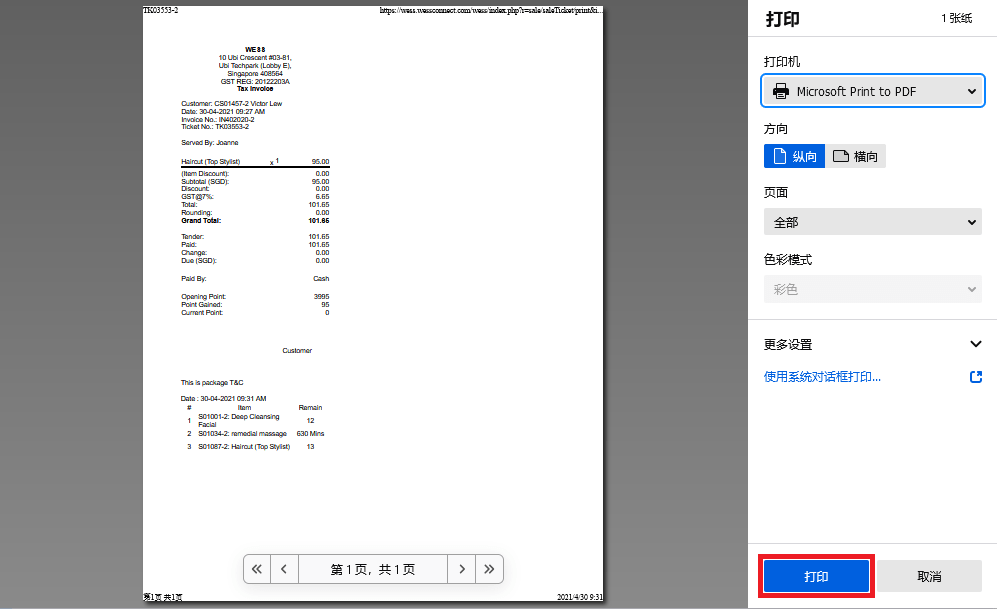
 Step 11: Click “PRINT” to print
 Step 12: Click “NEW” to add new order
 Last update: April 2021
Step 2: Click and select the “EMPLOYEE”
Step 3: Click “SET”
Step 4: Enter the customer name / code / phone number to search
Step 5: Select the product / service / package / coupon
Step 6: Click “PAY”
Step 7: Select the payment method and enter the amount customer paid
Step 8: Click “CHECK OUT”
Step 9: Click “CONFIRM”
Step 10: Click “CONFIRM”
Step 11: Click “PRINT” to print
Step 12: Click “NEW” to add new order
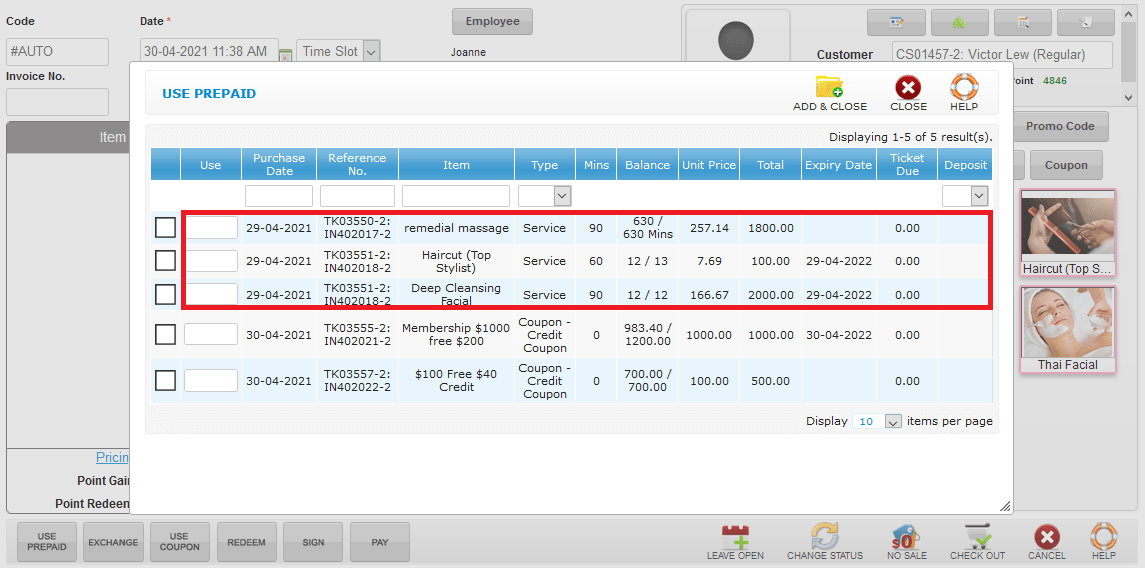
Last update: April 2021Step 1: Click “USE PREPAID”
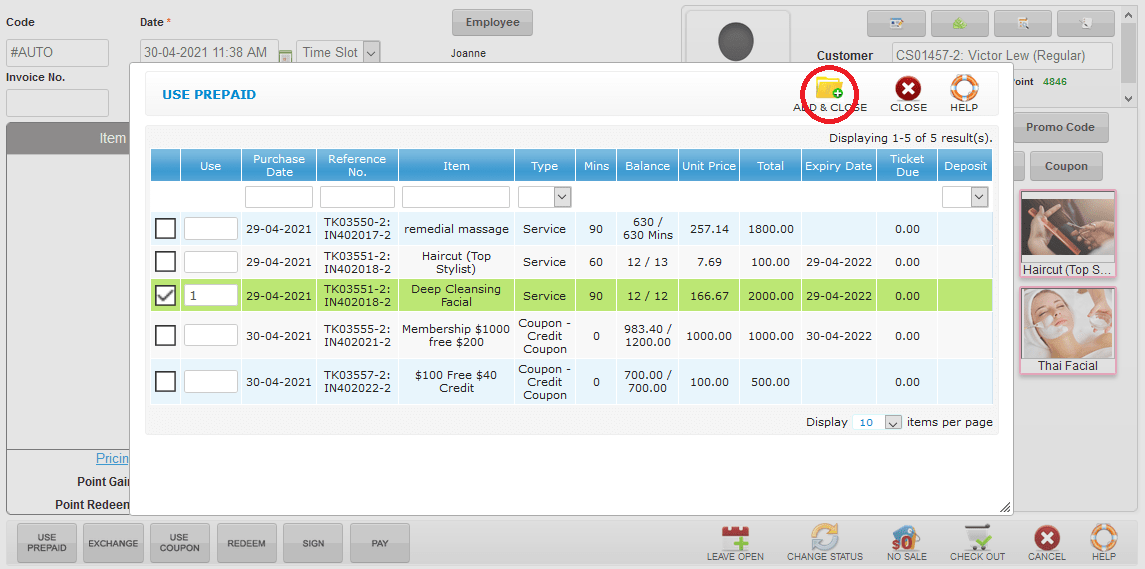
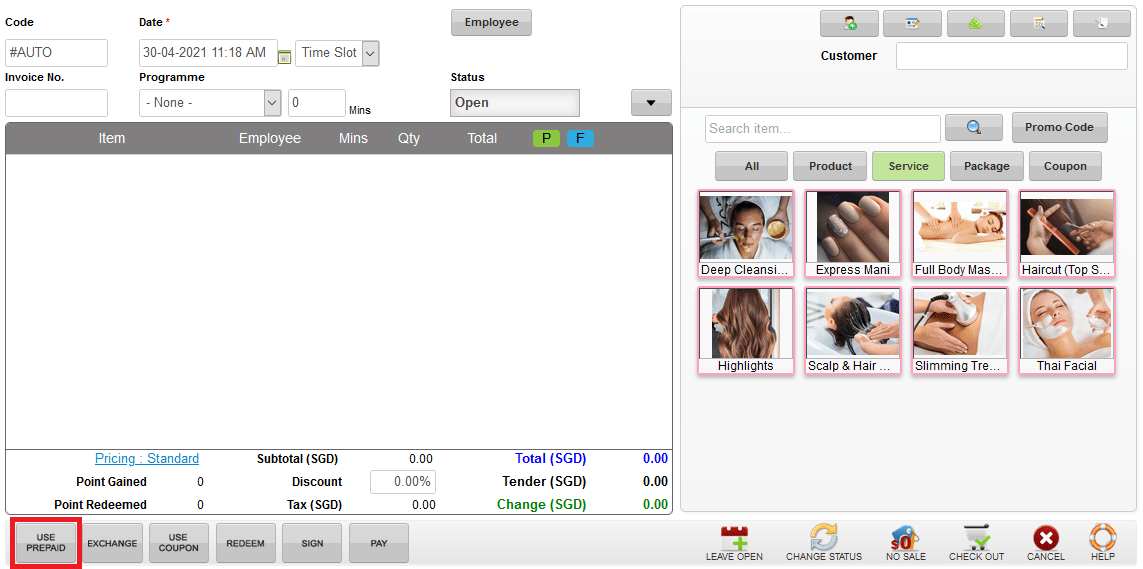 Step 2: Select the sesion package and enter the quantity
 Step 3: Click “ADD & CLOSE”
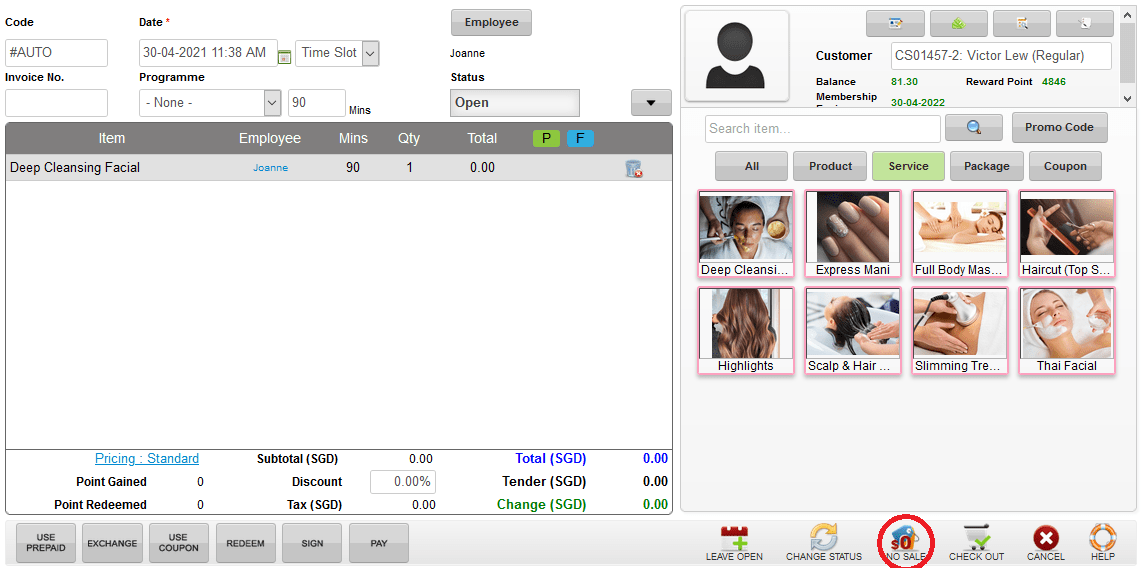
 Step 4: Click “NO SALE”
 Last update: April 2021
Step 2: Select the sesion package and enter the quantity
Step 3: Click “ADD & CLOSE”
Step 4: Click “NO SALE”
Last update: April 2021Step 1: Click “INVENTORY”
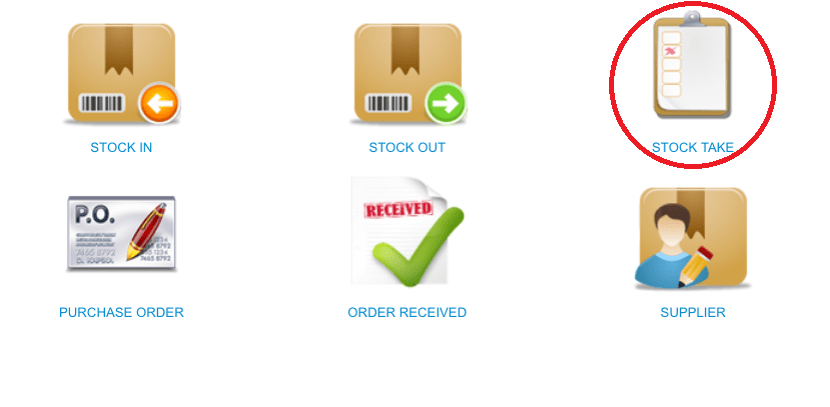
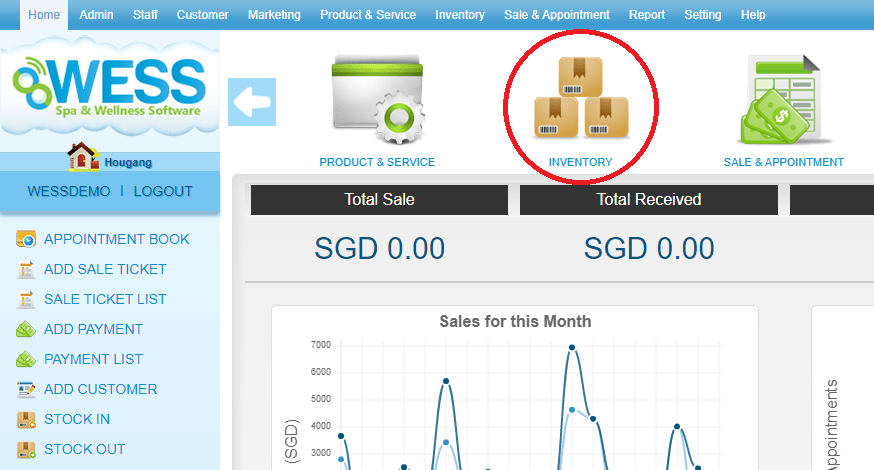 Step 2: Click “STOCK TAKE”
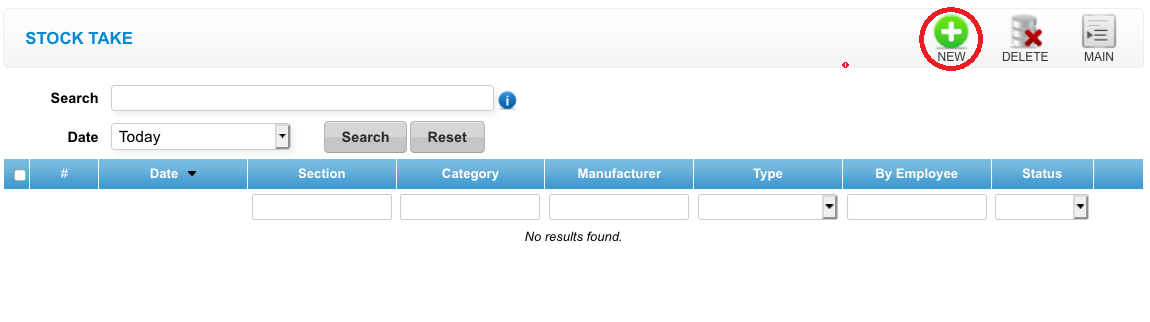
 Step 3: Click “NEW”
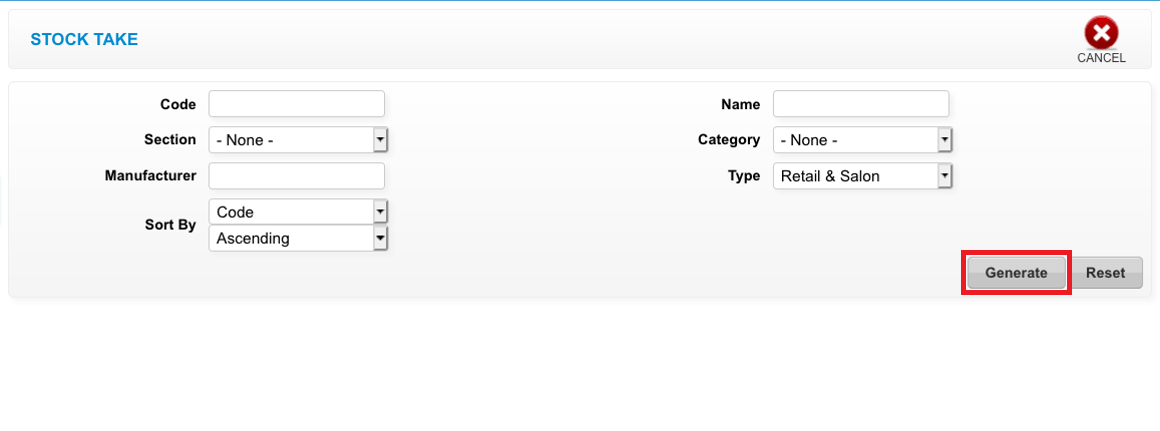
 Step 4: Click “GENERATE”
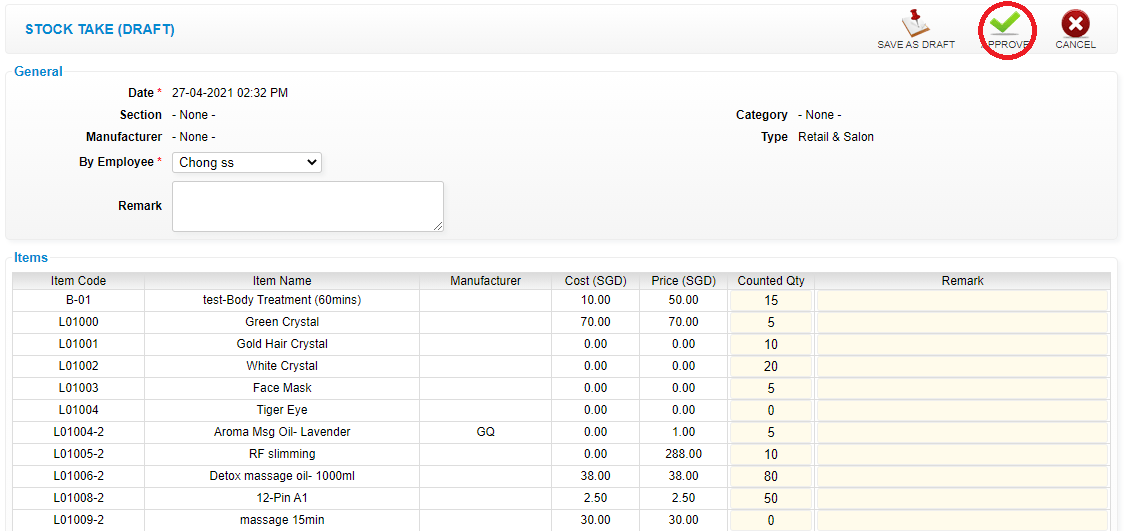
 Step 5: Click and select the employee
 Step 6: You can count the stock quantity and fill in remark to record
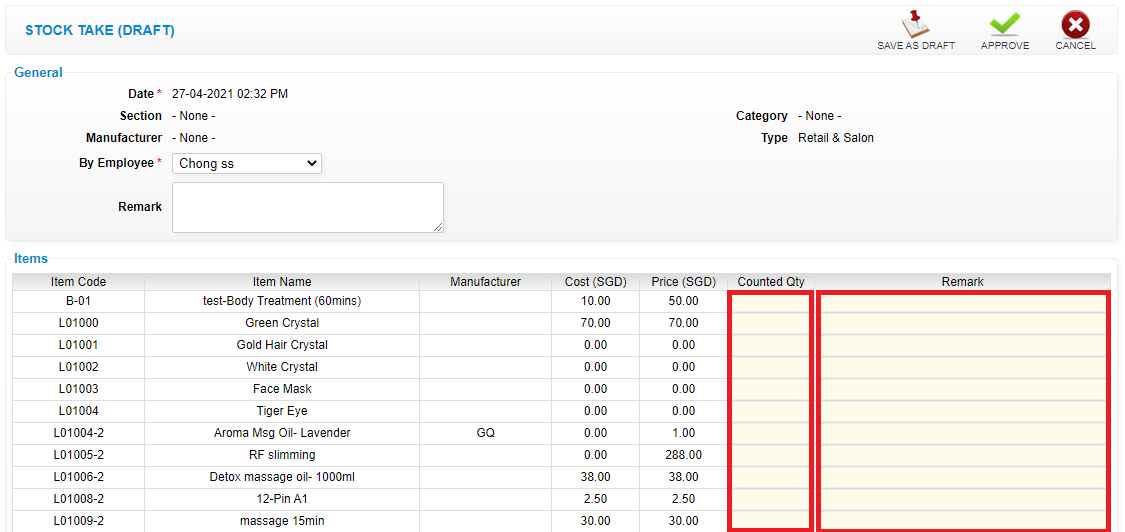 Step 7: Click “APPROVE”
 Last update: April 2021
Step 2: Click “STOCK TAKE”
Step 3: Click “NEW”
Step 4: Click “GENERATE”
Step 5: Click and select the employee
Step 6: You can count the stock quantity and fill in remark to record
Step 7: Click “APPROVE”
Last update: April 2021